
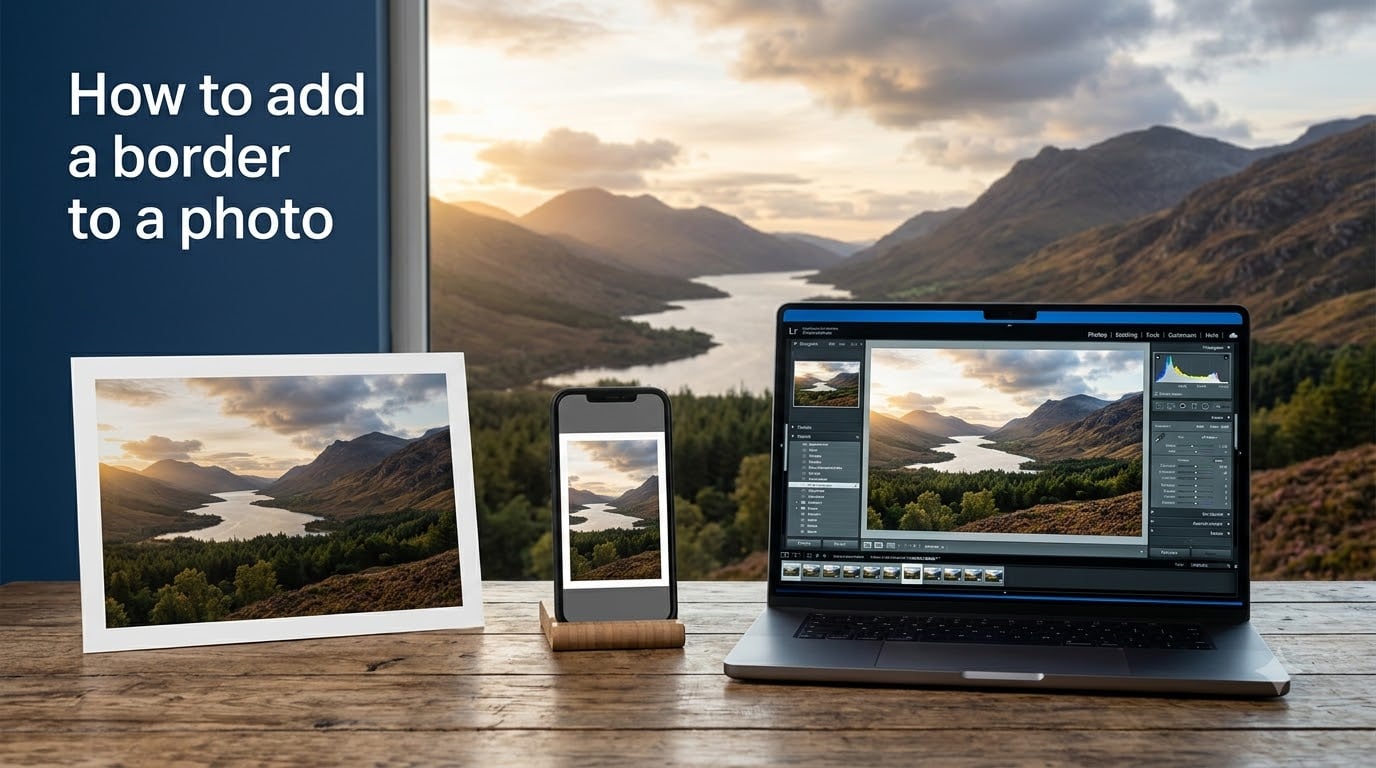
A simple border can transform a plain snapshot into something that looks intentional, polished, and ready to share. Whether you want a clean white outline for your Instagram feed, a bold colored frame for a printed photo, or a subtle shadow border for a professional portfolio, knowing how to add a border to a photo gives you a fast way to upgrade your images without re-shooting anything.
Our team tested every common method across online tools, desktop software, and mobile apps so you do not have to bounce between tutorials. Below you will find step-by-step instructions for the most popular platforms, a breakdown of border styles, platform-specific size guidelines, and troubleshooting fixes for the issues that trip people up most.
If you are prepping images for social media, keep in mind that borders interact with platform crop ratios. Pairing the right border with the correct Instagram profile picture size guide helps you avoid awkward cropping when your image goes live.
Table of Contents
- Quick Overview: Three Easiest Ways to Add a Border to a Photo
- What Are Photo Borders and Why Use Them?
- How to Add a Border to a Photo Online (Free Tools)
- How to Add a Border to a Photo in Photoshop
- How to Add Borders on iPhone and iPad
- How to Add Borders on Android
- Different Border Styles You Can Apply
- Border Size Guidelines for Social Media
- Common Border Problems and How to Fix Them
- FAQs
- Wrapping Up: Choose the Right Border Method for Your Needs
Quick Overview: Three Easiest Ways to Add a Border to a Photo
If you just need a border fast, here are the three quickest methods that work without any paid software.
1. Use a free online border tool. Sites like Tuxpi and Canva let you upload an image, pick a border style, adjust the width and color, and download the result in under a minute. No account required for Tuxpi, and Canva’s free tier covers most border needs.
2. Open a mobile app. VSCO, PicsArt, and Polarr all include border tools designed for quick phone editing. These apps are ideal when you are editing on the go and want to post directly to social media.
3. Use desktop software. Photoshop, GIMP, and even Microsoft Word or PowerPoint all support picture borders. Desktop tools give you the most control over precise border width, color values, and batch processing.
What Are Photo Borders and Why Use Them?
A photo border is a line, frame, or visual outline that surrounds the edges of an image. You control its color, width, transparency, and style to match the look you want.
People add borders for practical and creative reasons. A white border creates breathing room around a photo in a crowded Instagram grid. A thick black frame makes a printed photo feel gallery-ready. A colored outline can match your brand identity across a series of marketing images.
Borders also solve technical problems. If an image has dark content that blends into a dark background, a light border separates the photo from its surroundings. For print work, a white margin gives you a clean edge for framing without losing any of the image itself.
The difference between a border and a frame is mostly about style. A border is typically a clean line of consistent width. A frame adds decorative elements like rounded corners, shadows, textures, or multi-layer designs that mimic a physical picture frame or polaroid border.
How to Add a Border to a Photo Online (Free Tools)
Free online editors are the fastest route if you do not want to install anything. Here are the three most reliable options with exact steps.
Method 1: Canva (Glow Technique)
Canva offers a clever workaround for solid borders using its Glow shadow effect. This is one of the most popular methods recommended across forums and tutorials.
Step 1: Upload your photo to a Canva design and click on the image to select it.
Step 2: Click Edit Image in the top toolbar, then open the Shadows section and choose Glow.
Step 3: To create a solid border, set the Blur slider to 0 and the Transparency slider to 100. Now adjust the Size slider to control your border width, and click the color swatch to pick your border color.
Step 4: Download your image as a PNG or JPG. Canva preserves the original size by default, so you do not lose resolution.
This Glow trick gives you a true solid border rather than a soft shadow, which is exactly what most people want for a clean Instagram aesthetic.
Method 2: Tuxpi (Simplest Free Option)
Tuxpi is a dedicated photo border maker that requires no sign-up and adds no watermark. It is the tool Reddit users recommend most for a quick, no-strings-attached border.
Step 1: Go to the Tuxpi border effects page and upload your image.
Step 2: Choose from the border preview gallery. Tuxpi offers over 20 frame and border styles including solid borders, film strips, and decorative frames.
Step 3: Adjust the border width and color using the sliders provided.
Step 4: Click the download button to save your bordered image. The process takes about 30 seconds.
Method 3: Adobe Express
Adobe Express offers three border approaches: design elements, image-based frames, and text shapes. The free plan covers all three.
Step 1: Upload your image to Adobe Express and open it in the editor.
Step 2: Select your image, then browse the Design Elements tab for border shapes. Drag a border shape over your image and resize it to fit.
Step 3: Adjust the border color, width, and corner radius using the toolbar. Adobe Express supports transparent PNG borders for layered designs.
Step 4: Download your finished image. Adobe Express preserves the original size on the free plan.
How to Add a Border to a Photo in Photoshop
Photoshop gives you the most precise control over border width, color, and positioning. There are three main methods, each suited to different use cases.
Method 1: Canvas Size Extension
This is the most common Photoshop border technique. It expands the canvas outward and fills the new space with your chosen background color.
Step 1: Open your image in Photoshop and set your background color to the border color you want (white, black, or any custom shade).
Step 2: Go to Image > Canvas Size. Make sure the Relative checkbox is checked.
Step 3: Enter your border width in the Width and Height fields. For a uniform border, enter the same value in both. For example, entering 40 pixels in each field adds a 20-pixel border on all sides.
Step 4: Set the Canvas Extension Color to Background and click OK. Your border appears instantly.
Method 2: Stroke (Edit > Stroke)
The Stroke method draws a border line directly on your image layer. It is faster than canvas extension but draws on top of the image rather than expanding outward.
Step 1: Select your image layer in the Layers panel.
Step 2: Go to Edit > Stroke (Outline) Selection.
Step 3: Enter the border width in pixels, choose your color, and set the location to Inside, Center, or Outside. Inside keeps the full image visible.
Step 4: Click OK to apply the stroke border.
Method 3: Layer Style Stroke
This non-destructive method lets you edit or remove the border later without altering your original image.
Step 1: Double-click your image layer in the Layers panel to open Layer Style.
Step 2: Check the Stroke option in the left sidebar.
Step 3: Adjust the Size, Position, Blend Mode, Opacity, and Color to your preference. You can revisit these settings anytime by double-clicking the layer.
Step 4: Click OK to apply. The border stays fully editable.
For batch processing, Reddit users mention that Photoshop Actions can automate the Canvas Size method across dozens of photos at once. Record the action once, then run it on an entire folder.
How to Add Borders on iPhone and iPad
Adding a border to a photo directly on an iPhone is one of the most common questions we see, and the built-in Photos app does not have a dedicated border button. Here are the two best workarounds.
Built-in Markup Workaround
You can fake a solid border using the Markup tool that comes pre-installed on every iPhone.
Step 1: Open your photo in the Photos app and tap Edit.
Step 2: Tap the Markup icon (the pen tip) at the top of the screen.
Step 3: Tap the Plus icon and select Shape, then choose a square. Drag the square to cover your entire image.
Step 4: Tap the shape, set the Fill color to transparent (the slash icon), and set the Line color to your border color. Adjust the line width using the thickness slider.
Step 5: Drag the square edges to sit just inside your photo edges, then save the image.
This method works but takes some manual adjustment. For consistent borders across many photos, an app is faster.
Using VSCO or PicsArt on iPhone
VSCO and PicsArt are the two apps Reddit photographers recommend most for iPhone borders.
VSCO: Open your photo, tap the Edit icon, swipe through the toolbar to find the Border tool, choose your border width, and export. VSCO keeps things minimal and does not add a watermark on the free tier.
PicsArt: Open your photo, tap Border from the toolbar, choose a solid or framed border, adjust width and color, and save. PicsArt offers more decorative options than VSCO but may show ads on the free version.
How to Add Borders on Android
Android users have similar options to iPhone users, with one built-in workaround available through Google Photos.
Google Photos workaround: Open your photo in Google Photos, tap Edit, then Markup. Add a square shape with no fill and adjust the stroke color and width, similar to the iPhone Markup method.
PicsArt and Polarr: Both apps are available on Android and offer the same border tools as their iOS versions. Polarr gets praise on Reddit for clean, professional-looking borders with minimal fuss. PicsArt offers more creative frame styles for social media content.
For consistent white borders across a batch of Instagram photos, Polarr lets you save border presets so every photo gets the identical treatment.
Different Border Styles You Can Apply
Not all borders look the same. Choosing the right style depends on where your photo will appear and the mood you want to create.
Solid border: A clean line of consistent width in a single color. This is the most versatile style and works for social media, print, and portfolios. White and black are the most common choices.
White border for Instagram: A thick white border (typically 30 to 60 pixels) creates the clean, minimal grid aesthetic popular with lifestyle and photography accounts. It gives each image breathing room and creates visual consistency across your feed.
Shadow and glow borders: Instead of a hard line, these borders use soft shadows or glowing outlines around the image. They add depth without a harsh edge. In Canva, the Glow effect handles both looks depending on your Blur setting.
Polaroid and film strip frames: These decorative frames mimic analog photography. A polaroid frame adds a thick white bottom border with thinner borders on the other three sides. Film strip borders add perforated edges reminiscent of 35mm film. Tuxpi offers both styles in its frame gallery.
Rounded corners: Instead of a traditional border line, rounded corners soften the image edges. Many online editors and mobile apps support this as a border variation.
Transparent PNG borders: If you need a border that works over any background color, export your bordered image as a transparent PNG. This is useful for logos, product images, and layered design work where the background may change.
Border Size Guidelines for Social Media
Border size matters more than most people realize. A border that looks perfect on your phone can get cropped or distorted when uploaded to a specific platform. Here are practical guidelines for the most common destinations.
Instagram square posts: The platform displays square posts at 1080 by 1080 pixels. Keep your total border width under 80 pixels (40 pixels per side) to avoid the platform compressing or cropping your image. Check our Instagram profile picture size guide for exact profile image dimensions.
Instagram profile picture with border: Profile pictures display as small circles, so thick borders often get cut off entirely. Keep borders thin or skip them for profile images.
YouTube thumbnails: Thumbnails display at 1280 by 720 pixels. A border of 10 to 20 pixels adds definition without eating into your text or key visual elements.
LinkedIn profile and cover photos: LinkedIn crops profile pictures into circles, so borders often get clipped. Review the LinkedIn profile picture size requirements before adding borders. For cover photos, check the LinkedIn cover photo dimensions to position borders within the safe zone.
Facebook profile and cover photos: Facebook compresses images aggressively. Use borders of at least 15 pixels so they survive compression without disappearing.
Etsy shop banners: If you are adding decorative borders to an Etsy banner, reference the Etsy shop banner size guide first. Banner dimensions are specific and borders can shift during responsive resizing.
Common Border Problems and How to Fix Them
Based on forum discussions and user feedback, here are the issues that come up most often when adding borders, along with fixes.
Problem: Quality loss after adding a border. This usually happens when an online tool resizes your image during the export process. Fix it by checking the export settings for an option to preserve original size or resolution. In Canva and Adobe Express, the default export keeps the original dimensions. Avoid tools that automatically resize to a smaller canvas.
Problem: Free tool adds a watermark. Many free editors stamp a watermark on bordered images unless you upgrade. Tuxpi and VSCO are the most reliable watermark-free options. Canva’s free tier also exports without watermarks, though some premium border templates require a paid plan.
Problem: Inconsistent borders across multiple photos. When each photo ends up with a slightly different border width, the issue is usually manual adjustment. Fix it by using a tool that supports presets or templates. In Photoshop, record an Action and apply it to a batch folder. In Polarr, save a border preset and apply it to each photo.
Problem: Transparent PNG border shows a white background. If your transparent border appears with a white box behind it, you likely exported as a JPG instead of a PNG. JPG does not support transparency. Always choose PNG export for transparent borders.
Problem: Border gets cropped on social media. This happens when your border sits too close to the image edge and the platform crops it during upload. Fix it by checking platform dimensions before you export, and keep your border within the safe zone of each platform. For LinkedIn specifically, read the LinkedIn banner cropping fix to understand safe zones.
Problem: Border color looks different online than in your editor. Color profile mismatches cause this. Export your image in the sRGB color profile for the most consistent appearance across browsers and social platforms. Most online editors default to sRGB, but Photoshop users should verify via Edit > Convert to Profile.
FAQs
Can you add a border to iPhone photos?
Yes, but the built-in Photos app does not have a dedicated border button. You can use the Markup tool to add a square shape with no fill and a colored stroke line, or install a free app like VSCO or PicsArt for a faster, more consistent border experience.
How do I add a frame in a photo?
A photo frame is a decorative border that adds visual elements like rounded corners, textures, or multi-layer designs. You can add frames using online tools like Tuxpi or Canva, mobile apps like PicsArt, or desktop software like Photoshop. Frames differ from simple borders by including decorative styling beyond a plain line.
How can I put borders on my photos for free?
The best free options are Tuxpi (no sign-up, no watermark), Canva free tier (Glow technique for solid borders), and VSCO mobile app. All three let you add borders without paying or creating an account, and none add watermarks to your exported images.
How do I add borders to photos on mobile?
On iPhone, use the Markup tool for a quick workaround or download VSCO and PicsArt for dedicated border features. On Android, Google Photos has a Markup option, and PicsArt and Polarr both offer border tools. VSCO and Polarr support saved presets for consistent borders across multiple photos.
How do I put a white border around a photo for Instagram?
Use Canva’s Glow effect with Blur set to 0 and Transparency set to 100, then choose white as the color. Or use VSCO’s border tool with a white fill. Keep the total border width under 80 pixels for square posts so Instagram does not compress or crop the image.
Wrapping Up: Choose the Right Border Method for Your Needs
Learning how to add a border to a photo is a small skill that pays off across social media, print, and design work. For a quick no-fuss border, Tuxpi or Canva get the job done in under a minute. For precise control and batch processing, Photoshop remains the gold standard. And for mobile-first editing, VSCO and PicsArt deliver clean results without watermarks.
Pick the method that matches your workflow, test a few border widths before committing, and always check platform dimensions so your border survives the upload. With the right tool and a bit of practice, you can frame every photo to look intentional and polished.