
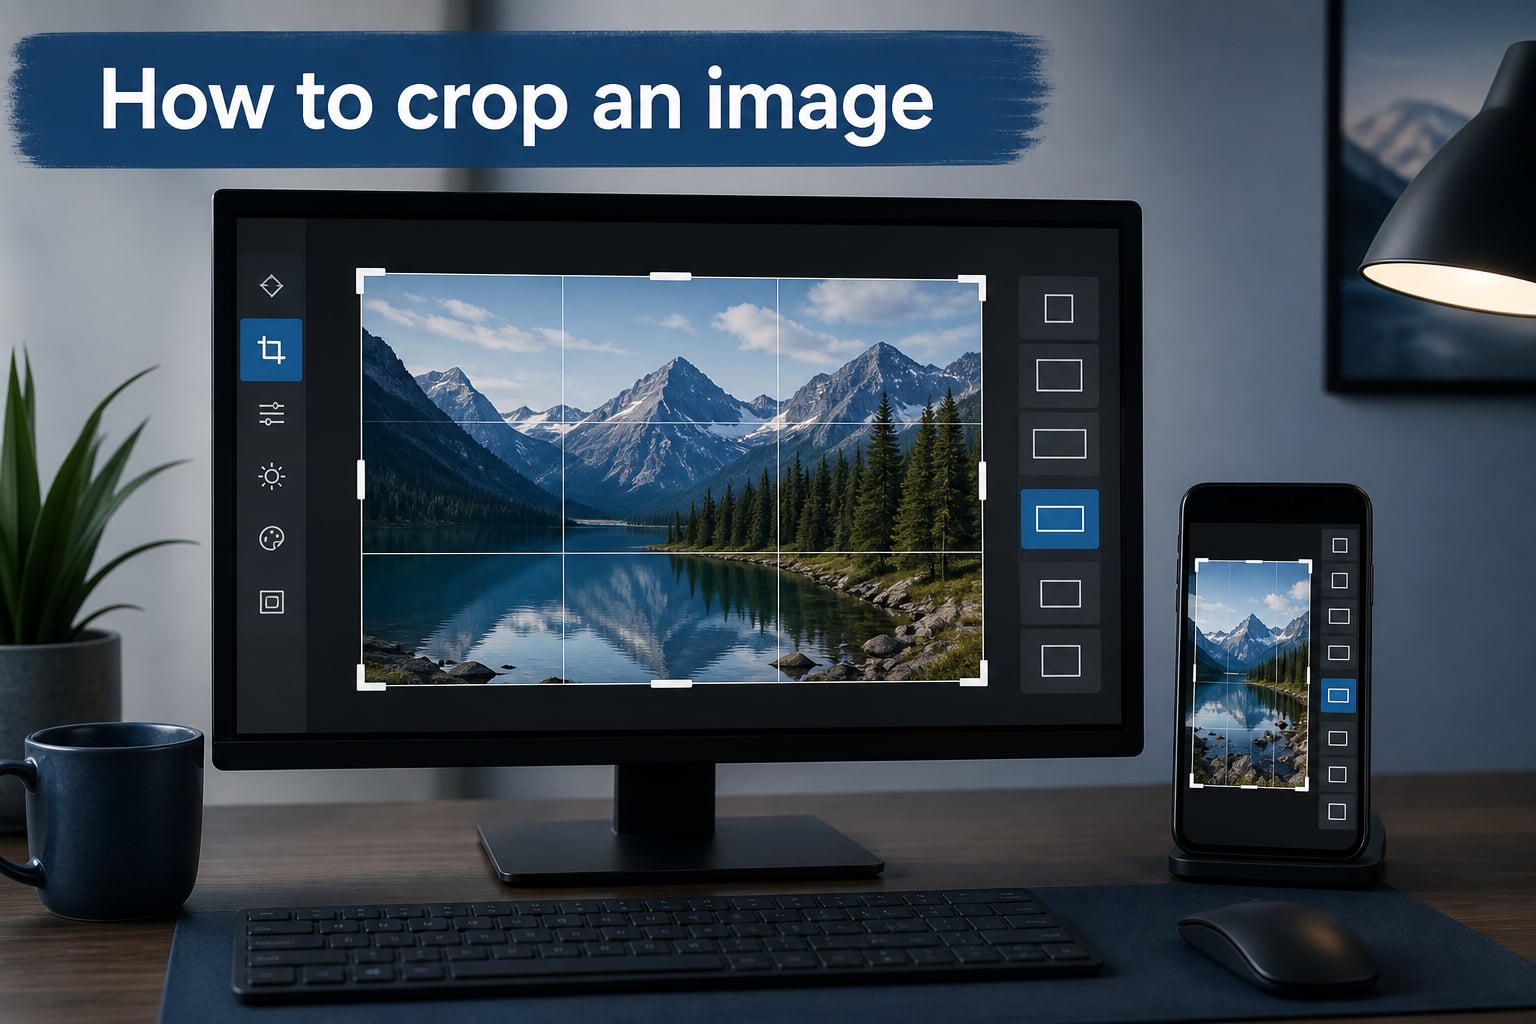
Cropping an image is one of the fastest ways to improve a photo, fix its composition, or prepare it for a specific platform. Whether you want to remove an unwanted background element or resize a picture for social media, knowing how to crop an image gives you instant control over how your visuals look.
Our team has spent years working with images across every major device and editing tool. We tested the built-in crop tools on Windows, Mac, iPhone, and Android, plus popular online editors, to find the most reliable methods. What we found is that most people overcomplicate the process when the basics take just a few seconds.
In this guide, you will learn how to crop an image step by step on any device. We cover desktop tools, mobile apps, pixel-precise cropping, batch cropping, quality-preserving techniques, and aspect ratio recommendations for social media. If you are preparing images for specific platforms, our LinkedIn profile picture size guide and TikTok profile picture size guide pair perfectly with these cropping instructions.
By the end, you will have a complete workflow for cropping images on any device without guesswork.
Table of Contents
- What Is Image Cropping?
- How to Crop an Image: Universal Step-by-Step Process
- How to Crop an Image on Windows
- How to Crop an Image on Mac
- How to Crop an Image on iPhone
- How to Crop an Image on Android
- Crop vs Resize vs Cut: Understanding the Differences
- How to Crop an Image Without Losing Quality
- How to Crop to Specific Pixel Dimensions
- How to Crop Multiple Images at Once (Batch Cropping)
- Aspect Ratio Guide for Common Use Cases
- Tips for Better Image Cropping
- FAQs
- Conclusion
What Is Image Cropping?
Image cropping is the process of selecting a specific region of a photo and discarding everything outside that region. You draw a boundary around the part you want to keep, and the tool removes the rest. The result is a smaller image focused on your chosen subject.
Cropping does not stretch or compress your image. It simply cuts away pixels. That distinction matters because it separates cropping from resizing, which changes the dimensions of the entire image without removing any part of it.
People crop images for several reasons. You might want to improve composition by following the rule of thirds, remove a distracting object from the edge, or change the aspect ratio to fit a platform like Instagram or YouTube. Cropping also lets you zoom in on a subject after the photo is taken, which is useful when you could not get close enough with the camera.
Every major operating system ships with a built-in crop tool, so you rarely need third-party software for basic edits. Professional photographers and designers do reach for tools like Adobe Photoshop or Affinity Photo when they need precision features like non-destructive cropping or custom aspect ratio overlays.
How to Crop an Image: Universal Step-by-Step Process
No matter which tool or device you use, the core process for how to crop an image follows the same five steps. Here is the universal workflow.
Step 1: Open your image. Launch your preferred photo editor or built-in gallery app, then open the image you want to crop. On most apps, you can double-click the file or drag it into the editor window.
Step 2: Select the crop tool. Look for the crop icon, which usually looks like two overlapping right angles forming a frame. In desktop software, it is often in a toolbar at the top or side of the screen. In mobile apps, tap the Edit button first, then look for the crop icon.
Step 3: Adjust the crop frame. Drag the handles on the corners and edges of the frame to mark the area you want to keep. Most tools show a preview of the cropped result while darkening the areas that will be removed.
Step 4: Choose an aspect ratio if needed. Many tools offer preset ratios like 1:1, 4:3, or 16:9. Selecting a ratio locks the frame to those proportions, which is helpful when preparing images for social media or print.
Step 5: Apply and save. Confirm the crop by pressing Enter, clicking a checkmark, or tapping Done. Then save or export the result in your preferred format such as JPG, PNG, or WebP.
That process works across nearly every platform. The sections below cover the specifics for each device and operating system.
How to Crop an Image on Windows
Windows gives you several built-in options for cropping images without installing anything extra. The three most common are the Photos app, Paint, and the Snipping Tool.
Using the Windows Photos App
Open the Photos app from your Start menu and double-click the image you want to edit. Click the Edit icon at the top of the window, then select Crop from the editing toolbar. Drag the corner handles to adjust the frame, or pick an aspect ratio from the presets shown on the side. Click Save a copy to keep your original and save the cropped version separately.
Using Paint
Right-click your image file, select Open with, and choose Paint. Click the Select tool in the toolbar, then drag a rectangle over the area you want to keep. Click the Crop button, and Paint removes everything outside your selection. Go to File and Save As to store the result.
Paint is useful when you need quick, freeform cropping without aspect ratio constraints. It does not offer preset ratios, so it works best for casual edits rather than social media preparation.
Using Snipping Tool
The Snipping Tool lets you capture and crop in one step. Open it from the Start menu, click New, and drag over the portion of the screen or image you want. Save the snip as a new file. This is handy for cropping screenshots rather than saved photos.
Many Windows users on community forums mention that the Photos app crop tool can feel hidden. If you do not see it, make sure you have clicked Edit first, because the crop icon only appears in the editing view.
How to Crop an Image on Mac
Macs include two excellent built-in tools for cropping: Preview and the Photos app. Both handle common cropping tasks without requiring additional software.
Using Preview
Open your image in Preview by double-clicking it. Click the Show Markup Toolbar button near the top right, which looks like a pen tip inside a circle. Select the Selection tool, then drag a rectangle over the area you want to keep. Go to the Tools menu and select Crop, or press Command plus K. Save the file with Command plus S.
Preview is fast and reliable for freeform cropping. It does not offer preset aspect ratios, so use the Photos app if you need those.
Using the Photos App
Open the Photos app and double-click the image. Click Edit in the top right corner, then click the Crop tab at the top of the editing panel. Drag the corner handles to adjust, or choose an aspect ratio from the options on the right side. Click Done to save your changes.
The Photos app is the better choice when you want aspect ratio presets, straightening tools, or automatic cropping suggestions. It also keeps a non-destructive version, so you can revert to the original at any time.
How to Crop an Image on iPhone
The iPhone Photos app handles all your cropping needs without requiring a third-party download. It supports both freeform cropping and preset aspect ratios.
Open the Photos app and tap the image you want to crop. Tap Edit in the top right corner, then tap the crop icon at the bottom of the screen. It looks like two overlapping right angles. Drag the corner handles to frame the area you want to keep.
To crop freely, just drag the handles without selecting a ratio. To lock to a specific proportion, tap the ratio icon in the top right and choose from options like Square, 9:16, 8:10, or 5:7. Rotate the image using the dial below the photo if the horizon is off.
Tap Done to save. The iPhone keeps your original image, so you can always revert by opening the photo, tapping Edit, and selecting Revert. This non-destructive behavior is one of the biggest advantages of using the built-in app.
iPhone users often ask on forums about freeform cropping. The trick is simple: skip the ratio presets and drag the handles manually. That gives you complete freedom over the frame shape.
How to Crop an Image on Android
Most Android phones include a gallery app with cropping built in, and Google Photos works on every Android device as a free alternative.
Using Google Photos
Open Google Photos and tap the image you want to edit. Tap Edit at the bottom of the screen, then tap the Crop tab. Drag the corner handles to set your frame, or tap the aspect ratio icon to choose presets like 1:1, 4:3, 3:4, or 16:9. Tap Save when you are happy with the result.
Google Photos saves a copy of the edited image while preserving the original. You can revert at any time by opening the photo, tapping Edit, and selecting the option to undo edits.
Using Your Default Gallery App
Samsung, Pixel, and other manufacturers include their own gallery apps with similar features. Open the image, tap the Edit icon, and look for the crop tool. The steps are nearly identical to Google Photos: drag the handles, optionally select a ratio, and save.
Some Android gallery apps offer additional features like perspective correction, which straightens images taken at an angle. Look for these options in the crop view if your photos look tilted.
Crop vs Resize vs Cut: Understanding the Differences
One of the biggest sources of confusion we see on photography forums is the difference between cropping, resizing, and cutting. These terms get mixed up constantly, and understanding the distinction helps you choose the right tool for each job.
Cropping removes parts of the image by selecting a region to keep and discarding the rest. The pixels inside your selection stay at their original resolution. You lose area but not pixel density.
Resizing changes the dimensions of the entire image without removing any content. The whole picture stays intact, but every pixel gets scaled up or down. Resizing a small image to a larger size reduces quality because the tool has to invent new pixels.
Cutting usually refers to removing a specific object or section from within an image, often with a selection brush or lasso tool, rather than trimming the outer edges. Cutting is more precise and surgical than cropping.
Here is a quick way to remember the difference. Cropping trims the edges. Resizing stretches or shrinks the whole thing. Cutting removes something from the middle. If you want a tighter composition, crop. If you need a smaller file, resize. If you want to remove a person from the background, cut.
How to Crop an Image Without Losing Quality
Cropping itself does not reduce image quality because it simply removes pixels rather than compressing them. However, several common mistakes can degrade your result after cropping.
Start with the highest resolution image available. If you crop a small, low-resolution photo, you end up with even fewer pixels in the final image. A photo that starts at 4000 by 3000 pixels can be cropped heavily and still look sharp. A photo that starts at 600 by 400 pixels cannot.
Save your cropped image in a lossless format like PNG when quality is the priority. JPG compression degrades images slightly each time you save, so avoid repeatedly opening, editing, and saving JPGs. If you must use JPG, save it only once at the end of your editing process.
Non-Destructive Cropping
Non-destructive cropping means you can undo or adjust the crop later without permanently losing the original image area. Professional tools like Adobe Photoshop, Lightroom, and Affinity Photo support this workflow. The iPhone Photos app and Google Photos also keep originals by default.
In Photoshop, use the crop tool with the Delete Cropped Pixels option unchecked. The app saves your crop as an instruction rather than a permanent cut, so you can revisit the file and change the crop at any time.
How to Crop to Specific Pixel Dimensions
Many forum users ask how to crop an image to exact pixel dimensions like 1200 by 1800 pixels. This level of precision matters when preparing images for websites, online stores, or print layouts that require exact specifications.
In Photoshop
Select the crop tool, then look at the options bar at the top. Enter your desired width in the first field, height in the second, and set resolution if needed. Click and drag the crop frame, which now locks to your exact pixel dimensions. Press Enter to apply.
In Free Online Tools
Tools like iLoveIMG let you type exact width and height values in pixels, plus position coordinates for where the crop starts. Upload your image, enter the dimensions, and download the result. This is the fastest method for one-off pixel-precise crops without installing software.
In GIMP (Free Desktop Editor)
Open your image in GIMP and select the crop tool from the toolbox. In the tool options panel, check the box for Fixed and select Size, then enter your target pixel dimensions. Drag the crop frame on the image and press Enter to apply.
How to Crop Multiple Images at Once (Batch Cropping)
Batch cropping saves time when you have dozens or hundreds of images that all need the same crop. This is a feature almost no competitor guide covers, yet it is one of the most requested topics on photography forums.
Using Photoshop Actions
Open one image and record a new Action while you perform the crop. Stop recording, then go to File, Automate, and Batch. Select your recorded action and the folder containing all your images. Photoshop applies the same crop to every file automatically and saves the results.
Using Free Batch Tools
Free alternatives include IrfanView for Windows and ImageMagick for command-line users. In IrfanView, open the Batch Conversion dialog, add your files, and set a custom crop region using pixel coordinates. The tool processes all selected images with identical settings.
For Mac users, the Automator app can batch crop images using built-in actions. Create a new workflow, add the Crop Images action, specify the dimensions, and run it on a folder of photos.
Online Batch Croppers
Several free web tools support batch cropping for smaller jobs. Upload multiple images, set the crop parameters, and download all results in a zip file. These work well for quick tasks but have file size and quantity limits compared to desktop software.
Aspect Ratio Guide for Common Use Cases
Choosing the right aspect ratio before you crop saves time and prevents distorted images. Each platform has specific requirements, and using the wrong ratio can result in automatic cropping that removes important parts of your photo.
Social Media Aspect Ratios
Instagram square posts use 1:1. Instagram portrait posts use 4:5. Instagram Stories and Reels use 9:16. Facebook feed images work well at 1.91:1 or 1:1. Facebook cover photos require 16:9. YouTube thumbnails use 16:9. Twitter or X images display best at 16:9 or 3:4.
Profile pictures across most platforms use 1:1, though the exact pixel dimensions vary. Our LinkedIn profile picture size guide covers the specific pixel requirements for that platform.
Print and Document Ratios
Standard photo prints use ratios like 4:5 for 8 by 10 inch prints, 3:2 for 4 by 6 inch prints, and 1:1 for square prints. A4 paper has a ratio of approximately 1:1.41. Knowing these ratios before cropping prevents white borders or unwanted stretching when printing.
Most crop tools let you enter custom ratios. If your tool only offers presets, check whether it supports a custom or freeform option so you can match any specification.
Tips for Better Image Cropping
Good cropping is about more than removing unwanted areas. It shapes how people experience your image. These tips help you crop with intention rather than guessing.
Follow the rule of thirds. Imagine your image divided into a 3 by 3 grid. Place your subject along the grid lines or at their intersections. Most crop tools overlay this grid automatically, so turn it on if yours does not.
Leave headroom. When cropping photos of people, avoid cutting too close to the head. Leave a small amount of space above so the composition feels natural rather than cramped.
Crop in the direction of movement. If your subject is moving or looking in a specific direction, leave space on that side of the frame. Cropping too tightly in the direction of movement makes images feel claustrophobic.
Straighten before cropping. Use the straighten or rotate tool before you crop. This ensures your horizon line is level and your crop frame aligns with the corrected orientation.
Avoid extreme crops on low-resolution images. The tighter you crop, the fewer pixels remain. If your original image is small, aggressive cropping produces a blurry result. Start with the highest resolution file you have.
Check the crop on different screen sizes. Images cropped on a large monitor may look different on a phone. Preview your crop at different sizes before finalizing, especially for social media where most viewers are on mobile.
FAQs
How do I crop an image on my computer?
Open the image in your default photo viewer or editor, click Edit, select the Crop tool, drag the handles to set your frame, and save. On Windows, use the Photos app or Paint. On Mac, use Preview or the Photos app. The process takes under a minute.
How do I cut a part of an image?
Cutting removes a specific section from within an image rather than trimming the edges. Use a selection tool like the lasso or magic wand in an editor like Photoshop or GIMP. Select the area you want to remove, then delete it or use a content-aware fill to replace it with the surrounding pixels.
How to freely crop an image on iPhone?
Open the Photos app, tap Edit, then tap the crop icon. Drag the corner handles without selecting any aspect ratio preset. This gives you freeform control over the frame shape. Tap Done to save your freely cropped image.
How do I crop an image on my phone?
On iPhone, open Photos, tap Edit, then tap the crop icon and drag the handles. On Android, open Google Photos, tap Edit, tap Crop, drag the handles or choose a ratio, then tap Save. Both platforms keep your original image so you can revert anytime.
How do I crop to a specific pixel size?
In Photoshop, select the crop tool, enter exact width and height in pixels in the options bar, then drag the frame. In free online tools like iLoveIMG, type the pixel dimensions and position values directly. In GIMP, use the crop tool with Fixed Size enabled and enter your target dimensions.
What is the difference between crop and resize?
Cropping removes parts of the image by selecting a region to keep and discarding the rest, without changing the resolution of the remaining pixels. Resizing changes the dimensions of the entire image without removing any content, scaling every pixel up or down. Crop trims edges while resize stretches or shrinks the whole picture.
Conclusion
Learning how to crop an image is a skill that pays off every time you work with photos, whether for social media, websites, print, or personal projects. The universal five-step process works on every device, and the built-in tools on Windows, Mac, iPhone, and Android handle the vast majority of cropping tasks without extra software.
Remember the key distinctions: crop to trim edges, resize to change dimensions, and cut to remove internal elements. Start with high-resolution originals, use non-destructive cropping when possible, and choose the right aspect ratio for your destination platform before you crop.
For platform-specific image preparation, pair these techniques with our TikTok profile picture size guide to get exact pixel dimensions for every project. With these steps, you can crop any image confidently on any device.