
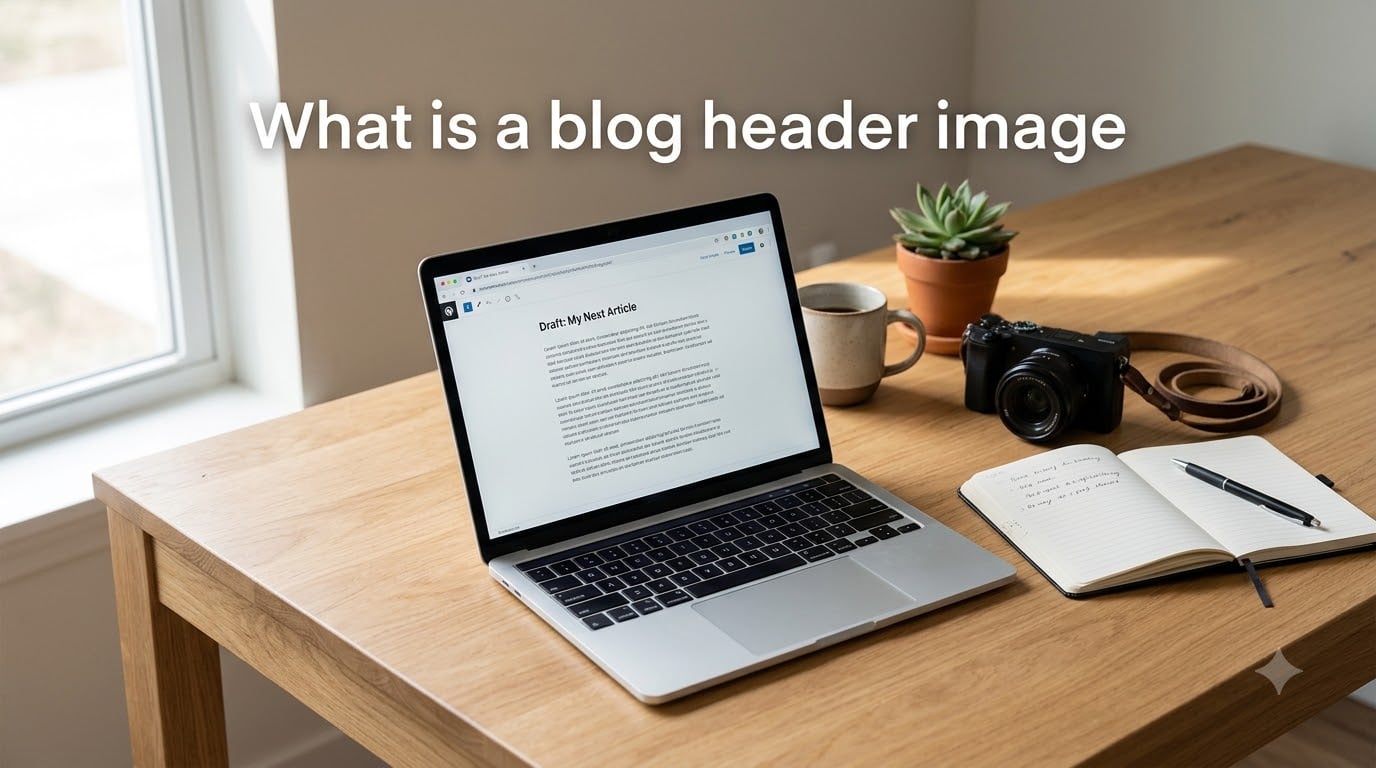
A blog header image is the large, prominent visual displayed at the top of a blog post or blog homepage. It serves as the first visual impression for readers, communicates the topic and tone of the content, reinforces brand identity, and plays a key role in attracting clicks from search results and social media. In this complete guide, I will walk you through what a blog header image is, how it differs from featured images and banners, and exactly how to create one that looks great on every device.
Whether you publish on WordPress, Blogger, Squarespace, or a custom CMS, choosing the right header image can shift how readers feel about your content in the first three seconds. I have tested dozens of header styles across our own blog projects, and the difference between a thoughtful header and a generic stock photo is measurable in click-through rate and time on page.
Table of Contents
- What Is a Blog Header Image? Definition and Overview
- Blog Header Image vs Featured Image vs Blog Banner vs Hero Image
- The Purpose and Importance of a Blog Header Image
- Types of Blog Header Images
- Blog Header Image Dimensions and Technical Specifications
- How to Create an Effective Blog Header Image
- Blog Header Image Best Practices
- Free Blog Header Image Examples and Resources
- Frequently Asked Questions
- Conclusion
What Is a Blog Header Image? Definition and Overview
A blog header image is the main visual element that appears at the top of a blog post, the blog homepage, or a specific blog category page. It introduces the topic, sets the tone, and reinforces brand identity before a single sentence of body copy is read. In simpler terms, it is the picture that frames your writing.
The header image is what readers see first when they land on your post from a search engine, a social share, or a newsletter. It typically spans the full width of the content area and sits above the title or beside it. Unlike decorative photos scattered through the article, the header image is the anchor visual that defines the entire reading experience.
You will also see header images used on the blog homepage itself, where the design might feature a rotating set of featured visuals for the most recent posts. Some platforms use the same image as both the post header and the homepage tile. Others separate them with a smaller homepage thumbnail and a full-width header on the post page.
Understanding what a blog header image is also means understanding what it is not. It is not the same as a logo, a favicon, or the navigation bar. It is also distinct from a generic website header, which usually contains branding, menus, and contact information. The blog header image is specifically the visual story-teller at the top of content.
Blog Header Image vs Featured Image vs Blog Banner vs Hero Image
One of the most common sources of confusion in blogging is the terminology itself. People use “blog header image,” “featured image,” “blog banner,” and “hero image” interchangeably, even though they often refer to different things. Let me clarify the four terms once and for all.
A blog header image sits at the top of a blog post and frames the article. A featured image is the visual that represents a post in lists, archives, RSS feeds, and social previews. A blog banner is usually a wider, more decorative graphic that often appears at the top of a post or homepage. A hero image is a large, full-bleed visual that dominates the top of a landing page or homepage — it is bigger and more cinematic than a typical blog header.
Here is a quick comparison to settle the differences:
- Blog Header Image: Top of a blog post, full-width, introduces the topic. Used inside the content flow.
- Featured Image: Represents the post in archives, blog rolls, and social share previews. Often a smaller crop or separate upload.
- Blog Banner: A stylized graphic or photo at the top of a post or homepage, often with text overlay, branding, or a call to action.
- Hero Image: Large, dramatic, full-bleed visual on a homepage or landing page. Designed for emotional impact rather than content framing.
In practice, the same image can serve multiple roles. If you upload a 1600 by 900 pixel photo at the top of a WordPress post, it becomes your blog header image, your featured image, your social share preview, and sometimes your homepage thumbnail. The labels are about where the image appears, not about the file itself.
The reason this distinction matters is technical. Search engines and social platforms read the image you mark as the “featured image” to generate thumbnails. Devices read the “header image” to set the visual frame. If you label the wrong image, your Open Graph preview can look broken on Facebook or LinkedIn. Keeping the terms straight helps you avoid that mistake.
The Purpose and Importance of a Blog Header Image
The blog header image is not decoration. It is a strategic tool that shapes how readers experience your content. Research on the picture-superiority effect shows the human brain processes visuals 60,000 times faster than text. That means your header image communicates the essence of an article before the reader has parsed a single word.
First impressions are formed in roughly three seconds. If the header image looks generic, blurry, or off-brand, readers click back to the search results. If it looks clear, professional, and aligned with the topic, they stay and read. The header image is the silent salesperson that decides whether anyone reads what you wrote.
Header images also drive click-through rates from search and social. A search result with a strong image is more likely to get clicked than a text-only snippet. On social platforms, posts with images consistently outperform text-only updates. The image you choose for the top of your post is the same image that becomes the thumbnail on Twitter, Facebook, and LinkedIn.
Brand identity is another core purpose. A consistent header style — same color palette, same typography, same logo placement — builds recognition across your blog. After a few months, regular readers recognize your posts by their visual signature alone. That is the kind of brand recall a generic stock photo never delivers.
SEO also benefits from a well-optimized header image. Properly named files, descriptive alt text, and compressed file sizes help search engines understand your content and improve page load speed. Faster pages rank better and keep readers engaged. The header image is one of the fastest wins for on-page SEO.
Finally, header images increase reader engagement. Pages with a strong visual above the fold earn more scroll depth, more time on page, and more social shares. The header image is the gateway to everything else on the page.
Types of Blog Header Images
Not all header images are the same. Choosing the right type depends on your brand, your topic, and your audience. Here are the most common styles you will encounter.
Static images are the most popular choice. They are single photos, illustrations, or graphics that do not move. Static headers load fast, look professional, and work on every device. Most professional blogs use static headers because they are predictable and easy to optimize.
Animated headers use GIFs, short video loops, or CSS animations to add motion. They are eye-catching but can hurt page speed and may distract from the article. Use animated headers sparingly, and only when motion genuinely adds to the story.
Photo-based headers are real-world photographs. They work well for lifestyle, travel, food, and personal blogs where authenticity matters. Photo headers often come from stock libraries or original shoots.
Illustrated headers use custom or stock illustrations. They fit creative, design, and tech blogs that want a handcrafted feel. Illustrations also age better than photos because they do not trend in the same way.
Text-based headers are graphic designs with strong typography — large titles, quotes, or pull quotes set against a colored background or a subtle photo. They are popular on news and editorial sites where the headline itself becomes the visual.
Custom-designed headers are built from scratch in Photoshop, Canva, or Adobe Express. They give you full control over layout, branding, and originality. The downside is time. The upside is that no other blog can have the same image.
Stock headers come from stock photo libraries. They save time but risk looking generic. If you use stock, choose underused images and customize them with overlays, color treatments, or text.
Seasonal headers change with holidays, events, or quarterly themes. They keep your blog feeling fresh and relevant but require ongoing effort. Evergreen headers — ones that look good year-round — are easier to maintain and are the standard for most professional blogs.
Blog Header Image Dimensions and Technical Specifications
Dimensions are the most technical part of working with blog header images. Get them wrong and your image crops awkwardly, stretches, or fails to load on mobile. Here are the recommended sizes for the most popular platforms.
- WordPress: 1200 by 675 pixels to 1600 by 900 pixels. Sixteen-by-nine aspect ratio works best.
- Blogger: 1600 by 400 pixels for full-width headers, or 1140 by 300 pixels for in-post headers.
- Tumblr: 3000 by 1055 pixels default, with 2048 by 1152 pixels a common safe size.
- Squarespace: 1500 by 1000 pixels for blog post banners, 16-by-9 ratio recommended.
- Wix: 1920 by 600 pixels for blog headers, 16-by-9 ratio for inline images.
- General social sharing: 1200 by 630 pixels. This is the Open Graph standard used by Facebook and LinkedIn.
Aspect ratio matters more than absolute pixel count. A 16:9 ratio works on every platform and is the safest choice. Two-to-one is the classic blog banner shape and works well for landscape headlines. Four-to-five works on mobile-first designs where vertical space is at a premium.
File format is the next decision. JPEG is best for photographs because it compresses small and loads fast. PNG is best for illustrations, text, or images that need transparency. WebP is the modern choice and is supported by all major browsers, offering up to 30 percent smaller files than JPEG at the same quality. If your platform supports WebP, use it.
File size is critical for performance. Aim for under 200 KB for a standard header image. Anything over 500 KB will slow your page and can hurt your Core Web Vitals score. Use tools like TinyPNG, Squoosh, or ShortPixel to compress before uploading.
Mobile responsiveness is often overlooked. Your header image must look good on a 360-pixel-wide phone screen and a 1920-pixel-wide desktop monitor. Test your image at multiple widths before publishing. If the focal point of the photo is at the edges, it will be cut off on mobile. Keep the important subject in the center third of the image.
Resolution is the last detail. 72 DPI is the web standard, and there is no need to upload a 300 DPI print file. Higher DPI just means larger file size with no visible difference on screen.
How to Create an Effective Blog Header Image
Creating a blog header image does not require design school. With the right tools and a clear process, you can produce a professional-looking header in under 30 minutes. Here is the exact workflow I use.
Step 1: Define the goal. Decide what the header image needs to communicate. Is it mood? Topic? Brand? A specific message? Write down three words that describe the feeling you want, and choose imagery that matches.
Step 2: Pick the right dimensions. Match the dimensions to your platform. For WordPress, start with 1600 by 900 pixels. For social sharing, design at 1200 by 630 pixels. If you design one image at 1600 by 900, you can crop it down for other uses later.
Step 3: Choose a design tool. Canva is the most beginner-friendly option, with thousands of free blog header templates. Adobe Express is great for branded graphics. Photopea is a free Photoshop alternative. For fully custom work, Figma or Adobe Photoshop give you the most control.
Step 4: Select or create the background. Source photos from Unsplash, Pexels, or Pixabay for free, license-clean images. Or shoot your own. Make sure the image’s main subject is centered and the edges are safe to crop.
Step 5: Add typography if needed. If the header includes a title or quote, use a clean, web-safe font. Limit yourself to two fonts per design. Make the text large enough to read on mobile.
Step 6: Apply brand colors and a logo. Use your brand’s color palette consistently. Place your logo in the same spot on every header so readers learn to recognize it.
Step 7: Export in the right format. Save as JPEG for photos, PNG for illustrations, or WebP if supported. Compress to under 200 KB if possible. Run the image through TinyPNG or Squoosh before uploading.
Step 8: Test on multiple devices. Preview the post on desktop, tablet, and mobile. Check that the focal point is still visible, the text is readable, and the image is not cropped awkwardly.
Blog Header Image Best Practices
Best practices separate an amateur header from a professional one. Here are the rules I follow on every blog I publish.
1. Use a clear focal point. Every header image should have one main subject. A face, an object, or a strong shape. Avoid busy compositions where the reader does not know where to look.
2. Keep important elements centered. Mobile cropped images lose the edges. Place the focal point in the middle third of the image so it survives cropping on every screen.
3. Optimize file sizes. Aim for under 200 KB. A 1 MB header image will tank your page speed. Use lazy loading and modern formats like WebP whenever possible.
4. Write descriptive alt text. Alt text helps search engines understand your image and helps visually impaired readers. Write a short, descriptive sentence that explains what the image shows. Do not stuff keywords.
5. Use a consistent style. Pick a color palette, a font pair, and a layout pattern. Apply them to every post. Consistency builds brand recognition over time.
6. Avoid copyrighted images. Use only images you own, images with a Creative Commons license, or images from reputable stock libraries. A free resource like Free Web Headers offers thousands of license-clean headers you can use safely.
7. Add a subtle text overlay if it helps. A short title or a relevant quote can boost clarity. Keep the text large, legible, and high-contrast against the background.
8. Test for mobile first. Most of your traffic is on mobile. Design and preview for a phone screen first, then scale up for desktop.
9. Refresh headers on older posts. A blog post from two years ago can earn a traffic boost just by getting a new, modern header. Audit your archive once a quarter and update headers that look dated.
10. Track what works. Use analytics to see which header styles get the most clicks and shares. Patterns will emerge. Double down on the styles your audience responds to.
Free Blog Header Image Examples and Resources
The fastest way to find great blog header images is to look at what other successful blogs are doing. Major publications like ProPublica, Curbed, and Convince & Convert use distinctive visual identities that reinforce their brand. Study three to five blogs in your niche and notice how their header images are styled.
Some common patterns stand out. Editorial blogs favor large, photo-led headers with minimal text. Tech blogs often use clean illustrations with bold typography. Lifestyle blogs lean into warm, candid photography. Once you find a style that fits your topic, commit to it for at least six months before re-evaluating.
For free, license-clean blog header images, Free Web Headers is a strong starting point. Our collection is built specifically for bloggers and includes thousands of headers across dozens of categories — nature, business, food, travel, and more.
Other reliable free sources include Unsplash for high-resolution photography, Pexels for curated stock images, Pixabay for illustrations and vectors, and Canva for editable templates. Each gives you a starting point you can customize with your own branding.
If you prefer to design from scratch, Canva’s free tier is enough for most bloggers. The drag-and-drop editor, free templates, and built-in font library let you produce a polished header in minutes. Adobe Express is a good alternative if you want Adobe’s design quality with a simpler interface.
One final tip: when you find a header image you love, do not copy it exactly. Use it as inspiration for your own layout, color palette, and typography. Originality is the final touch that turns a generic header into a recognizable brand asset.
Frequently Asked Questions
What is a blog header?
A blog header is the prominent image displayed at the top of a blog post or blog homepage. It serves as the primary visual element that introduces readers to the content, establishes brand identity, and influences whether visitors choose to read further.
What is a header image?
A header image is a large, prominent visual element positioned at the top of a web page or section. In the context of blogs, a header image specifically refers to the featured visual that appears at the top of an individual blog post or the main blog page.
What is a blog image?
A blog image is any visual element — photo, illustration, graphic, or chart — used within a blog post or on a blog page. This includes the header image, featured image, inline images within the body, infographics, and sidebar graphics.
How do I create a header image?
To create a blog header image: (1) Determine your blog’s ideal dimensions, typically 1200x630px for social sharing or 1600x900px for blog posts; (2) Choose a design tool like Canva, Adobe Express, or a free alternative; (3) Select or create a background image; (4) Add your blog title or post title as text overlay if needed; (5) Incorporate your logo or brand colors; (6) Export in a web-optimized format such as JPEG or WebP.
What are the recommended dimensions for a blog header image?
Recommended blog header image dimensions vary by platform: WordPress 1200x675px to 1600x900px, Blogger 1600x400px for full-width headers, Tumblr 3000x1055px default up to 2048x1152px, Squarespace 1500x1000px, Wix 1920x600px, and general social sharing 1200x630px. A 16:9 aspect ratio offers the broadest compatibility across devices.
Conclusion
A blog header image is the large visual at the top of a blog post or homepage that frames the content, sets the tone, and earns the click. It is distinct from a featured image, a blog banner, and a hero image, even though the same file can serve multiple roles. Choosing the right dimensions, format, and design style is what separates a generic post from a memorable one.
Start with the fundamentals: pick the right dimensions for your platform, keep the file size under 200 KB, and use a clear focal point that survives mobile cropping. Then build a consistent visual style — same fonts, same color palette, same logo placement — and stick with it.
If you need a starting point, browse the free blog header image collections at Free Web Headers. You will find license-clean visuals ready to customize, no design experience required. Your next post deserves a header that earns its place.