
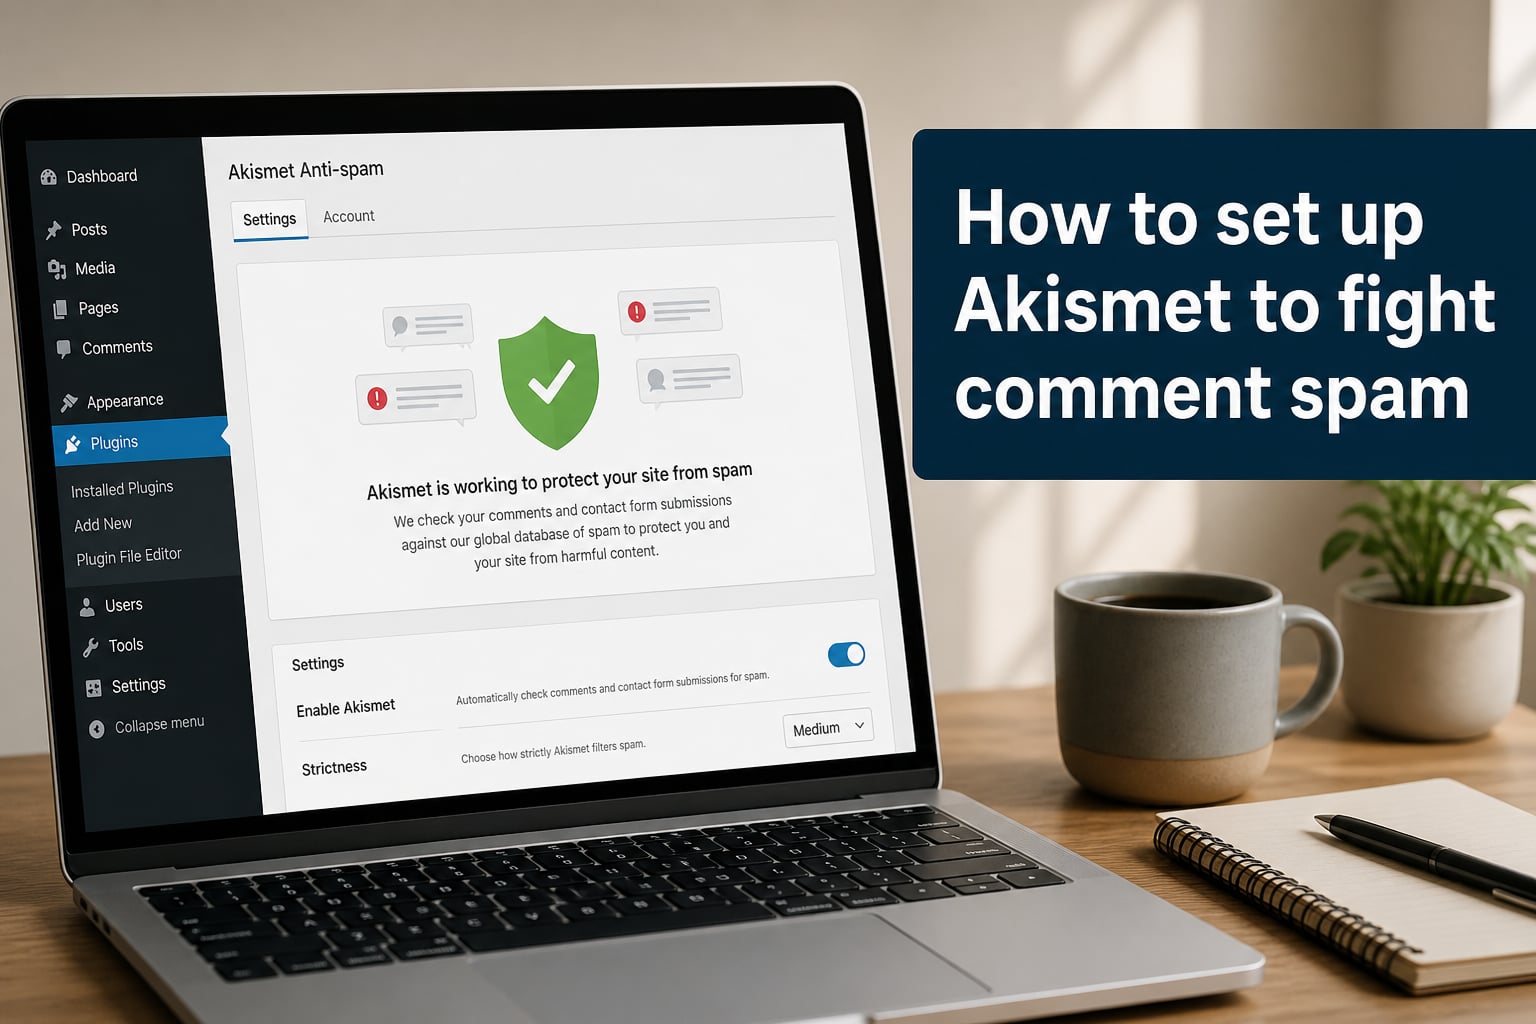
If you run a WordPress site, you’ve probably opened your comments section and found dozens of obvious spam messages trying to sell you fake watches, dodgy SEO services, or worse. I dealt with the same thing on my own blog before I figured out how to set up Akismet properly.
Comment spam is more than just annoying. It can hurt your search rankings, scare off real readers, and in some cases put visitors at risk of phishing or malware. The good news is that Akismet blocks the vast majority of spam automatically, and setting it up takes less than 15 minutes.
In this guide, I’ll walk you through how to set up Akismet to fight comment spam on any WordPress site. You’ll learn how to install the plugin, get your API key, configure the settings, and troubleshoot the common issues that catch people off guard.
Table of Contents
- What Is Akismet and Why You Need It
- Why Comment Spam Is Harmful to Your Site
- Before You Start: What You’ll Need
- Step 1: Install the Akismet Plugin
- Step 2: Get Your Free Akismet API Key
- Step 3: Enter the API Key and Activate Protection
- Step 4: Configure Akismet Settings
- Step 5: Monitor and Maintain Your Spam Filter
- Troubleshooting Common Akismet Issues
- Frequently Asked Questions
- Conclusion
What Is Akismet and Why You Need It
Akismet is an anti-spam plugin for WordPress that automatically filters spam comments, trackbacks, and form submissions before they ever appear on your site. It was created by Automattic, the same company behind WordPress.com, WooCommerce, and Tumblr, and it has been around since 2005.
Today, Akismet runs on more than 100 million sites and claims a 99.99% spam detection accuracy rate. It works by checking every comment against a global database that learns from spam reported across millions of other websites. If the pattern matches known spam behavior, the comment is held in your spam queue instead of being published.
What I like most about Akismet is that it is largely a set-it-and-forget-it tool. Once you activate it, the plugin quietly handles thousands of spam comments in the background. You only step in when you want to review what it caught or train it to be smarter.
For most WordPress site owners, Akismet is one of the first plugins you should activate. It is pre-installed on every fresh WordPress installation, which means it’s already sitting there waiting for you to flip the switch.
Why Comment Spam Is Harmful to Your Site
Comment spam is not just a cosmetic problem. It can cause real damage to your site if left unchecked, and the cost of dealing with it adds up faster than most people realize.
Here are the four biggest risks I have seen firsthand.
- SEO damage: Search engines can penalize sites that are flooded with spammy outbound links, and your pages lose crawl budget to junk URLs.
- Reputation risk: Visitors who see “Buy Louis Vuitton bags here!” under your carefully written posts will lose trust in your brand fast.
- Security threats: Some spam comments contain phishing links or drive-by malware downloads that put your readers at risk.
- Wasted time: Manually deleting hundreds of spam comments every week eats hours you could spend on real work.
Even a small blog with under 1,000 monthly visitors can collect hundreds of spam comments per week. Without a filter in place, you either moderate everything yourself or let your comments section turn into a billboard for scammers.
Before You Start: What You’ll Need
Setting up Akismet is straightforward, but there are a few prerequisites. Make sure you have these ready before you begin.
- A self-hosted WordPress site with admin access to the dashboard. If you use WordPress.com, the plugin is built in and you can enable it from Jetpack settings instead.
- A working email address that you check regularly. You’ll use this to create an Akismet account and receive the API key.
- About 15 minutes of uninterrupted time to walk through the setup.
You do not need to touch code, edit theme files, or configure your server. Everything happens inside your WordPress admin panel and your Akismet account dashboard.
Step 1: Install the Akismet Plugin
Akismet usually comes pre-installed on WordPress, but it is not activated by default. If you do not see it in your plugins list, here is how to install it from scratch.
- Log in to your WordPress dashboard and go to Plugins › Add New from the left sidebar.
- In the search field on the right, type Akismet Anti-spam: Spam Protection.
- Find the plugin by Automattic and click Install Now.
- Wait a few seconds for WordPress to download and install the plugin, then click Activate.
After activation, you will see a new Akismet Anti-spam menu item in your Settings section. It will also prompt you to enter an API key, which is the next big step.
Step 2: Get Your Free Akismet API Key
Akismet needs an API key to talk to its spam database. Without it, the plugin will not filter anything. Here is how to grab your free key.
- Visit akismet.com and click Get a WordPress Key at the top of the page.
- Sign up for an Akismet account using your email address, or sign in with your WordPress.com account if you already have one.
- Choose the Personal plan (free for non-commercial sites) or pick a paid plan if you run a business site.
- Complete the checkout form. For the Personal plan, slide the price slider all the way left to $0/year.
- Akismet will email you a 12-character API key, or display it directly on the confirmation screen.
Tip: Copy the API key to your clipboard right away. You will paste it into WordPress in the next step.
Step 3: Enter the API Key and Activate Protection
Now that you have the API key, it’s time to connect Akismet to your site.
- In your WordPress dashboard, go to Settings › Akismet Anti-spam.
- Paste your API key into the field labeled Akismet API Key.
- Click Save Changes.
You should see a green checkmark and a message confirming that the API key is valid. From this moment on, every new comment will be checked against Akismet’s database before it appears anywhere on your site.
Step 4: Configure Akismet Settings
Akismet works fine out of the box, but a few settings tweaks can make it more accurate and faster. Here is what each option does.
Strictness Level
Under the Akismet settings page, you’ll see a strictness dropdown. The default setting catches most spam. If you want Akismet to be more aggressive, choose Strict. If you find that legitimate comments are getting flagged, switch back to Default.
Comment Form Privacy Notice
GDPR and similar privacy laws require you to inform visitors that their comment data is being processed. Akismet can add this notice automatically. Toggle on Display a privacy notice and the message will appear under your comment form.
Auto-Delete Old Spam
Spam comments pile up in your database over time. Enable Automatically delete spam older than 30 days to keep your WordPress database lean. I recommend keeping this on so your site stays fast.
Discard Options
You can choose to silently discard the worst spam (obvious junk) or to always send it to the spam folder for review. I prefer the second option so I can occasionally scan for false positives.
Save your changes and Akismet will now run with your customized rules.
Step 5: Monitor and Maintain Your Spam Filter
Akismet is mostly automatic, but a few minutes of attention each week will make it noticeably better at catching spam on your specific site.
- Review the spam queue weekly. Go to Comments › Spam and skim through what was caught. If you spot a legitimate comment, click Not Spam.
- Train the filter. Every time you mark a comment as spam or not-spam, Akismet learns from your decisions. Over time, it gets better at distinguishing real readers from bots on your site.
- Check your Akismet stats. The dashboard widget shows how many spam comments Akismet has blocked for you. It is oddly satisfying to see 4,000 spam messages trapped in a month.
- Empty spam periodically. Even with auto-delete enabled, doing a quick manual clean once a month keeps your database tidy.
After about three months of light maintenance, most sites see a major drop in spam reaching their actual comment queue.
Troubleshooting Common Akismet Issues
Even with a clean install, you might hit a few snags. Here are the problems I see most often and how to fix them.
The API Key Won’t Validate
Double-check that you copied the full 12-character key with no extra spaces. If it still fails, your server might be blocking outgoing connections to Akismet. Ask your hosting provider whether outbound HTTPS to rest.akismet.com is allowed.
You’re Still Getting Spam Comments
Make sure the API key is actually saved (look for the green checkmark). Switch the strictness setting to Strict. If spam keeps slipping through, check whether another plugin or theme is bypassing Akismet.
Legitimate Comments Are Marked as Spam
Switch the strictness to Default or Permissive. Always check your spam folder before bulk-deleting, and click Not Spam on any genuine comment to teach the filter.
Your API Key Got Suspended
Akismet suspends keys when it detects abuse or suspicious activity. Log into your Akismet account, check the notification email for the reason, and follow the instructions to reinstate the key or contact support.
Connection Timeout Errors
If your site is on shared hosting or behind a firewall, the API call may time out. Whitelist Akismet’s domains in your firewall and contact your host if the issue continues.
Frequently Asked Questions
How do I enable Akismet anti-spam protection?
Go to Plugins u0026gt; Add New in your WordPress dashboard, search for Akismet, click Install, then Activate. Next, navigate to Settings u0026gt; Akismet Anti-spam, paste your API key, and click Save Changes. Protection starts immediately.
Is Akismet anti-spam protection free?
Yes. Akismet offers a free Personal plan for non-commercial sites. Commercial sites need a paid plan starting around $9 per month. You choose your plan when signing up at akismet.com.
What does Akismet anti-spam do?
Akismet automatically checks every comment against a global spam database and uses machine learning to filter out junk, malicious links, and bot submissions before they appear on your site.
Is Akismet necessary?
If your site accepts comments or has contact forms, Akismet is highly recommended. Without it, you will spend hours deleting spam manually and risk SEO penalties from low-quality links.
Conclusion
Learning how to set up Akismet to fight comment spam is one of the highest-ROI tasks you can do for a WordPress site. You install one plugin, paste in one API key, and immediately cut the spam that would otherwise eat your time and damage your reputation.
Here is the quick recap of what you need to do. Install Akismet from the Plugins menu, create a free account at akismet.com to grab your API key, paste the key into Settings > Akismet Anti-spam, adjust the strictness and privacy settings, and spend a few minutes each week reviewing your spam queue to teach the filter.
If you have followed these steps, your site should already be catching the bulk of spam comments automatically. From here, the only ongoing task is to keep an eye on the spam folder and let Akismet learn what real readers look like on your blog. Within a month or two, the spam problem that used to overwhelm you should be largely invisible.