
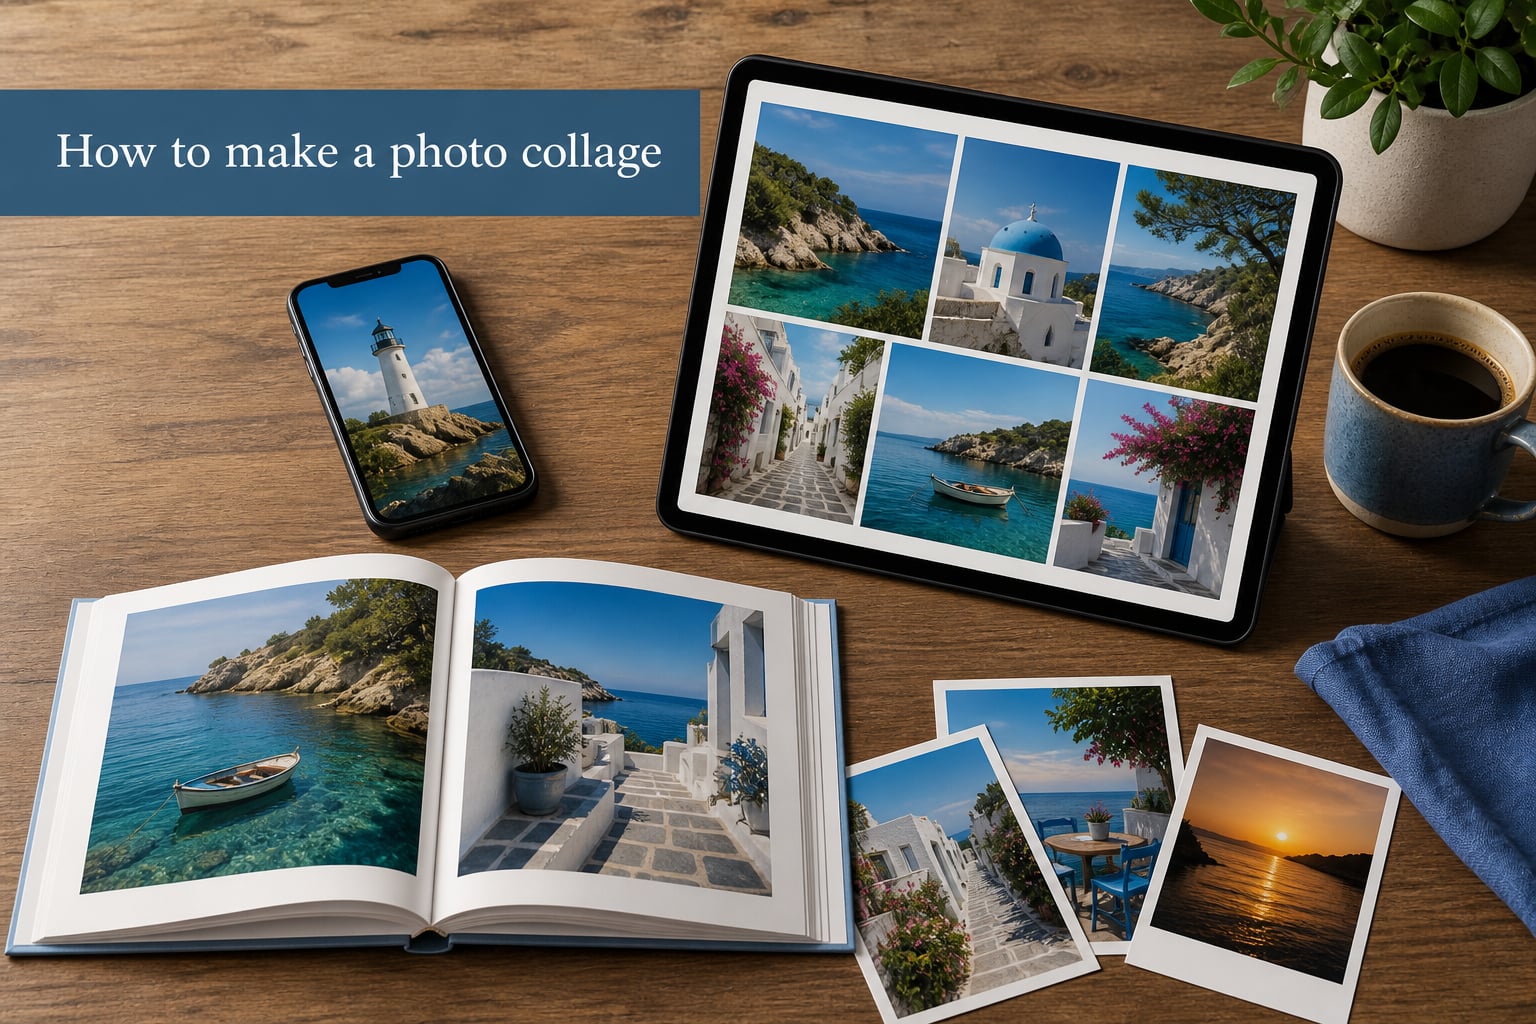
Learning how to make a photo collage is one of the simplest ways to turn a collection of photos into a single, eye-catching image. Whether you want to combine vacation photos for an Instagram post, create a birthday gift, or build a mood board for a project, a well-made collage tells a story that individual photos cannot.
In this guide, I will walk you through every method available in 2026 — from free online collage makers to built-in phone features, desktop tools, and even traditional physical collages. I have spent hours testing these tools and methods so you can pick the one that fits your needs without the guesswork.
You will also learn about collage layouts, design principles like spacing and color balance, how to export for print versus social media, and the common mistakes that ruin otherwise great collages. By the end, you will know exactly how to make a photo collage regardless of your device, budget, or experience level.
Table of Contents
What Is a Photo Collage?
A photo collage is a single image composed of multiple photographs arranged together on one canvas. Instead of showing photos one at a time, a collage lets you display several images simultaneously — combining them into a unified visual that tells a broader story.
Collages have been around for over a century. The concept started as a physical art form where artists cut and pasted photographs, paper, and fabric onto a single surface. Today, most people create digital collages using online tools and mobile apps, though the physical version remains popular for scrapbooking and craft projects.
There are two main approaches to combining photos. A grid collage arranges images in neat rows and columns, while a freeform collage lets you position photos anywhere on the canvas with overlapping and rotation for a more artistic feel. Each style serves a different purpose, and I cover both in detail below.
People make photo collages for countless reasons: social media posts, printed photo albums, wall art, holiday cards, event recaps, anniversary gifts, and business portfolios. The versatility is what makes this skill worth learning.
Types of Photo Collages
Before you start arranging photos, it helps to understand the main types of collages available. The layout you choose affects how your final image looks and feels, so picking the right style matters just as much as selecting the right photos.
Grid Layouts
A grid collage is the most structured type. Photos sit in evenly spaced rows and columns, similar to a spreadsheet or contact sheet. This style works well when all your photos have similar dimensions and you want a clean, organized look.
Grid layouts are ideal for event recaps, before-and-after comparisons, and social media posts where uniformity matters. Most collage makers offer pre-built grid templates where you simply drop photos into each cell.
Freeform and Creative Collages
Freeform collages throw the rules out the window. You can place photos anywhere, rotate them at any angle, overlap images, and layer them with backgrounds and decorative elements. This style feels more like a scrapbook page or an artistic mood board.
I recommend freeform layouts for personal projects like family memory boards, travel journals, and creative social media content. The flexibility lets you express personality, but it also means you need a good eye for composition to avoid a cluttered mess.
Shape Collages
Shape collages arrange your photos to form a recognizable outline — a heart, a number, a letter, a country map, or any custom silhouette. The individual photos fill the shape like a mosaic, creating a striking visual from a distance while revealing individual pictures up close.
These are popular for anniversary gifts (heart shapes with couple photos), milestone birthdays (number shapes with life photos), and team celebrations (company logos filled with team photos). Some tools automate the entire process, while others require manual arrangement.
Carousel Collages for Social Media
Instagram carousels are a special type of collage where multiple images appear in a swipeable post rather than a single combined image. While technically a slideshow rather than a true collage, carousel collages are designed with the same storytelling mindset.
Many collage apps now offer Instagram-specific templates sized for the 1:1 or 4:5 aspect ratio that the platform prefers. These templates ensure your collage displays correctly without cropping or distortion when posted.
How to Make a Photo Collage: Step-by-Step
This step-by-step process works across most online collage makers and mobile apps. I have broken it down into five clear stages so you can follow along regardless of which tool you choose.
Step 1: Choose Your Tool
Start by deciding where you want to create your collage. Free online collage makers like Canva, Adobe Express, and Pixlr work in your browser with no installation required. Mobile apps like Google Photos and dedicated collage apps work directly on your phone. Desktop software like Photoshop gives you the most control but has a steeper learning curve.
For beginners, I recommend starting with a browser-based tool. You get access to templates, a drag-and-drop editor, and instant exports without any software downloads. Pick a tool, create an account if required (Pixlr works without signup), and open a new project.
Step 2: Pick a Layout or Template
Once your canvas is open, browse the available templates or grid layouts. Most tools organize templates by category — social media sizes, print sizes, grid patterns, and themed designs. Select one that matches your intended output.
If you are making an Instagram post, choose a 1:1 square template. For a printed poster, look for larger aspect ratios like 4:6 or 5:7. Starting with a template saves time because the spacing, borders, and proportions are already set up for you.
Step 3: Upload Your Photos
Upload the photos you want to include in your collage. Most tools let you drag and drop images from your computer or pull them from cloud storage. On mobile, you can select multiple photos from your camera roll at once.
Take a moment to choose your best photos before uploading. A common mistake is cramming too many images into one collage. I have found that five to eight photos usually produce the cleanest results. Fewer photos mean each one gets enough space to stand out.
Step 4: Arrange and Customize
Drag your photos into the layout cells or onto the canvas. In a grid template, each cell accepts one photo. In freeform mode, you position each photo manually. Adjust the size, rotation, and position until the arrangement looks balanced.
Now customize the details. Adjust border thickness and color, change the spacing between photos, and apply filters if you want a consistent look across all images. Many tools let you round corners, add drop shadows, or swap photos between cells with a single click.
This is also the stage to add text, stickers, or background colors. Type a title, add a date, or include a short caption. Keep text minimal — the photos should be the focus, not the typography.
Step 5: Export and Share
When your collage looks right, export it. Most tools offer several file format options. Choose JPEG for general use and social media, PNG if you need a transparent background, and PDF if you plan to print the collage professionally.
Check the resolution before exporting. For screen use, 72 to 150 DPI is fine. For printing, aim for at least 300 DPI to avoid a blurry result. Download your file, then share it directly to social media, send it to a printer, or save it to your photo album.
How to Make a Photo Collage on Your Phone
Creating a photo collage on your phone is fast and convenient because your camera roll is right there. The process differs slightly between iPhone and Android, so I have broken down the steps for each platform below.
How to Make a Photo Collage on iPhone
On an iPhone, you have several options. The simplest method uses Google Photos, which has a built-in collage feature: open the app, select two to nine photos, tap the plus icon, and choose Collage. Google Photos automatically arranges your selected images into a grid and lets you save the result.
If you prefer Apple-native options, the Photos app on iOS does not have a dedicated collage button, but you can use the Shortcuts app to build a collage automation. Alternatively, free apps like Pic Collage and Layout from Instagram are purpose-built for iPhone collages with templates, stickers, and text tools.
For a no-app method, use Siri Shortcuts. Search for a collage shortcut in the Gallery, install it, and run it from your photo selection. This keeps everything on-device without uploading your photos to any server.
How to Make a Photo Collage on Android
Android phones offer similar options. Google Photos works identically on Android — select your photos, tap the create icon, and choose Collage. The result saves directly to your library in seconds.
For more control, dedicated collage apps on Google Play offer grid templates, filters, stickers, and text tools. Popular options include Collage Maker and Photo Grid, both of which support free-form layouts and social media export sizes.
Some Android manufacturers include built-in collage features in their native gallery apps. Samsung Gallery, for example, lets you select multiple photos and create a collage directly without installing anything. Check your phone’s gallery app for a collage or create option.
Making a Collage Without an App
You can make a photo collage without installing any app on your phone. Open your mobile browser, visit an online collage maker like Canva or Pixlr, and use the web version just as you would on a computer. The mobile-optimized interfaces support touch gestures for dragging and resizing photos.
This approach is great if you have limited storage, want to avoid ads that free apps display, or prefer not to create an account. Pixlr specifically processes photos in your browser, meaning your images never get uploaded to a remote server.
Choosing the Right Collage Tool
With so many options available, choosing the right collage tool comes down to what you need. I have tested the most popular free and paid tools and broken down the key differences below.
Free Online Collage Makers
Canva is the most popular free online collage maker, and for good reason. It offers thousands of templates, a drag-and-drop editor, AI-powered tools, and collaboration features. The free plan is generous, though some premium templates and elements require a paid subscription.
Adobe Express provides a clean three-step process with Adobe Stock integration and animation support. Pixlr stands out for being completely free with no signup required — your photos stay in your browser. PhotoCollage.com offers manual arrangement and auto-collage options with text, shapes, and stickers.
For a no-frills experience, Google Photos is the fastest option. Select photos, tap one button, and you get a grid collage instantly. It lacks customization, but for quick results, nothing beats it.
Mobile Collage Apps
On mobile, the landscape shifts toward dedicated apps. Pic Collage and Layout from Instagram are reliable choices for iPhone users. Android users have Collage Maker and Photo Grid, both with strong template libraries and editing tools.
When choosing a mobile app, consider ad frequency. Many free collage apps are flooded with ads between every action, which is a top complaint from users on forums. Some users are willing to pay a small fee or subscription to remove ads entirely.
Privacy and Ad-Free Considerations
Privacy is an important factor that many guides overlook. When you upload photos to an online collage maker, those images are stored on the tool’s servers. If privacy matters to you — and it should — look for browser-based tools like Pixlr that process images locally without uploading them.
Forum users frequently mention that ad-free experiences and no-signup requirements are top priorities. If you value a clean, distraction-free workflow, prioritize tools that do not require account creation and offer ad-free environments even in their free tiers.
Tips for Great Photo Collages
Knowing the technical steps is only half the battle. The difference between a mediocre collage and a great one comes down to design. These tips address the design principles that most tutorials skip entirely.
Composition and Balance
Aim for visual balance across your collage. If one side feels heavier than the other, the eye is drawn unevenly and the result looks off. Distribute large and small photos so that no single area overwhelms the rest of the layout.
Place your strongest photo in a focal position — usually the center or the largest cell in a grid. Surround it with supporting images that complement rather than compete with it. This creates a natural reading order for the viewer’s eye.
Color Coordination
Photos with clashing color palettes make a collage feel chaotic. If your photos have wildly different color tones, apply a consistent filter across all of them. This unifies the images and gives the collage a polished, intentional look.
For themed collages, choose photos with a shared color story. A travel collage might emphasize blues and greens from ocean and landscape shots. A wedding collage could lean into warm tones. Color consistency is what separates amateur collages from professional ones.
Spacing and Borders
Consistent spacing between photos is one of the easiest ways to make a collage look professional. Most tools let you set a uniform gap width between all cells. Stick to one spacing value throughout — mixing wide and narrow gaps creates a messy appearance.
Borders also matter. Thin white borders between photos create a classic, clean look. Colored borders can tie into a theme but should be used sparingly. Avoid thick borders unless you are going for a specific retro or polaroid aesthetic.
Choosing the Right Number of Photos
More photos do not make a better collage. In fact, the opposite is often true. I recommend five to eight photos for most layouts. For a simple two-photo comparison, even two images can create a powerful collage.
Large collages with 12 or more photos can work for contact-sheet-style grids, but each individual photo becomes small and harder to see. Think about where your collage will be viewed — on a phone screen, fewer photos is almost always better.
Printing and Exporting Your Collage
How you export your collage depends on what you plan to do with it. Social media, digital sharing, and printing each have different requirements for file format and resolution.
Best File Formats
JPEG is the most versatile format for collages. It works everywhere, produces small file sizes, and is accepted by all social media platforms. Use JPEG for Instagram, Facebook, text messages, and email.
PNG is better when you need a transparent background or higher quality with no compression artifacts. PDF is the right choice for professional printing because it preserves vector text and high-resolution images in a format that print shops expect.
Resolution for Printing
Resolution is the single most important factor for printed collages. For print, you need at least 300 DPI (dots per inch). Anything lower will look pixelated and blurry when printed, even if it looks fine on a screen.
Before you export, check the pixel dimensions of your canvas. A standard 8×10 inch print at 300 DPI requires a canvas of 2400 by 3000 pixels. Larger prints need proportionally more pixels. When in doubt, always export at the highest resolution your tool allows.
Printing at Home Versus Professional
Home printing works for small collages up to 8×10 inches if you have a decent photo printer. For larger prints like posters or canvas wraps, use a professional printing service. They have the equipment to produce sharp, color-accurate results at scale.
Canvas prints are a popular way to display collages as wall art. Upload your high-resolution collage file to a canvas printing service, choose your size, and they handle stretching and mounting. These make excellent personalized gifts.
Common Mistakes to Avoid
After testing dozens of collages, I have identified the most frequent mistakes people make. Avoiding these will instantly improve your results.
Using too many photos is the number one issue. Cramming 20 images into a small canvas makes each photo too small to appreciate. Edit ruthlessly — include only the photos that contribute to your story.
Inconsistent spacing and borders are another common problem. When gaps between photos vary in width, the collage looks sloppy. Set one spacing value and apply it universally.
Forgetting to check resolution before printing leads to blurry, disappointing results. Always verify that your canvas is at least 300 DPI for print projects. What looks sharp on a phone screen can look terrible on paper.
Finally, ignoring color consistency makes collages feel disjointed. If your photos have different lighting and color temperatures, apply a uniform filter to bring them together. This simple step transforms the overall quality.
Creative Photo Collage Ideas
Stuck on what to make? Here are some collage ideas organized by occasion to spark your creativity.
For travel memories, combine your best landscape shots with a few detail photos — local food, street signs, or small moments. A travel collage tells a richer story than a single postcard view.
For weddings and anniversaries, use a heart-shaped collage filled with couple photos across different years. Shape collages are particularly meaningful for milestone celebrations because the form reinforces the emotion.
For birthdays, arrange photos in the shape of the person’s age number. Fill it with pictures from throughout their life. This makes a memorable card or party decoration.
For holidays, create themed collages with consistent color palettes — red and green for Christmas, orange and black for Halloween, pastels for Easter. Use these for cards, social media posts, or digital photo frames.
For professional use, build a portfolio collage that showcases your best work in a clean grid. Photographers, designers, and event planners use portfolio collages to present a body of work in a single image.
FAQs
How to turn photos into a collage on iPhone?
Open Google Photos on your iPhone, select two to nine photos, tap the plus icon, and choose Collage. The app arranges your photos into a grid automatically. Alternatively, use a free app like Pic Collage or Layout from Instagram for more customization options, or visit an online collage maker like Canva in Safari.
How to collage multiple photos into one photo?
Use an online collage maker or mobile app to combine multiple photos into a single image. Choose a grid or freeform layout, upload your photos, arrange them on the canvas, customize borders and spacing, then export the finished design as one JPEG or PNG file.
Is there a free photo collage maker?
Yes. Canva, Adobe Express, Pixlr, and PhotoCollage.com all offer free online collage making. Pixlr requires no signup and processes photos in your browser for privacy. Google Photos also creates instant grid collages for free on both iPhone and Android.
Can I make a photo collage on my phone?
Yes. On iPhone, use Google Photos, Pic Collage, or Layout from Instagram. On Android, use Google Photos, your native gallery app (Samsung Gallery has a built-in collage feature), or a dedicated collage app from Google Play. You can also use browser-based collage makers without installing anything.
How do I print a photo collage?
Export your collage as a PDF or high-resolution JPEG at 300 DPI or higher. For small prints up to 8×10 inches, a home photo printer works well. For posters, canvas wraps, or large-format prints, use a professional printing service and upload your high-resolution file.
What is the best free photo collage app without ads?
Google Photos is the best ad-free option because it creates instant collages with no advertisements. Pixlr is another strong choice because it runs in your browser with no app installation, no signup, and no ads. For mobile, most free apps include ads, but upgrading to a paid version removes them.
Conclusion
Knowing how to make a photo collage gives you a creative tool that works for social media, gifts, wall art, and memory keeping. The process is straightforward: pick a tool, choose a layout, upload your photos, arrange and customize, then export in the right format for your purpose.
Start simple with a free online collage maker or the built-in features on your phone. As you get comfortable, experiment with different layout types, apply design principles like consistent spacing and color coordination, and avoid the common mistakes covered above.
The best collage is the one that tells your story. Grab your favorite photos, open any of the free tools mentioned in this guide, and start creating your first photo collage today.