
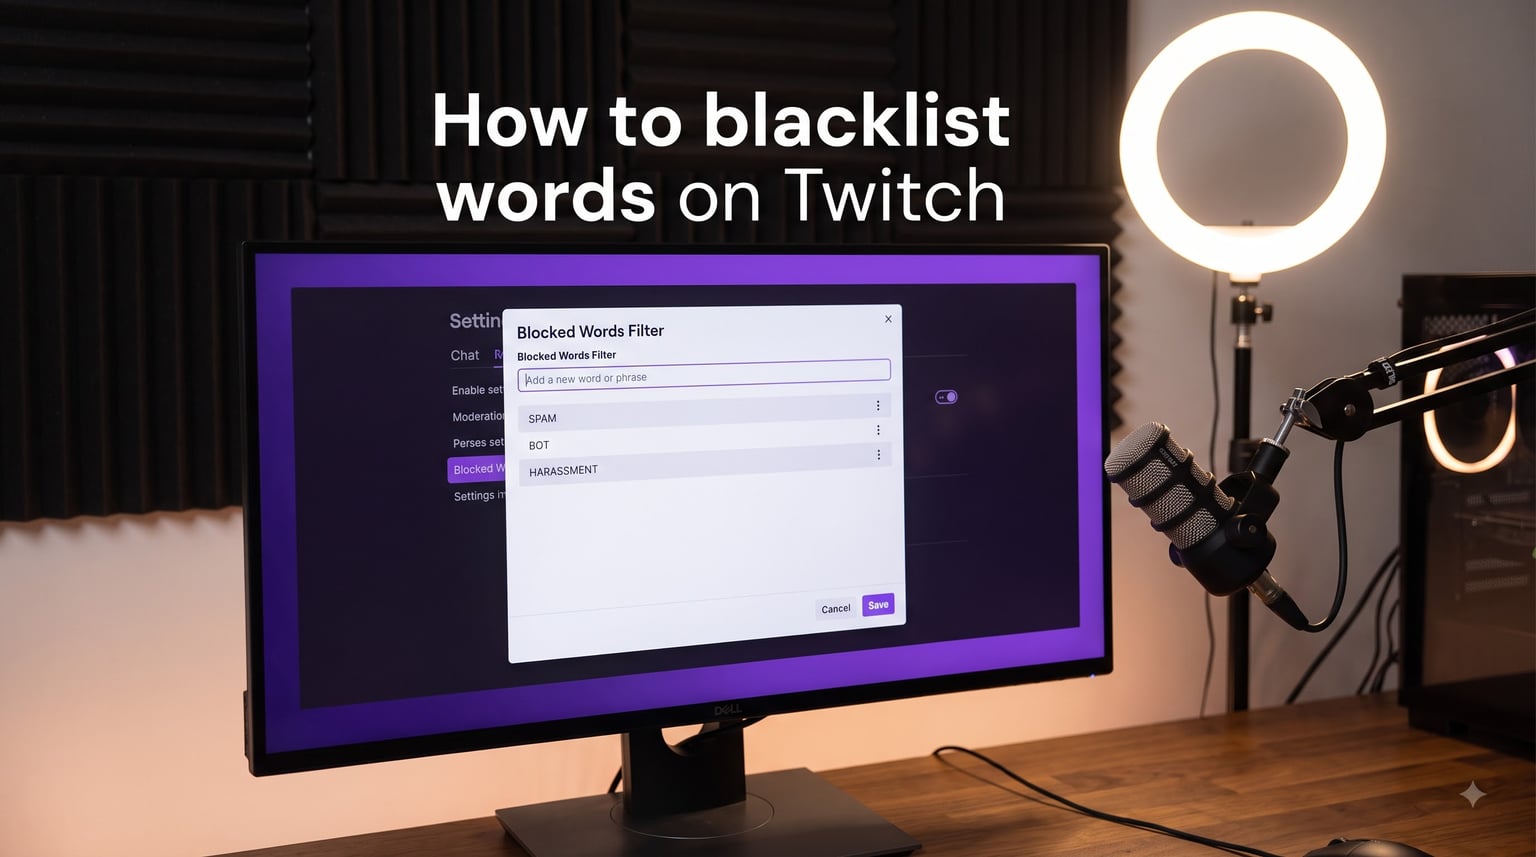
Learning how to blacklist words on Twitch is one of the most important steps you can take to protect your channel and build a welcoming community. Whether you are a brand-new streamer dealing with spam bots or an established creator trying to keep chat clean, Twitch gives you built-in moderation tools that filter out unwanted language automatically.
The process is simpler than most people think. You open your Creator Dashboard, navigate to the moderation settings, and add words or phrases to a list called Blocked Terms and Phrases. Once added, any chat message containing those words gets hidden from view before anyone sees it. You can also enable AutoMod for automated filtering and use wildcards to catch variations of offensive words.
In this guide, I will walk you through every method available, from basic desktop setup to mobile moderation, wildcard tricks, moderator workflows, and what speech can actually get you suspended. I have spent years managing Twitch channels, and I want to share what actually works so you do not have to learn the hard way.
Table of Contents
- Quick Answer: How to Blacklist Words on Twitch
- Step-by-Step: How to Blacklist Words on Twitch (Desktop)
- How to Blacklist Words on Twitch Mobile
- Understanding AutoMod and Blocked Terms
- Using Wildcards to Catch Word Variations
- How to Blacklist Words on Twitch as a Moderator
- Native Twitch Tools vs Third-Party Chatbots
- Ready-to-Copy Blocked Terms List for Twitch
- What Words and Speech Get You Banned on Twitch
- Shield Mode: Your Emergency Moderation Button
- FAQs
- Conclusion
Quick Answer: How to Blacklist Words on Twitch
To blacklist words on Twitch, you need to add them to your Blocked Terms and Phrases list through the Creator Dashboard. Here is the short version of the steps:
1. Open your Creator Dashboard from your profile icon in the top-right corner.
2. Click on Settings, then select Moderation from the left sidebar.
3. Scroll down to Blocked Terms and Phrases and toggle it on.
4. Type the word or phrase you want to block and press Enter to add it.
5. Enable AutoMod and choose a filtering level for automatic detection.
That covers the basics. Now let me walk you through each step in detail, plus all the advanced options that most guides skip.
Step-by-Step: How to Blacklist Words on Twitch (Desktop)
This is the primary method for adding blocked terms on a desktop or laptop computer. It works the same whether you use Chrome, Firefox, Edge, or Safari. I recommend following along in another tab so you can set things up as you read.
Step 1: Open the Creator Dashboard
Go to twitch.tv and log into your account. Click your profile picture in the top-right corner of the screen. A dropdown menu will appear with several options. Select Creator Dashboard from that menu.
If you have multiple channels, make sure you are on the correct one before proceeding. The Creator Dashboard gives you access to analytics, stream settings, and all moderation controls for that specific channel.
Step 2: Navigate to Moderation Settings
Once you are in the Creator Dashboard, look at the left sidebar. You will see a gear icon labeled Settings. Click on it, then select Moderation from the submenu that appears.
This page contains all of your chat moderation tools in one place. You will find AutoMod settings, Blocked Terms and Phrases, Shield Mode, and chat filter options here.
Step 3: Enable and Access Blocked Terms
Scroll down until you see the section called Blocked Terms and Phrases. If it is not already turned on, toggle the switch to enable it. This feature allows you to manually add specific words and phrases that will be automatically filtered from your chat.
When enabled, you will see a text box where you can enter terms. You can add individual words, multi-word phrases, or even use wildcards to catch variations.
Step 4: Add Your Blocked Words
Click the text box and type the word or phrase you want to block. Press Enter or click the Add button to add it to your list. The term immediately becomes active, meaning any future chat message containing that exact word or phrase will be blocked.
You can add as many terms as you need. Twitch allows up to 10,000 blocked terms per channel, which is more than enough for most communities. Terms are not case-sensitive, so adding a word in lowercase will catch all capitalization variations.
Step 5: Enable AutoMod for Smart Filtering
Scroll back up to the AutoMod section on the same Moderation page. Toggle AutoMod on and select a filtering level from 1 through 4. Level 1 is the most lenient, while Level 4 catches the most language.
AutoMod works differently from manual Blocked Terms. Instead of matching exact words, it uses machine learning to detect potentially harmful messages based on categories like discrimination, sexually explicit language, hostility, and profanity. Messages flagged by AutoMod are held for review rather than deleted outright, so you or your mods can approve or deny them.
Step 6: Test Your Filters
After adding terms and enabling AutoMod, I recommend testing your setup. Ask a friend or use a secondary account to type one of your blocked words in chat. The message should disappear instantly. If it does not, double-check that you spelled the term correctly and that the toggle is in the on position.
Testing is especially important after enabling wildcards, since incorrect wildcard placement can accidentally block innocent words.
How to Blacklist Words on Twitch Mobile
Many streamers and moderators manage their channels from a phone. Twitch does not provide full moderation settings inside the main mobile app, but you can access them through a mobile browser. Here is how I do it.
Open your preferred mobile browser, such as Chrome or Safari. Go to twitch.tv and log into your account. If the site redirects you to the app, cancel the redirect and stay in the browser. Tap your profile icon, then select Creator Dashboard.
From there, tap Settings, then Moderation. The interface will be compressed for mobile but all the same options are available. Scroll to Blocked Terms and Phrases, toggle it on, and add your words just as you would on desktop.
The mobile Creator Dashboard can be a bit sluggish compared to desktop, so I recommend adding large batches of terms on a computer when possible. Use mobile for quick single-term additions while you are streaming on the go.
Understanding AutoMod and Blocked Terms
Twitch offers two distinct filtering systems that work together: AutoMod and Blocked Terms and Phrases. Understanding the difference helps you set up effective moderation without gaps.
What AutoMod Does
AutoMod is Twitch’s automated message filtering system. It analyzes every message sent in your chat and compares it against a trained language model. When it detects potentially harmful content, it holds the message instead of posting it publicly.
You choose from four filtering levels. Level 1 blocks the most severe language like hate speech and severe profanity. Level 4 catches a much broader range of words including mild insults. You can also customize which categories AutoMod monitors: discrimination, sexually explicit language, hostility, and profanity.
Held messages go into a review queue. Your moderators can approve them if they are harmless or deny them if they violate your rules. This review system prevents false positives from silencing legitimate chatters.
What Blocked Terms Does
Blocked Terms and Phrases is your manual word filter. Unlike AutoMod, which uses machine learning, Blocked Terms does exact matching against a list you control. If someone types a word on your list, the message is blocked instantly with no review queue.
This makes Blocked Terms the better tool for blocking specific words that AutoMod might miss. For example, if a particular scam link or bot phrase keeps appearing in your chat, adding it to Blocked Terms stops it cold.
Public vs Private Blocked Terms
When you add a blocked term, Twitch asks whether you want it to be public or private. This choice matters more than most streamers realize.
Public blocked terms are visible to anyone in your chat who checks the channel’s blocked words list. Private blocked terms are only visible to you and your moderators. I recommend using private for offensive or sensitive terms that you do not want to surface publicly. Use public for general chat rules like banned links or common spam phrases so your community knows what to avoid.
One important note: even though private terms are hidden from regular viewers, the terms themselves still function the same way. Messages containing private blocked terms are still filtered just like public ones.
Using Wildcards to Catch Word Variations
Wildcards are one of the most powerful features in Twitch’s Blocked Terms system, and also one of the most misunderstood. A wildcard uses an asterisk character (*) to match any sequence of letters in place of the asterisk.
How Wildcards Work
When you add an asterisk to a blocked term, Twitch treats it as a flexible match point. The asterisk can represent zero or more characters. This lets you catch variations of a word without listing every possible spelling.
For example, if you add the term “hate*” to your blocked terms, Twitch will also block messages containing “hateful,” “hated,” “hater,” and any other word that starts with “hate.” The asterisk catches everything that follows.
Wildcard Positioning Matters
Where you place the asterisk changes what it catches. Through testing in my own channels and from community discussions on Reddit, here is what I have learned about positioning.
Placing the asterisk at the start of a term, like “*hate”, catches words that end with “hate” such as “ahate” or “bhate.” Placing it at the end, like “hate*”, catches words that start with “hate.” You can also place asterisks on both sides: “*hate*” catches any word containing that string anywhere.
I recommend testing wildcard terms carefully. An overly broad wildcard like “*cat*” would block innocent words like “category” and “communication.” Start narrow and expand only when you see evasion attempts.
Common Wildcard Mistakes to Avoid
The biggest mistake I see is using wildcards that are too broad. A single-character wildcard pattern can accidentally block hundreds of innocent words. Always test new wildcards with a secondary account before relying on them during a live stream.
Another common issue is forgetting that wildcards do not work across word boundaries. If you add “bad*word” as a blocked term, it will match “badword” and “badXYZword” but not “bad word” with a space. Add the spaced version separately if you need to catch both.
How to Blacklist Words on Twitch as a Moderator
If you are a moderator rather than the channel owner, your workflow is slightly different. Channel owners can access the full Creator Dashboard, but moderators use a dedicated interface called Mod View.
Accessing Mod View
When you are appointed as a moderator for a Twitch channel, you gain access to Mod View. To open it, click the sword icon next to the chat box on the channel you moderate. This opens a separate dashboard designed specifically for moderation tasks.
Mod View gives you real-time tools for managing chat, including the ability to add and remove blocked terms. Not all moderators have this permission, though. The channel owner must grant you the Manage Blocked Terms permission through the roles and permissions settings.
Adding Terms as a Mod
In Mod View, locate the moderation settings panel. You will find the Blocked Terms section there, just like in the Creator Dashboard. Adding terms works exactly the same way: type the word, press Enter, and it goes live immediately.
Many experienced mods prefer using Mod View over the regular chat interface because it puts all moderation tools in one place. You can monitor the AutoMod queue, manage blocked terms, timeout users, and delete messages without switching tabs.
Mod Coordination Tips
If you are part of a larger mod team, coordination is essential. Agree on which terms to add and who has permission to add them. Having multiple mods adding terms simultaneously can lead to duplicates and confusion.
I recommend keeping a shared document, like a Discord channel or Google Sheet, where your team can suggest new blocked terms. The head mod or channel owner can then review and add them in batches. This keeps your blocked terms list organized and prevents well-meaning mods from adding overly broad wildcards.
Native Twitch Tools vs Third-Party Chatbots
Twitch’s built-in moderation tools are solid, but many streamers augment them with third-party chatbots. Understanding the strengths of each approach helps you build a layered moderation strategy.
Native Twitch Moderation Strengths
Twitch’s built-in tools include AutoMod, Blocked Terms, chat filters, and Shield Mode. These tools run on Twitch’s servers, which means they work even when your stream is offline and they do not require any additional setup or software.
The biggest advantage of native tools is reliability. Because they are built into the platform, they cannot go offline due to server issues the way third-party bots sometimes do. They also have access to Twitch’s internal data, which makes AutoMod’s language detection more accurate than most bot-based filters.
What Third-Party Bots Add
Popular chatbots like Nightbot, StreamElements, and Streamlabs Cloudbot offer their own word filtering features. These bots can catch words and phrases that slip past AutoMod, and they offer features Twitch does not provide natively.
For example, Nightbot lets you create custom filter lists with spam protection patterns. StreamElements includes a blacklist filter and allows regex-based matching for advanced filtering. Some bots also handle link blocking, caps filter enforcement, and repeat message detection.
Which Should You Use?
I recommend using both. Start with Twitch’s native tools as your foundation: enable AutoMod, add your core blocked terms, and turn on Shield Mode for emergencies. Then add a chatbot like Nightbot or StreamElements as a second layer of defense.
The reason for layering is simple. Bots can go offline, and AutoMod occasionally misses things. With both systems running, a failure in one does not leave your chat unprotected. Just be careful not to duplicate the exact same terms in both systems, since that can create conflicting behavior.
Ready-to-Copy Blocked Terms List for Twitch
One of the most common questions I see in forums is whether there is a copy-paste list of blocked terms. Twitch does not publish an official banned words list, so communities have built their own. Below are categories of terms that most channels should consider blocking.
I want to be clear: this is not an exhaustive list, and you should tailor it to your community’s standards. Some channels allow profanity, others do not. Add what makes sense for your audience.
Spam and Scam Patterns
These are phrases commonly used by spam bots and scammers in Twitch chat. Add them to your Blocked Terms to reduce automated spam:
Common scam patterns include variations of “free followers,” “visit my channel,” “check my profile,” and crypto or gambling referral links. Use wildcards to catch variations, since bot operators constantly tweak their wording.
Hate Speech and Harassment Terms
Twitch’s Community Guidelines prohibit hate speech based on race, gender, sexual orientation, disability, and religion. While AutoMod catches much of this automatically, adding specific slurs to Blocked Terms provides a second layer of protection.
I will not list specific slurs here, but you know the ones relevant to your community. The key is to add both the exact terms and wildcard variations to catch creative spellings designed to evade filters.
Common Profanity (Optional)
Some channels welcome colorful language, others want a family-friendly environment. If you want to block profanity, AutoMod’s profanity filter handles most of it automatically. For specific words AutoMod misses, add them to Blocked Terms individually.
Remember that AutoMod levels affect profanity sensitivity. Level 1 allows most mild profanity through. Level 4 is much stricter. Adjust your level based on your community standards rather than manually adding hundreds of words.
What Words and Speech Get You Banned on Twitch
There is an important distinction between words you block in your own chat and words that Twitch itself bans platform-wide. Understanding this difference can save your channel from suspension.
Hateful Conduct
Twitch’s Hateful Conduct policy prohibits speech that promotes hatred based on protected characteristics including race, ethnicity, gender identity, sexual orientation, disability, and religion. Using slurs or dehumanizing language against any group can result in an immediate suspension.
What trips up many streamers is that context does not always matter. Even if you are quoting someone or reading a chat message aloud, using certain slurs on stream can trigger enforcement action. I have seen creators receive multi-day suspensions for language they thought was acceptable in context.
Harassment and Threats
Targeted harassment of any individual is against Twitch’s Community Guidelines. This includes repeated personal attacks, doxxing (sharing private personal information), and threats of violence. Even joke threats can be taken seriously by Twitch’s moderation team.
Doxxing is treated with particular severity. Sharing someone’s real name, address, phone number, or other private information without consent can result in a permanent ban on your first offense.
Spam and Scams
Promoting scams, fake giveaways, or fraudulent schemes violates Twitch’s Terms of Service. This includes participating in follow-for-follow schemes, promoting counterfeit goods, or advertising gambling sites to minors.
Spam bots that flood chat with repetitive messages can also get your channel flagged if Twitch’s automated systems detect unusual activity originating from your community.
Real-World Consequences
Several well-known streamers have received suspensions for language used on stream. These cases serve as reminders that Twitch enforces its rules consistently regardless of channel size. Suspensions can range from 24 hours to permanent bans depending on severity and prior history.
If you receive a suspension, you can submit an appeal through Twitch’s support page. Appeals are reviewed by human staff, though response times vary. Having your own chat moderation tools in place demonstrates good faith and can support your case during an appeal.
Shield Mode: Your Emergency Moderation Button
Shield Mode is a relatively recent addition to Twitch’s moderation toolkit. Think of it as a panic button for when your chat gets overwhelmed by trolls, raids, or coordinated harassment.
When you activate Shield Mode, Twitch immediately applies a set of strict moderation rules across your channel. This includes slowing down chat, requiring email verification for new accounts, blocking messages from suspicious accounts, and increasing AutoMod sensitivity.
You can activate Shield Mode from the Creator Dashboard under Settings, then Moderation. You can also configure which protections activate when Shield Mode turns on. I recommend setting this up before you need it, so that when a troll raid hits, you can flip one switch instead of scrambling through settings.
Shield Mode can be toggled on and off instantly. Once the situation is under control, simply deactivate it and your chat returns to normal moderation levels. Mods with the appropriate permissions can also activate Shield Mode, which is useful if the streamer is mid-broadcast and cannot navigate menus.
FAQs
How do I ban specific words on Twitch?
Open your Creator Dashboard, go to Settings u0026gt; Moderation, and scroll to Blocked Terms and Phrases. Toggle the feature on, type the word you want to block in the text box, and press Enter. The word is immediately filtered from your chat. You can add up to 10,000 terms per channel.
How to ban words on Twitch as a mod?
Open Mod View by clicking the sword icon next to the chat box on the channel you moderate. If the channel owner has granted you the Manage Blocked Terms permission, you can add and remove blocked terms directly from the moderation panel in Mod View. The process is the same as in the Creator Dashboard.
How to censor words on Twitch chat?
Enable AutoMod in your Creator Dashboard under Settings u0026gt; Moderation. AutoMod automatically detects and holds messages containing potentially harmful language for moderator review. You can also manually add specific words to your Blocked Terms list for instant filtering. Combine both tools for the best coverage.
Can you use wildcards in Twitch blocked terms?
Yes. Add an asterisk (*) to any blocked term to create a wildcard match. Placing the asterisk at the end, like hate*, catches words starting with hate such as hateful or hater. Placing it at the start, like *hate, catches words ending with hate. Test wildcards carefully to avoid blocking innocent words.
What is the difference between public and private blocked terms?
Public blocked terms are visible to anyone who views your channel’s blocked words list. Private blocked terms are only visible to you and your moderators. Both types filter messages identically. Use private for sensitive or offensive terms you do not want displayed publicly, and public for general chat rules.
What words can get you banned on Twitch?
Twitch prohibits hateful conduct, harassment, threats of violence, doxxing, and spam. Using slurs based on race, gender, sexual orientation, disability, or religion can result in immediate suspension. Even quoting offensive language in context can trigger enforcement. Suspensions range from 24 hours to permanent bans.
Conclusion
Knowing how to blacklist words on Twitch is essential for any streamer or moderator who wants to build a safe and welcoming community. The process comes down to three core tools: Blocked Terms for manual word filtering, AutoMod for smart automated detection, and wildcards for catching word variations that evade exact matching.
Start by enabling AutoMod at a level that fits your community, then add your most important blocked terms manually. Use wildcards to handle evasions, but test them carefully. If you have a mod team, grant them the right permissions and coordinate through Mod View. For extra protection, add a third-party chatbot like Nightbot as a backup layer.
Remember that your own conduct on stream matters just as much as your chat filters. Twitch enforces its Community Guidelines strictly, and even accidental use of prohibited language can lead to suspensions. Set up Shield Mode before you need it, keep your appeal options in mind, and review your moderation settings regularly as your channel grows.
With these tools in place, you can focus on what actually matters: creating great content and connecting with your community without constantly worrying about trolls and spam.