
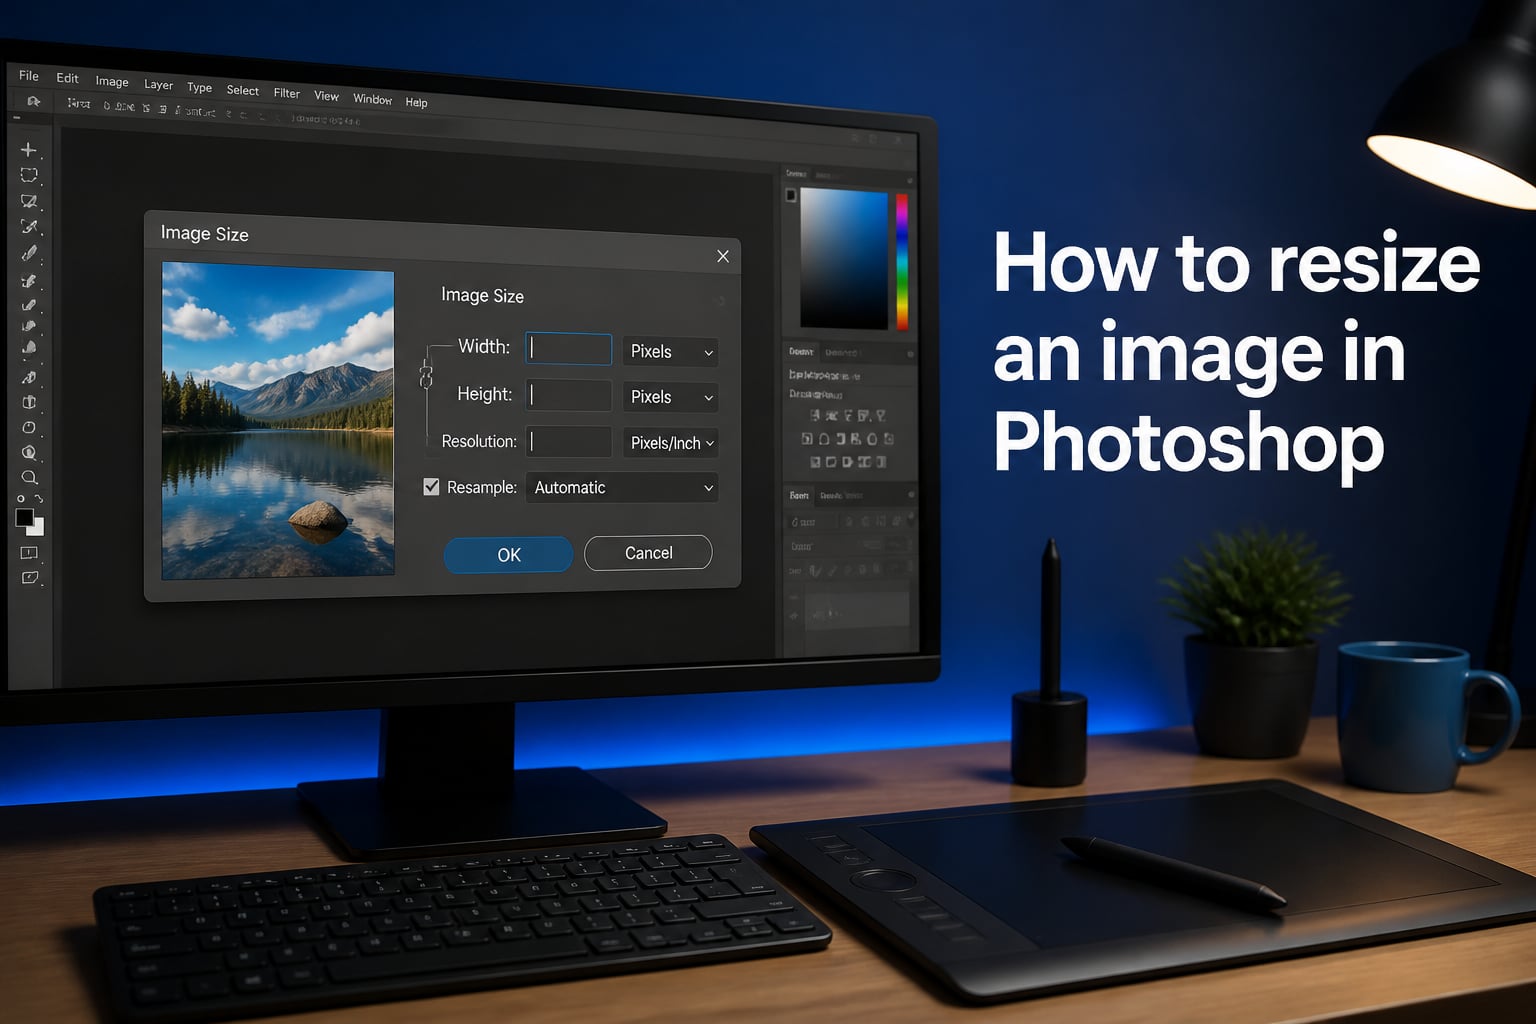
Resizing an image in Photoshop is one of the first skills every photo editor needs to learn, and it is simpler than most people think. Whether you are prepping photos for a website, scaling artwork for print, or fitting a profile picture to specific dimensions, Photoshop gives you several tools to get the job done. Our team has spent years working in Photoshop across web design, photography, and social media projects, and we have broken down every method into clear, actionable steps. By the end of this guide, you will know exactly how to resize an image in Photoshop using the Image Size dialog, the Transform tool, and batch processing for multiple files at once.
We will also cover how to resize without losing quality, what resolution settings to use for different platforms, and troubleshooting fixes for when Photoshop will not let you resize. If you are preparing images for social media, you might also find our Instagram carousel image size guide helpful for getting exact pixel dimensions.
Table of Contents
- Quick Answer: How to Resize an Image in Photoshop
- How to Resize an Image in Photoshop (Image Size Method)
- How to Resize a Layer or Object with Transform Tool
- How to Resize Without Losing Quality
- Understanding Resolution (PPI) vs Dimensions
- Which Resizing Method Should You Use?
- Keyboard Shortcuts Reference
- Troubleshooting: Why Can’t I Resize an Image in Photoshop?
- How to Resize Multiple Images (Batch Process)
- Platform-Specific Size Recommendations
- FAQs
- Conclusion
Quick Answer: How to Resize an Image in Photoshop
The fastest way to resize an image in Photoshop is to use the Image Size dialog. Here are the five steps:
1. Open your image in Photoshop.
2. Go to Image > Image Size (or press Alt + Ctrl + I on Windows, Option + Cmd + I on Mac).
3. Make sure the chain icon between Width and Height is linked to maintain the aspect ratio.
4. Enter your new Width or Height value, and the other dimension adjusts automatically.
5. Click OK to apply the resize.
That is the entire process for most resizing tasks. The sections below go deeper into each method, including how to preserve quality, resize layers independently, and troubleshoot common issues.
How to Resize an Image in Photoshop (Image Size Method)
The Image Size method is the most common way to resize an image in Photoshop. It changes the actual pixel dimensions of your entire document, which affects file size, resolution, and print dimensions all at once. This is the method you want when preparing an image for a specific output size like a web banner or a print photo.
Step 1: Open the Image Size Dialog
With your image open, navigate to the top menu and select Image > Image Size. You can also use the keyboard shortcut Alt + Ctrl + I on Windows or Option + Cmd + I on Mac. This opens the Image Size dialog box, which shows your current image dimensions in both pixels and document size units like inches or centimeters.
Take a moment to review the current dimensions and file size displayed at the top of the dialog. This tells you your starting point before making any changes.
Step 2: Enter New Dimensions
In the Width and Height fields under the Dimensions section, type in your desired pixel values. You can switch the unit of measurement by clicking the small dropdown next to the values if you prefer inches, centimeters, or percentages.
If you want to resize by percentage instead of absolute pixels, change the unit dropdown to Percent. This is useful when you want to shrink an image to half its size or enlarge it by 25 percent without doing mental math.
Step 3: Maintain Aspect Ratio
This is the step where many beginners accidentally distort their images. Look for the chain link icon between the Width and Height fields. When this chain is linked, changing one dimension automatically adjusts the other to keep the aspect ratio locked. This prevents stretching or squishing.
If the chain icon is not visible or is broken, click it to relink the dimensions before entering your values. The Constrain Proportions checkbox serves the same purpose on some Photoshop versions. A common mistake we see on forums like Reddit is users accidentally unlinking proportions and getting stretched images. Always double-check the chain icon before hitting OK.
Step 4: Choose Resolution and Resample Settings
The resolution field, measured in Pixels Per Inch (PPI), controls how many pixels are packed into each inch of printed output. For web images, 72 PPI is standard. For print, 300 PPI is the industry standard for high-quality output.
If you want to change pixel dimensions, make sure Resample is checked. When Resample is on, Photoshop adds or removes pixels to match your new dimensions. When it is off, changing PPI only adjusts the physical print size without altering the actual pixel data.
Use the Resample dropdown to select your interpolation method. For reducing image size, choose Bicubic Sharper to maintain edge detail. For enlarging, use Preserve Details 2.0 if available, or Bicubic Smoother for gradual upsizing.
Step 5: Save or Export
Once you are happy with your new dimensions, click OK to apply the resize. Then save your image using File > Export > Export As to choose your file format (JPEG, PNG, WebP) and quality settings. Using Export As rather than Save As gives you more control over output quality and file size.
For non-destructive workflows, save a copy rather than overwriting your original. This way you always have the full-resolution version to fall back on.
How to Resize a Layer or Object with Transform Tool
Sometimes you need to resize a single layer rather than the entire image. This is where the Free Transform tool comes in. Whether you are scaling a logo, a photo placed into a composite, or a shape, the Transform tool lets you resize elements independently of the canvas.
Convert to Smart Object First
Before resizing any layer, we strongly recommend converting it to a Smart Object. Right-click the layer in the Layers panel and select Convert to Smart Object. This step is a game-changer because Smart Objects preserve the original resolution of the layer, meaning you can scale up and down repeatedly without quality loss.
Without Smart Object conversion, each time you scale a regular layer larger, Photoshop interpolates new pixels and permanently discards the original detail. Once you shrink a standard layer and save, that detail is gone for good.
Use Free Transform (Ctrl/Cmd + T)
With your layer selected, press Ctrl + T on Windows or Cmd + T on Mac to activate Free Transform. A bounding box with handles appears around the layer. Click and drag any corner handle to resize the layer.
In current versions of Photoshop, dragging a corner handle automatically maintains the aspect ratio. In older versions (pre-2019), you needed to hold Shift while dragging to constrain proportions. This change confused many long-time users, so check which behavior your version uses.
For precise control, use the Width and Height percentage fields in the Options bar at the top of the screen. Click the chain icon between them to link the values, then type exact percentages. Press Enter to confirm the transformation.
How to Resize Without Losing Quality
Quality loss during resizing is the number one complaint we see from Photoshop users. The good news is that with the right technique, you can minimize or completely avoid degradation. The key is understanding which method to use and when.
Use Smart Objects for Non-Destructive Resizing
Smart Objects are the single best tool for quality preservation. When you convert a layer to a Smart Object, Photoshop stores the original pixel data as a reference file embedded in your document. This means you can scale the layer as many times as you want without permanently altering the source data.
To convert, right-click any layer and choose Convert to Smart Object. A small icon appears on the layer thumbnail, indicating it is now a Smart Object. You can resize it freely with Free Transform, and if you ever scale it back up, the original quality returns.
Choose the Right Resampling Method
When you resize using the Image Size dialog, the Resample dropdown determines how Photoshop handles adding or removing pixels. Each method has a specific use case:
Bicubic Sharper (reduction): Best for making images smaller. It preserves edge detail and sharpness during downsizing.
Bicubic Smoother (enlargement): Best for making images larger. It creates smooth gradients and avoids blocky artifacts.
Preserve Details 2.0: Uses AI to intelligently upscale images with minimal quality loss. Available in newer Photoshop versions.
Nearest Neighbor: Preserves hard edges, ideal for pixel art or screenshots. Avoid for photos.
Bilinear: A faster but lower-quality method. Rarely the best choice for production work.
Know Your Safe Scaling Limits
Even with the best resampling, there are practical limits. Scaling up a standard raster image beyond 150 to 200 percent starts to produce visible quality loss. With Preserve Details 2.0 and Smart Objects, you can push closer to 300 percent for moderate sizes before artifacts become noticeable.
For dramatic upscaling (400 percent or more), consider using Adobe’s Super Resolution feature in Camera Raw, which uses machine learning to intelligently double the linear resolution of raw files.
Understanding Resolution (PPI) vs Dimensions
Resolution and dimensions are two concepts that confuse many Photoshop users, but they control different things. Pixel dimensions (width x height in pixels) determine how much visual information the image contains. Resolution (PPI) determines how that information is distributed when printed.
A 3000 x 2000 pixel image at 300 PPI prints at 10 x 6.67 inches. The same 3000 x 2000 pixel image at 72 PPI prints at 41.67 x 27.78 inches. The pixel data is identical, but the physical print size changes because the pixel density changes.
For web and screen use, PPI is mostly irrelevant. Screens display images based on pixel dimensions, not PPI settings. A 1920 x 1080 pixel image looks the same on a monitor whether it is set to 72 PPI or 300 PPI. What matters for web is the actual pixel dimensions and the resulting file size.
For print, PPI is critical. Most professional printers require 300 PPI at the intended print size for sharp results. If you try to print a 72 PPI image at a large size, it will look blurry and pixelated.
Which Resizing Method Should You Use?
Photoshop offers several ways to resize, and choosing the right one depends on what you are trying to achieve. Here is a breakdown of when to use each approach.
Image Size (Image > Image Size): Use this when you need to change the pixel dimensions of the entire document. This is the go-to method for preparing images for web, print, or email at specific sizes. It affects all layers at once.
Free Transform (Ctrl/Cmd + T): Use this when you need to resize a single layer or object within a larger composition. Perfect for scaling logos, text, or placed images without affecting the canvas size.
Canvas Size (Image > Canvas Size): Use this when you want to change the workspace dimensions without altering the image content. This adds or removes space around your image, which is useful for adding borders or creating wider backgrounds.
Crop Tool (C): Use this when you want to both resize and change the composition simultaneously. The Crop tool lets you set a specific aspect ratio and pixel dimensions, trimming away parts of the image while setting the final output size.
Generative Expand: Use this when you need to extend an image beyond its original borders. Available in recent Photoshop versions, it uses AI to generate new content that blends with your existing image.
Keyboard Shortcuts Reference
Memorizing these shortcuts will speed up your workflow dramatically. Here are the essential resizing shortcuts in Photoshop:
Image Size dialog: Alt + Ctrl + I (Windows) / Option + Cmd + I (Mac)
Free Transform: Ctrl + T (Windows) / Cmd + T (Mac)
Canvas Size dialog: Alt + Ctrl + C (Windows) / Option + Cmd + C (Mac)
Crop Tool: C
Constrain proportions while dragging: Hold Shift (older versions) or just drag corner handles (newer versions)
Resize from center while dragging: Hold Alt / Option while dragging a handle
Troubleshooting: Why Can’t I Resize an Image in Photoshop?
If Photoshop will not let you resize an image or layer, one of these common issues is likely the cause. We have encountered all of these at one point or another.
Check if the Layer Is Locked
The most frequent reason users cannot resize is that the layer is locked. Background layers in Photoshop are locked by default, which prevents transformations. Look for a small padlock icon next to the layer name in the Layers panel.
To fix this, click the padlock icon to unlock the layer, or double-click the Background layer and rename it to convert it into a standard editable layer. Once unlocked, Free Transform works normally.
Verify Resample Is Enabled
If you are using the Image Size dialog and the dimensions appear grayed out, Resample is probably unchecked. When Resample is off, you can only change the physical print size and resolution, not the actual pixel dimensions.
Check the Resample box at the bottom of the Image Size dialog to re-enable pixel dimension editing. This is a common source of confusion for users who expect to change pixel values but see locked fields.
Check Image Mode Restrictions
Some image modes restrict certain operations. If your image is in Indexed Color mode (common with GIF files), Photoshop limits what you can do. Go to Image > Mode and switch to RGB Color to unlock full editing capabilities.
Similarly, 32-bit images may prevent some resizing operations. Switching to 16-bit or 8-bit via Image > Mode resolves this in most cases.
You Are Trying to Resize Beyond Canvas Bounds
If a layer disappears when you try to resize it, you may be scaling it smaller than the visible canvas allows, or the transform handles may be outside your screen view. Press Ctrl + 0 (Windows) or Cmd + 0 (Mac) to fit the canvas to your window so you can see all transform handles.
How to Resize Multiple Images (Batch Process)
When you need to resize dozens or hundreds of images at once, doing them one by one is not practical. Photoshop includes built-in tools for batch processing that handle this efficiently.
The simplest method is using the Image Processor. Go to File > Scripts > Image Processor, select your input folder, choose your output format (JPEG, PSD, or TIFF), and enter your desired pixel dimensions. Photoshop processes every image in the folder automatically.
For more control, you can record a custom Action that includes your specific resize steps, then run it via File > Automate > Batch. This lets you combine resizing with other adjustments like sharpening, color correction, or watermarking into a single automated workflow.
Platform-Specific Size Recommendations
Different platforms require different image dimensions. Here are the most common sizes you will need when resizing images in Photoshop.
Web banners: 1920 x 1080 pixels for hero images, 1200 x 630 pixels for Open Graph thumbnails used in link previews.
Social media: Instagram feed posts at 1080 x 1080 pixels for square, 1080 x 1350 for portrait. Facebook cover photos at 820 x 312 pixels. For LinkedIn, our LinkedIn profile picture dimensions guide has exact pixel requirements.
E-commerce: Product images typically need to be 2000 pixels on the long side for most marketplaces. If you sell on Etsy, check the Etsy shop banner size requirements for specific banner dimensions.
Print: For standard photo prints, use 300 PPI at the intended physical size. A 4×6 print needs 1200 x 1800 pixels, an 8×10 needs 2400 x 3000 pixels.
If you are resizing headers for websites, you may also want to read our guide on changing header images in WordPress for platform-specific guidance.
FAQs
How do I adjust the size of an image in Photoshop?
Go to Image u0026gt; Image Size (or press Alt+Ctrl+I on Windows, Option+Cmd+I on Mac), make sure the chain icon between Width and Height is linked, enter your new dimensions, and click OK. This changes the pixel dimensions of your entire document.
How do I resize an image to a specific size?
Open the Image Size dialog via Image u0026gt; Image Size, uncheck the chain icon if you need independent width and height values, type your exact pixel or inch dimensions into the fields, and click OK. For exact dimensions with the same aspect ratio, keep the chain icon linked and enter only one value.
Why can’t I resize an image in Photoshop?
The most common reasons are a locked background layer (click the padlock icon to unlock it), Resample being unchecked in the Image Size dialog (check the box to enable pixel dimension editing), or the image being in Indexed Color mode (switch to RGB via Image u0026gt; Mode).
How do I resize an image in Photoshop without distorting it?
Always keep the aspect ratio locked by ensuring the chain icon between Width and Height is linked in the Image Size dialog. When using Free Transform, drag corner handles (newer versions maintain ratio automatically) or hold Shift while dragging in older versions.
How do I resize an image in Photoshop after placing it?
After placing an image into a document, select its layer and press Ctrl+T (Windows) or Cmd+T (Mac) to activate Free Transform. Drag the corner handles to scale it, then press Enter to confirm. Convert the layer to a Smart Object first to resize without quality loss.
Conclusion
Knowing how to resize an image in Photoshop gives you control over every output format, from web thumbnails to large-format prints. The Image Size dialog handles whole-document resizing, Free Transform manages individual layers, and Smart Objects keep your quality intact through unlimited adjustments. Remember to match your resolution to your output: 72 PPI for screens, 300 PPI for print. With these methods and the troubleshooting tips above, you can resize any image confidently and avoid the distortion and quality loss that trip up so many editors.