
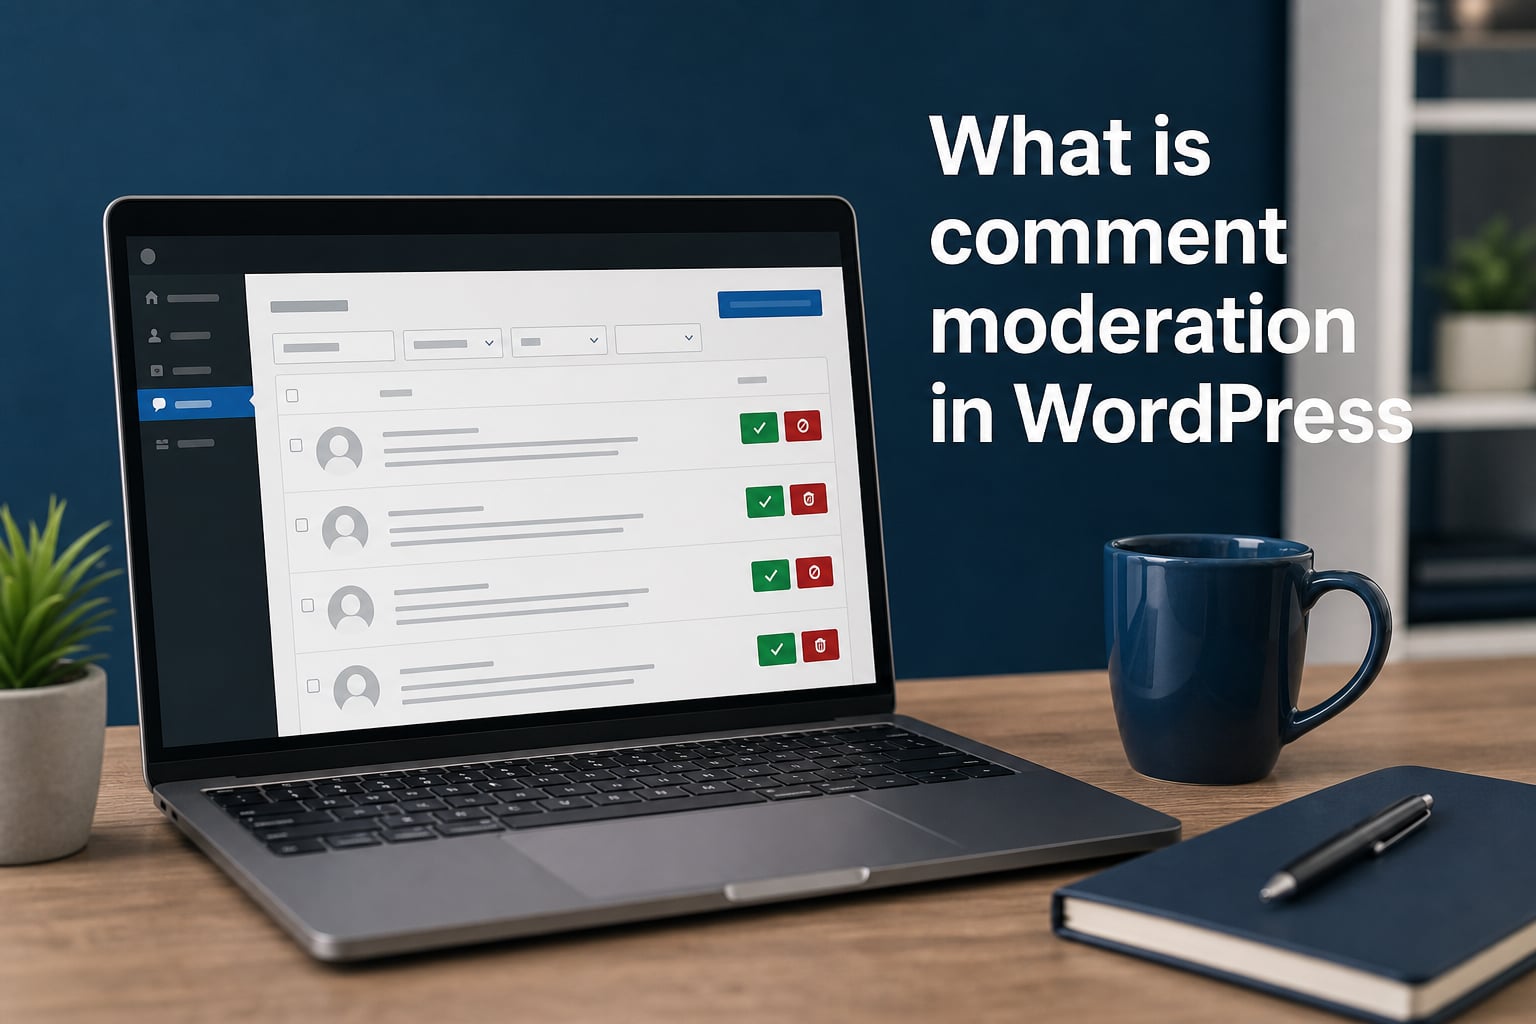
Every WordPress site that allows visitor comments faces the same reality: spam bots, trolls, and irrelevant noise can flood your comment sections within hours. I have managed comment sections on dozens of WordPress sites, and without a solid moderation setup, the mess becomes unmanageable fast.
Comment moderation in WordPress is a built-in feature that lets administrators review, approve, hold, edit, or delete visitor comments before or after they appear on the site. When a comment is submitted, WordPress checks it against your configured rules, such as link limits, keyword filters, and commenter history. Comments that fail these checks are held in a moderation queue until you decide what to do with them.
In this guide, I will walk you through what comment moderation in WordPress actually does, why it matters, and how to configure it step by step. You will learn about the discussion settings, the moderation queue, moderation keys, disallowed comment keys, and practical tips to keep your comment sections clean without spending hours every week.
Table of Contents
- What Is Comment Moderation in WordPress?
- Why Comment Moderation Matters
- How to Access WordPress Discussion Settings
- Understanding Default WordPress Moderation Settings
- How the Comment Moderation Queue Works
- Setting Up Moderation Keys and Disallowed Comment Keys
- How to Disable Comments on Specific Posts and Pages
- Anti-Spam Plugins to Reduce Your Moderation Workload
- Common Comment Moderation Mistakes to Avoid
- Tips for Efficient Comment Moderation
- FAQs
- Conclusion
What Is Comment Moderation in WordPress?
Comment moderation in WordPress is the system that gives site administrators control over which comments appear on their posts and pages. Instead of every submitted comment going live instantly, WordPress can hold comments for your review based on rules you define.
The core idea is simple: WordPress acts as a gatekeeper. When someone submits a comment, the platform runs it through a series of checks before publishing it. If the comment passes all checks, it goes live. If it fails any check, it lands in your moderation queue instead.
This is different from comment blocking. Moderated comments are held for your review, and you can approve them with one click. Blocked comments, handled through the Disallowed Comment Keys field, are quietly discarded without notification.
The moderation system is built into WordPress core, meaning you do not need a plugin to use it. You will find all the relevant controls under Settings > Discussion in your WordPress dashboard. Plugins like Akismet add an extra layer of spam detection on top of these native tools.
Why Comment Moderation Matters
Skipping comment moderation is one of the fastest ways to undermine a WordPress site. I have seen blogs that attracted real readers get buried under hundreds of spam comments within days of launching, simply because the owner left every comment set to auto-publish.
Spam comments do more than clutter your pages. They can actively harm your SEO. Search engines scan the links and text in your comment sections, and if they find outbound links to low-quality or malicious sites, your domain can take a reputational hit.
Moderation also protects your visitors. Phishing links, malware downloads, and scam promotions frequently appear in unmoderated comment sections. If a reader clicks a malicious link from your site, that damages trust permanently.
Beyond security, moderation keeps discussions useful. A comment section filled with genuine, relevant responses adds value to your content and encourages more engagement. A section full of spam drives real readers away.
Finally, moderation protects your brand. Offensive, abusive, or off-topic comments published under your content reflect on you. Holding comments for review ensures nothing inappropriate reaches your audience without your knowledge.
How to Access WordPress Discussion Settings
All comment moderation controls live in one place. Here is how to find them.
Log in to your WordPress admin dashboard. In the left-hand menu, click on Settings, then select Discussion from the submenu. This opens the Discussion Settings screen, which contains every default comment and moderation option WordPress offers.
The Discussion screen is divided into several sections. The top section controls whether comments are allowed by default on new posts. The middle section handles avatar display settings. The most important sections for moderation are the ones labeled “Before a comment appears,” “Comment Moderation,” and “Disallowed Comment Keys.”
Changes you make here apply to all new posts going forward. You can also override these defaults on individual posts using the Discussion panel in the post editor.
Understanding Default WordPress Moderation Settings
WordPress ships with a set of default moderation settings that work reasonably well out of the box. Understanding each one helps you configure them to match your site’s needs.
“Before a comment appears” section: This area offers two checkboxes. The first option, “Comment must be manually approved,” holds every single comment for your review before it appears. The second option, “Comment author must have a previously approved comment,” only auto-approves comments from people you have already trusted. Most site owners I work with enable the second option, as it keeps first-time commenters in the queue while letting returning visitors post freely.
Comment Moderation section: This is where you set the rule for holding comments containing a certain number of links. The default is two links. If a comment contains more links than your threshold, WordPress holds it for moderation. This catches a large percentage of spam automatically.
In this same section, you will find the Comment Moderation Keys box. Any word or phrase you enter here (one per line) will trigger a hold on any comment containing that text. WordPress checks the comment content, author name, URL, email, and IP address against these keys.
Disallowed Comment Keys: Previously called the Comment Blocklist, this field works differently from moderation keys. When a comment matches a disallowed key, WordPress does not hold it for review. Instead, it marks the comment as spam or deletes it quietly, with no notification sent to the commenter. Use this for known spam patterns, specific IP addresses, or persistent bad actors.
Email me whenever section: Two checkboxes control notifications. You can receive an email when anyone posts a comment and when a comment is held for moderation. If your site gets heavy comment traffic, consider turning off the first option to avoid inbox overload while keeping moderation alerts on.
How the Comment Moderation Queue Works
The moderation queue is where held comments wait for your decision. Understanding its lifecycle makes managing comments far less tedious.
When a visitor submits a comment, WordPress immediately runs it through your moderation rules. The system checks the number of links, scans for moderation keys, evaluates the commenter’s approval history, and optionally consults anti-spam plugins. If the comment passes every check, it publishes instantly.
If the comment fails any check, WordPress sets its status to “pending” and places it in the moderation queue. You will see a badge with a count next to the Comments menu item in your dashboard, indicating how many comments need attention.
To access the queue, click Comments in your dashboard menu. Pending comments appear at the top or you can filter by status using the links above the comment list (All, Mine, Pending, Approved, Spam, Trash).
For each pending comment, you can take several actions. Approve publishes the comment immediately. Reply lets you respond directly. Edit lets you modify the comment text before publishing. Spam marks it as junk for your anti-spam plugin to learn from. Trash removes it entirely.
For busy sites, bulk actions save significant time. Use the checkboxes to select multiple comments, then choose Approve, Mark as Spam, or Move to Trash from the Bulk actions dropdown. WordPress also supports keyboard shortcuts on the comments screen. Press J and K to move between comments, A to approve, S to mark as spam, and D to delete.
Setting Up Moderation Keys and Disallowed Comment Keys
Moderation keys and disallowed comment keys are two of the most powerful tools WordPress gives you for filtering comments. They work differently, and understanding the distinction matters.
Moderation Keys (hold for review): Each line in the Comment Moderation Keys box represents a word or phrase that triggers a hold. When a submitted comment contains any of these terms, WordPress places it in the moderation queue. The commenter sees a “Your comment is awaiting moderation” message. You then decide whether to approve or reject it.
WordPress checks moderation keys against the comment body, the author name, the author email, the comment URL, and the commenter’s IP address. This means you can hold comments from specific IP ranges or email domains by entering them here.
Disallowed Comment Keys (silent block): Each line in this box triggers an immediate block. The comment is not held for review. It is quietly filtered out, and the commenter receives no error message. This is the nuclear option for known spam patterns.
Be careful with partial matching. WordPress checks whether the key appears anywhere inside the text, not just as a whole word. For example, entering “press” as a disallowed key would block any comment containing “WordPress,” “compress,” “express,” or any other word containing that substring. This catches people off guard more often than any other moderation feature.
A practical approach: use moderation keys for words that might appear in legitimate comments but warrant a second look. Use disallowed keys only for terms you never want to see, such as known pharmaceutical spam terms, gambling keywords, or specific IP addresses from repeat offenders.
You can also use regular expressions in both fields. Wrapping a pattern in forward slashes, like /^casino/i, tells WordPress to treat it as a regex. This gives you precise control over matching patterns without blocking innocent variations.
How to Disable Comments on Specific Posts and Pages
Sometimes you do not want comments on a particular post or page, even if your global settings allow them. WordPress makes this easy to control per post.
In the block editor (Gutenberg), open the post you want to modify. Click the three dots in the top-right corner and select Preferences. Under the Discussion panel, make sure comments are enabled in the editor. Then look for the Discussion section in the post settings sidebar, usually found under the Post tab. Uncheck “Allow comments” to disable commenting on that specific post.
In the classic editor, scroll down to the Discussion meta box below the content editor. Uncheck “Allow comments” and update the post.
If you want to disable comments on all existing posts at once, you can use the Bulk Edit feature. Go to Posts > All Posts, select the posts you want to modify, choose Edit from the Bulk actions dropdown, and set the Comments option to Do Not Allow.
Some site owners choose to disable comments globally and only enable them on specific posts. To do this, uncheck “Allow people to submit comments on new posts” in Settings > Discussion, then enable comments individually on posts where you want discussion.
Anti-Spam Plugins to Reduce Your Moderation Workload
WordPress’s built-in moderation tools catch a lot, but they cannot catch everything. Anti-spam plugins add a second layer of filtering that dramatically reduces the number of comments reaching your queue.
Akismet is the most widely used WordPress anti-spam plugin. Developed by Automattic, the company behind WordPress.com, it uses a global spam database to identify and filter junk comments automatically. Akismet checks each comment against known spam patterns and either discards it or moves it to your spam folder. It comes bundled with WordPress but requires an API key to activate.
Antispam Bee is a free, privacy-focused alternative developed by the German WordPress community. It works entirely on your server without sending comment data to external services, which makes it popular with privacy-conscious site owners. It offers honeypot techniques, IP-based blocking, and language filtering.
Cloudflare Turnstile and similar CAPTCHA alternatives add a challenge step to your comment form that blocks bots before they even submit. These tools use browser fingerprinting and behavioral analysis rather than image puzzles, which keeps the experience frictionless for human commenters.
For most sites, combining WordPress’s built-in moderation settings with one anti-spam plugin provides excellent protection. The built-in settings handle rule-based filtering, while the plugin catches sophisticated spam that slips past keyword and link checks.
Common Comment Moderation Mistakes to Avoid
From years of managing WordPress sites and reading forum discussions, I see the same moderation mistakes repeated across sites of every size.
Holding first-time commenters indefinitely: Some site owners enable manual approval for every comment without using the “previously approved comment” setting. This creates a backlog and discourages genuine commenters who never see their comment published. Enable the “previously approved comment” option so trusted returning visitors post freely while only first-timers get held.
Too many moderation emails: If you have both notification checkboxes enabled on a busy site, your inbox will drown. Turn off the “anyone posts a comment” notification and keep only the “comment is held for moderation” alert.
Over-relying on a single plugin: Akismet is excellent, but no single tool catches everything. Layering the built-in moderation rules with one plugin gives you redundant coverage. If one layer misses something, the other catches it.
Publishing no comment policy: A clear, visible comment policy sets expectations and gives you a basis for rejecting comments. State what is acceptable, what will be removed, and how you handle repeat offenders.
Ignoring the moderation queue: Comments sitting in your queue for weeks signal to commenters that nobody is listening. Process your queue regularly, ideally within 24 to 48 hours, to keep engagement alive.
Tips for Efficient Comment Moderation
Comment moderation does not have to eat your entire afternoon. These practices help you process comments quickly and keep your sections clean.
Enable keyboard shortcuts: Turn on keyboard shortcuts from your WordPress profile screen (Users > Profile > Keyboard Shortcuts). Once enabled, you can fly through the comment queue without touching your mouse.
Auto-approve trusted commenters: The “comment author must have a previously approved comment” setting is the single best time-saver in WordPress moderation. It means you only review first-time commenters and let returning contributors post immediately.
Set a realistic link limit: The default link threshold of two catches most link-stuffed spam. If you run a community where legitimate commenters share multiple links, raise it to three. Otherwise, leave the default.
Batch your moderation: Instead of checking comments throughout the day, set a specific time to process your queue. This keeps you focused on content creation and prevents moderation from becoming a constant interruption.
Keep your moderation keys updated: When you spot a new spam pattern in your queue, add the relevant keyword to your moderation or disallowed keys. Your filters get smarter over time with minimal effort.
Publish and link your comment policy: Add a dedicated comment policy page and link to it near your comment form. This sets expectations and reduces the number of off-topic or inappropriate submissions.
FAQs
What is comment moderation?
Comment moderation is the process of reviewing, approving, holding, or deleting visitor comments before or after they appear on your website. In WordPress, it is a built-in feature that checks submitted comments against your configured rules and holds suspicious ones in a queue for your manual review.
How do you moderate comments on WordPress?
To moderate comments in WordPress, go to Settings u0026gt; Discussion and enable your preferred moderation rules. You can require manual approval for all comments, auto-approve previously approved commenters, set link limits, and add moderation keys. To manage individual comments, go to the Comments screen where you can approve, reply, edit, mark as spam, or delete each one individually or in bulk.
What is the difference between moderation keys and disallowed comment keys?
Moderation keys hold a comment in the moderation queue for your review when a match is found, and the commenter sees an awaiting moderation message. Disallowed comment keys silently block the comment without notifying the commenter. Use moderation keys for terms that need a second look and disallowed keys for patterns you never want published.
How do I stop spam comments in WordPress?
To stop spam comments, enable the built-in moderation settings in Settings u0026gt; Discussion, set a link limit, add known spam terms to your moderation and disallowed keys, and install an anti-spam plugin like Akismet or Antispam Bee. Combining native moderation rules with a plugin provides layered protection that catches most automated spam.
Should I disable comments or moderate them?
If your content generates genuine discussion, moderating comments is worth the effort because engaged comment sections add SEO value and build community. If you rarely receive real comments and your site is overrun by spam, disabling comments entirely is a valid choice that saves time and reduces security risks.
Conclusion
Comment moderation in WordPress is a built-in system that gives you complete control over what appears in your comment sections. By configuring discussion settings, using moderation and disallowed keys, and layering in an anti-spam plugin, you can keep spam out, protect your readers, and maintain a discussion space that adds real value to your content.
Start by enabling the “previously approved comment” setting and setting your link threshold to two. These two changes alone will cut your moderation workload dramatically while keeping your comment section open to genuine visitors. Process your queue regularly, keep your keyword filters updated, and publish a clear comment policy to set expectations from day one.