
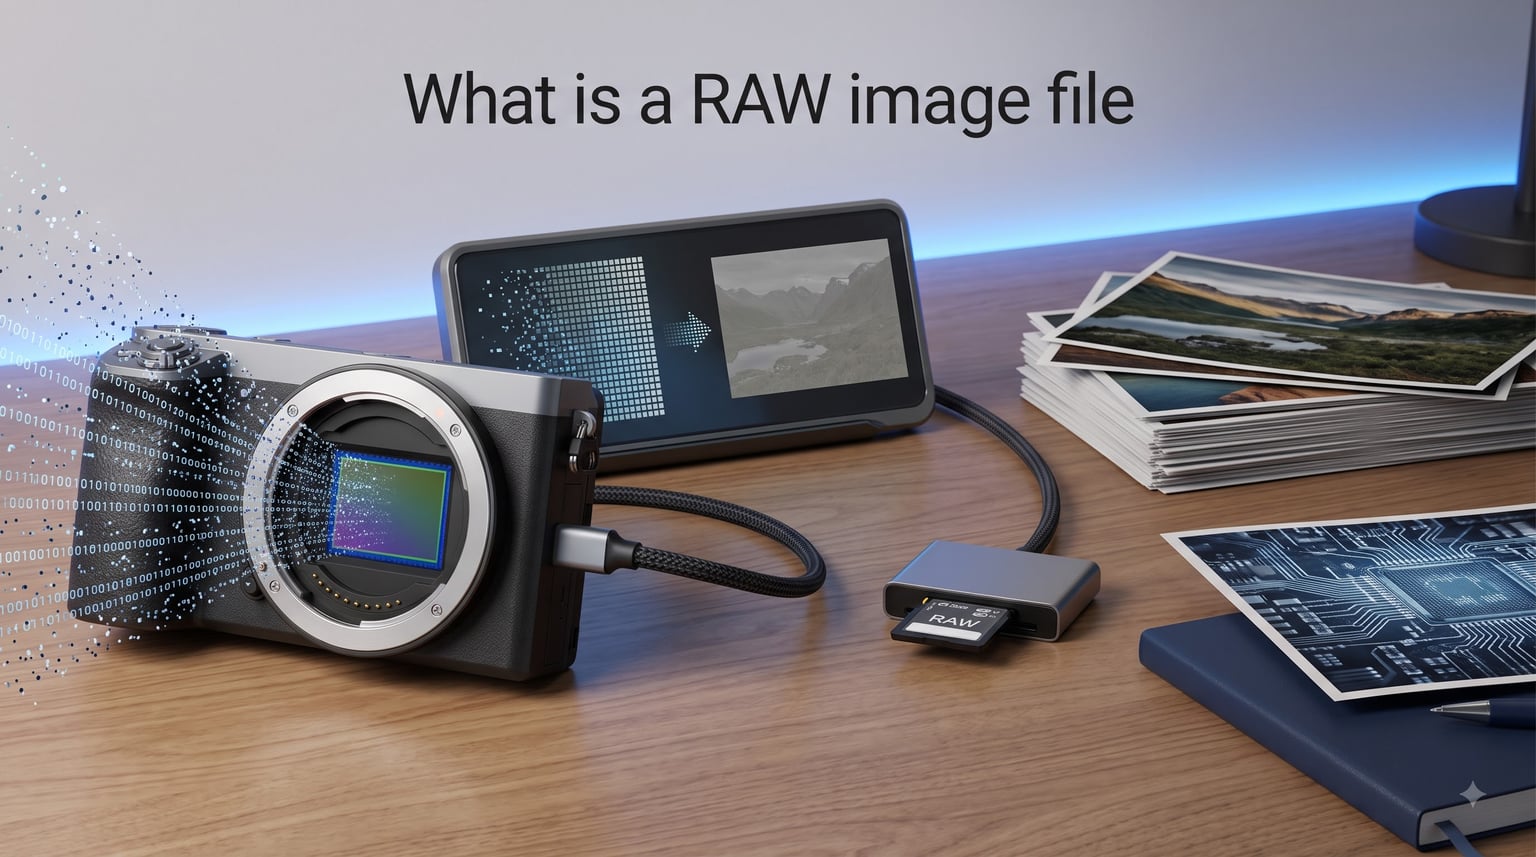
A RAW image file is an unprocessed data file captured directly from a digital camera’s image sensor, containing every bit of color and light information the sensor recorded. Think of it as a digital negative: the camera saves the raw sensor data without applying compression, sharpening, color adjustments, or any of the automatic processing that happens when you shoot in JPEG. This gives you complete control over how the final image looks during editing.
If you have ever wondered why professional photographers seem obsessive about shooting RAW, it comes down to one thing: flexibility. A RAW image file preserves far more detail in highlights and shadows than a JPEG ever could. You can fix a badly off white balance, rescue blown-out skies, and pull detail out of dark areas that would be permanently lost in a compressed format.
In this guide, I will walk you through exactly what a RAW image file is, how it differs from JPEG, the advantages and disadvantages, how to open and edit RAW files, and when it makes sense to shoot RAW versus JPEG. Whether you just picked up your first DSLR or you are trying to understand what that strange file extension on your SD card means, this guide breaks it all down in plain language.
Table of Contents
- What is a RAW Image File?
- How RAW Files Work
- RAW vs JPEG: What’s the Difference?
- Common RAW File Formats by Camera Brand
- Advantages of Shooting in RAW
- Disadvantages of RAW Files
- How to Open and Edit RAW Files
- How to Convert RAW to JPEG
- RAW Photography on Mobile Devices
- When Should You Shoot RAW vs JPEG?
- FAQs
- Conclusion
What is a RAW Image File?
A RAW image file is the digital equivalent of an unexposed film negative. When you press the shutter button, millions of photosites on your camera’s sensor capture light and convert it into electrical signals. In RAW mode, the camera saves this data almost exactly as the sensor recorded it. No in-camera processing is applied to the image itself.
The term “RAW” is not an acronym. It literally describes what the file contains: raw, unprocessed data. Unlike JPEG, which applies white balance, sharpening, contrast, color saturation, and compression the instant you take the shot, a RAW file defers all of those decisions to you. The camera records metadata alongside the sensor data, telling you what settings were used, but it does not bake those settings into the image.
Each camera manufacturer stores this sensor data in its own proprietary format. A Canon camera produces CR2 or CR3 files, a Nikon produces NEF files, and a Sony produces ARW files. They all contain fundamentally the same thing: uncompressed sensor data waiting to be developed into a finished photograph. This is why RAW files are often called digital negatives, because just like film negatives, they need to be processed before anyone can see the final picture.
One important detail: you cannot simply double-click a RAW file and expect it to look like a finished photo. Most operating systems cannot display RAW files natively without additional software or codecs. The file holds all the ingredients, but you need a RAW processor to bake them into something viewable.
How RAW Files Work
To understand how a RAW image file works, it helps to picture what happens inside your camera the moment you press the shutter. The image sensor is covered by a color filter array, typically a Bayer pattern, which places red, green, and blue filters over individual photosites. Each photosite records only one color of light, not the full color at that point.
The camera then uses a process called demosaicing (or debayering) to interpolate the missing color information and build a full-color image. When you shoot JPEG, the camera performs this demosaicing internally along with applying white balance, contrast curves, sharpening, noise reduction, and compression. When you shoot RAW, the camera skips most of these steps and saves the raw sensor data with metadata tags that describe the camera settings you chose.
Bit depth is where RAW really separates itself from JPEG. A standard JPEG captures 8-bit color, which works out to 256 tonal values per red, green, and blue channel. A RAW file typically captures 12-bit or 14-bit color, which translates to 4,096 or 16,384 tonal values per channel. That is a massive difference in the amount of gradient and tonal information preserved, which is exactly why you can recover details from shadows and highlights that would be gone forever in a JPEG.
This enormous amount of data is also why RAW files look flat, dull, and low-contrast when you first open them. They have not been through any of the processing steps that make a JPEG look punchy right out of the camera. The RAW file is a starting point, not a finished product. You bring the contrast, color, and punch during editing.
RAW vs JPEG: What’s the Difference?
The difference between RAW and JPEG comes down to how much processing happens inside the camera and how much image data survives. JPEG is a finished, compressed image file that has been processed, color-corrected, sharpened, and compressed by the camera before it is saved. RAW is the unprocessed sensor data that lets you make all of those decisions yourself later.
Here is how they compare across the categories that matter most to photographers:
Processing: JPEG is fully processed in-camera with preset color, contrast, sharpening, and noise reduction. RAW is unprocessed sensor data that you develop yourself in editing software.
Compression: JPEG uses lossy compression that discards image data to keep file sizes small. RAW uses lossless compression (or no compression at all), preserving every bit of sensor data.
Bit depth: JPEG captures 8-bit color with 256 tonal values per channel. RAW captures 12-bit or 14-bit color with thousands of tonal values per channel.
File size: A typical JPEG from a 24-megapixel camera runs 5 to 10 megabytes. The same image as a RAW file runs 25 to 50 megabytes or more.
White balance: JPEG bakes in the white balance setting at the time of capture, making it difficult to change later. RAW lets you adjust white balance freely during editing with zero quality loss.
Editing flexibility: JPEG degrades each time you edit and re-save it. RAW editing is non-destructive, meaning your original data is never altered.
Shareability: JPEG files are universally compatible and ready to share immediately. RAW files require processing software before they can be viewed or shared.
In practical terms, JPEG is like a polaroid that comes out of the camera ready to look at. RAW is like undeveloped film that you take into the darkroom to craft into the final image yourself.
Common RAW File Formats by Camera Brand
Every major camera manufacturer has its own RAW file format, and the extension you see depends entirely on the brand of camera you use. While they all serve the same fundamental purpose of storing unprocessed sensor data, they are not interchangeable. Here are the most common ones you will encounter:
Canon: CR2 and CR3 (newer Canon models use CR3)
Nikon: NEF and NRW (older entry-level models use NRW)
Sony: ARW
Fujifilm: RAF
Olympus / OM System: ORF
Panasonic: RW2
Pentax: PEF
Leica: DNG
Apple (ProRAW): DNG
Adobe created the DNG (Digital Negative) format as a universal alternative to these proprietary formats. DNG is openly documented and supported by virtually every RAW editing application. Some cameras, like Leica models and newer Apple iPhones, shoot RAW natively in DNG. Many photographers also convert their brand-specific RAW files to DNG for long-term archival, since DNG is less likely to become unsupported if a camera manufacturer changes its format years down the road.
Advantages of Shooting in RAW
The single biggest advantage of a RAW image file is editing control. Because RAW preserves the full range of sensor data, you can make dramatic adjustments to exposure, color, and tone without degrading image quality. Here is what that means in practice:
You can recover blown highlights and crushed shadows. If you accidentally overexpose a sky by a stop or two, a RAW file often still holds detail in those bright areas. Try that with a JPEG and the highlights are permanently clipped to white. The same goes for dark shadow areas that you can brighten without introducing banding or noise artifacts.
White balance is fully adjustable. With JPEG, the white balance setting is baked in at capture. If you shot under fluorescent lights with daylight white balance, correcting the color cast later introduces quality loss. With RAW, you can switch between daylight, tungsten, fluorescent, or set a custom color temperature freely during editing because the original color temperature data is still intact.
Editing is non-destructive. When you edit a RAW file, the software creates a set of instructions (a sidecar file or database entry) rather than altering the original data. You can revisit the same RAW file years later, start from scratch, and produce a completely different interpretation without ever losing a single pixel of the original capture.
You get better overall image quality. The higher bit depth of RAW means smoother gradients, more accurate colors, and finer tonal transitions. This matters enormously for large prints and detailed post-processing work like HDR merging and panoramic stitching.
RAW is ideal for archival. Professional photographers keep their RAW files indefinitely because editing technology keeps improving. A RAW file you shot five years ago can look even better today because modern software can extract more detail and handle noise more effectively than the tools available when you first took the photo.
Disadvantages of RAW Files
RAW is not perfect for every situation. The trade-offs are real, and they are why many casual photographers stick with JPEG. The biggest drawback is file size. RAW files are large because they contain so much uncompressed data. A single RAW file can be 25 to 50 megabytes or more depending on your camera’s resolution. Fill a 64-gigabyte SD card with RAW files and you will run out of space far faster than you would with JPEGs.
RAW files also require specialized software to open and process. You cannot just email a RAW file to a friend and expect them to view it easily. Most web browsers, social media platforms, and basic image viewers cannot display RAW files at all. This is exactly why photographers do not share RAW files with clients or online: the files are meant to be processed into JPEGs first.
Then there is the workflow consideration. Shooting RAW means you are committing to a post-processing step for every photo you want to use. JPEG comes out of the camera ready to share. RAW demands that you import, process, adjust, and export each image. For photographers shooting sports or events with hundreds or thousands of images, this adds significant time to the workflow.
Finally, RAW files look flat and unimpressive straight out of the camera. If you are used to the punchy, vibrant look of JPEGs, your first RAW files may look disappointing until you process them. This is normal and expected, but it can be jarring for beginners who are not prepared for it.
How to Open and Edit RAW Files
Opening and editing a RAW image file requires software specifically designed to read RAW sensor data and apply processing adjustments. The good news is that there are excellent options at every price point, including free ones.
Step 1: Choose your RAW editing software. The most popular professional options are Adobe Lightroom and Adobe Camera Raw (which is built into Photoshop). Capture One is another top-tier choice that many professional photographers prefer for its color handling and tethered shooting features. If you want free options, RawTherapee and Darktable are powerful open-source RAW processors that cost nothing. Your camera likely also shipped with its own RAW software, such as Canon Digital Photo Professional or Nikon NX Studio.
Step 2: Import your RAW files. Connect your camera or insert your SD card, then use your editing software to import the RAW files to your computer. Most programs let you copy the files to a specific folder while building previews so you can browse and sort your shots.
Step 3: Apply your edits. This is where RAW shines. Start with white balance and exposure, then move on to contrast, highlights, shadows, color grading, and sharpening. Because you are working with full sensor data, you can push these adjustments much further than you ever could with a JPEG without introducing artifacts.
Step 4: Export your finished image. Once you are happy with the edit, export the image as a JPEG, TIFF, or PNG for sharing, printing, or web use. The original RAW file stays untouched and unchanged on your hard drive.
How to Convert RAW to JPEG
Converting a RAW image file to JPEG is straightforward once you have editing software. In Lightroom or Camera Raw, you simply make your adjustments and then use the Export function to save a JPEG version. In Capture One, the process is called Process and Export. Free tools like RawTherapee and Darktable offer the same export-to-JPEG capability.
The key thing to understand is that converting RAW to JPEG is not just a format change. It is the moment where all your editing decisions get baked into the final image. The JPEG that comes out will reflect the exposure, color, contrast, and sharpening choices you made during processing. This is why the conversion step is really the final stage of developing your digital negative into a finished photograph.
If you just need a quick conversion without editing, some operating systems now include basic RAW support. macOS Preview can open many RAW formats and export them as JPEG. On Windows, you may need to install a RAW codec extension from the Microsoft Store first. Online converters also exist, though uploading large RAW files can be slow and raises privacy considerations.
RAW Photography on Mobile Devices
RAW photography is no longer limited to dedicated cameras. Modern smartphones have embraced RAW capture, and this is one of the fastest-growing areas in photography today. If you are wondering what a RAW image file means on Android or iPhone, the concept is identical to what happens in a DSLR or mirrorless camera: the phone saves the unprocessed sensor data instead of a processed JPEG.
Apple introduced ProRAW starting with the iPhone 12 Pro, which captures 12-bit DNG files that combine the phone’s computational photography pipeline with the flexibility of RAW editing. You get the benefit of Apple’s deep fusion and smart HDR processing combined with the ability to fine-tune white balance, recover highlights, and adjust colors afterward. ProRAW is available on Pro models from the iPhone 12 Pro onward.
On Android, many phones support RAW capture through their native camera apps or through third-party apps like Lightroom Mobile, Halide, or Open Camera. Phones from Samsung, Google, and others often save RAW files in DNG format, which is widely compatible with editing apps on both mobile and desktop.
The advantage of shooting RAW on mobile is the same as on a dedicated camera: more data means more editing headroom. The disadvantage is also the same. RAW files from a phone can easily be 25 megabytes or more, and you will need an app that can process them. For most casual phone photographers, the built-in computational JPEG processing is more than sufficient. RAW on mobile is best for users who want to push their editing further than what the phone’s automatic processing delivers.
When Should You Shoot RAW vs JPEG?
The decision between RAW and JPEG depends entirely on what you plan to do with your photos and how much time you are willing to invest in editing. Neither format is universally better. They serve different purposes.
Shoot RAW when: you are doing professional or paid work where image quality is paramount, you plan to heavily edit or color-grade your photos, you are shooting in challenging lighting conditions where exposure may be off, you are capturing landscapes or portraits where maximum detail and dynamic range matter, or you want to archive your best work at the highest possible quality.
Shoot JPEG when: you need photos ready to share immediately with no editing, you are shooting a high volume of images like a sports event and need to conserve storage and processing time, you are taking casual snapshots or family photos that do not require post-processing, or you are shooting for a client who needs files delivered on the spot.
Many cameras offer a RAW plus JPEG mode that saves both formats simultaneously. This gives you the convenience of an immediate JPEG for quick sharing and the full editing power of a RAW file for later processing. The trade-off is that you use storage space faster since you are saving two files for every shot.
My recommendation for beginners: start shooting RAW plus JPEG. Use the JPEG when you want something quick, and experiment with the RAW file in editing software when you have time. Once you get comfortable with the RAW workflow, you may find that JPEG-only shooting feels limiting.
FAQs
Is a JPEG file a RAW image file?
No, a JPEG file is not a RAW image file. JPEG is a compressed and fully processed image format where the camera applies white balance, sharpening, contrast, and lossy compression before saving the file. A RAW image file contains unprocessed sensor data without any of those adjustments baked in. They are two fundamentally different file types, though you can create a JPEG by processing and exporting a RAW file.
How do I open a RAW image file?
You need RAW-compatible photo editing software to open a RAW image file. Popular options include Adobe Lightroom, Adobe Camera Raw in Photoshop, Capture One, and free alternatives like RawTherapee and Darktable. Some camera manufacturers also include their own RAW software, such as Canon Digital Photo Professional or Nikon NX Studio. On macOS, Preview can open many RAW formats natively. On Windows, you may need to install a RAW image extension from the Microsoft Store.
Can I convert RAW to JPEG?
Yes, you can convert a RAW file to JPEG using any RAW editing software. Open the RAW file in Lightroom, Photoshop, Capture One, RawTherapee, or similar software, make any desired adjustments to exposure and color, then use the export or save function to create a JPEG version. The conversion bakes your editing decisions into the final JPEG while leaving the original RAW file untouched and unmodified.
Is RAW really better than JPEG?
RAW is better than JPEG for image quality and editing flexibility, but not necessarily for every situation. RAW preserves significantly more tonal data, allowing you to recover highlights, fix shadows, and adjust white balance without quality loss. However, RAW files are much larger, require editing software, and cannot be shared or viewed without processing first. For photographers who edit their work, RAW is the clear winner. For casual snapshots that need no editing, JPEG is perfectly fine.
Conclusion
A RAW image file is the most powerful starting point you can have in digital photography. It captures every bit of data your camera sensor sees and hands you full control over how that data becomes a finished image. You get unmatched editing flexibility, superior image quality, and the ability to recover details that JPEG permanently throws away.
The trade-offs are real: larger files, the need for editing software, and a workflow that requires more time. But for anyone serious about their photography, those trade-offs are well worth the creative control you gain in return. If you have never shot RAW before, grab your camera, switch to RAW mode, and start experimenting. Your future self will thank you when you can re-edit old shots with tomorrow’s better software.