
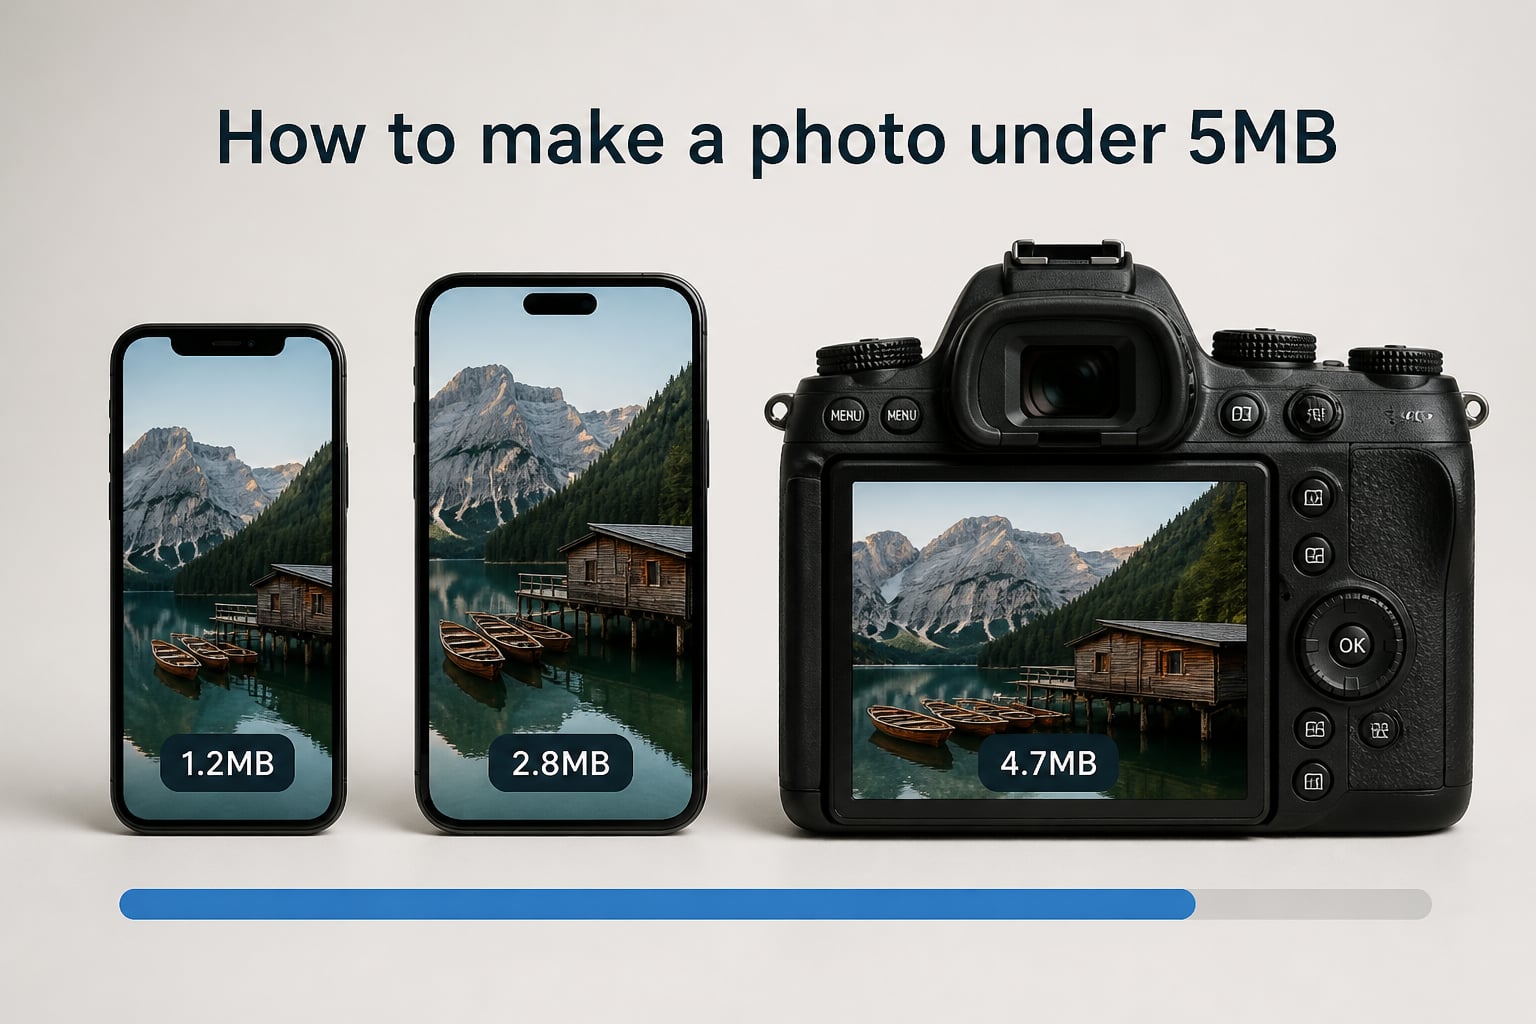
Most websites, job applications, and online forms cap image uploads at 5MB. If your phone or camera spits out 8MB, 12MB, or even 20MB photos, you will hit that wall fast. The good news? Learning how to make a photo under 5MB takes about two minutes once you know the right approach.
I have spent years compressing thousands of images for web headers, email attachments, and form submissions. After testing every method from free online tools to built-in desktop editors, I can tell you that most oversized photos shrink below 5MB with just one or two simple adjustments.
This guide covers five proven methods to reduce your photo file size. I will walk you through online compressors, dimension resizing, format conversion, mobile workflows, and desktop built-in tools. You will also learn how to preserve image quality while hitting your size target, plus a technique most guides miss entirely.
Whether you are on an iPhone, Android, Windows PC, or Mac, the steps below will get your image under 5MB without making it look blurry or pixelated.
Table of Contents
- Understanding Image File Sizes: What 5MB Actually Means
- Method 1: Use Free Online Compression Tools
- Method 2: Resize Image Dimensions
- Method 3: Convert Image Formats
- How to Make a Photo Under 5MB on Mobile Devices
- Desktop Built-In Tools for Reducing Photo Size
- Preserving Image Quality While Reducing File Size
- Batch Processing: Compressing Multiple Photos at Once
- FAQs
- Conclusion
Understanding Image File Sizes: What 5MB Actually Means
5 megabytes is a file size limit, not a dimension or resolution. A 5MB photo could be 4000 pixels wide or 1500 pixels wide depending on compression, format, and content complexity.
Here is the reality: modern smartphones capture photos between 3MB and 15MB. A single shot from a recent iPhone or Samsung device can easily exceed 8MB in JPEG format. RAW files blow past 25MB without trying.
Three main factors bloat your file size: pixel dimensions (more megapixels means more data), compression format (PNG is far larger than JPG), and embedded metadata (EXIF data from your camera can add several hundred kilobytes). Understanding which of these is your culprit makes shrinking the file much easier.
As a rule of thumb, a JPEG photo at 2000 pixels wide with standard compression lands between 500KB and 2MB. That means most photos only need modest adjustments to get under 5MB.
Method 1: Use Free Online Compression Tools
Online compressors are the fastest way to make a photo under 5MB. You upload your image, the tool processes it in seconds, and you download a smaller version. No software installation required.
TinyPNG is the tool I reach for first. It handles JPEG and PNG files, and the community at Reddit’s photography forums consistently recommends it. Here is how to use it:
Step 1: Go to tinypng.com in your browser.
Step 2: Drag your photo into the upload box (or click to browse).
Step 3: Wait for the compression to finish, which takes about 3 to 5 seconds per image.
Step 4: Click “Download” to save the compressed version.
TinyPNG typically reduces JPEG files by 40% to 60% with almost no visible quality loss. A 10MB photo usually drops to around 4MB or less in a single pass.
Compressor.io is another solid option that gives you more control. It lets you choose between lossy and lossless compression and shows you a before-and-after preview. The interface displays exact file sizes so you can confirm your result is under 5MB before downloading.
Cloudinary’s compression tool works well for heavier files. It supports modern formats like WebP and AVIF, which can squeeze even more size out of your photos while maintaining quality. If TinyPNG leaves your file slightly over 5MB, running it through Cloudinary as a second pass almost always gets you under.
One important note about privacy: reputable online tools like TinyPNG delete your uploaded images after processing. If your photo contains sensitive information, check the tool’s privacy policy before uploading.
Method 2: Resize Image Dimensions
Shrinking pixel dimensions is the most dramatic way to reduce file size. Every time you halve the width and height of an image, you cut the total pixel count by 75%. That translates directly to a much smaller file.
Most upload scenarios do not need photos wider than 2000 pixels. A web header, social media post, or online form submission typically displays at 1000 pixels or less. Uploading a 6000-pixel-wide photo for a 600-pixel display is wasteful.
Here are the dimension targets I recommend based on common use cases:
Website headers and banners: 1920 pixels wide.
Social media posts: 1080 pixels wide.
Online form uploads: 1500 pixels wide.
Email attachments: 1000 pixels wide.
High-quality archival: 2500 pixels wide.
You can resize using almost any image editor. On Windows, open the photo in Paint, click “Resize,” and enter your target width. On Mac, open it in Preview, go to Tools, then “Adjust Size,” and set the new dimensions. Both tools preserve the aspect ratio automatically when you change only the width.
If you resize to 2000 pixels wide and save as a standard JPEG, your file will almost always land well under 5MB. This single step solves the problem for the vast majority of photos.
Method 3: Convert Image Formats
The format you choose has a massive impact on file size. PNG files are typically 4 to 8 times larger than JPEG files of the same image. If your photo is saved as a PNG, converting it to JPG is the quickest size reduction available.
Here is how common formats compare for a typical 2000-pixel-wide photograph:
JPEG: 800KB to 2MB (smallest, best for photos).
WebP: 600KB to 1.5MB (even smaller, growing browser support).
PNG: 4MB to 12MB (largest, best for graphics with transparency).
BMP: 15MB+ (uncompressed, avoid for photos).
HEIC: 1MB to 3MB (Apple’s modern format, half the size of JPEG).
To convert PNG to JPG on any device, open the image in your default photo viewer and use “Save As” or “Export” to choose JPEG format. On Windows, Paint handles this in two clicks. On Mac, Preview’s Export menu lets you select JPEG and adjust quality.
One tradeoff to understand: JPG uses lossy compression, meaning it discards some image data to achieve smaller sizes. PNG uses lossless compression, preserving every pixel but producing larger files. For photographs, the quality difference between a high-quality JPG and a PNG is invisible to the human eye in most viewing conditions.
If you need transparency (like a logo with a see-through background), stick with PNG. For regular photos, always choose JPG or WebP.
How to Make a Photo Under 5MB on Mobile Devices
Mobile users face unique challenges when reducing photo size. Both iPhone and Android make it surprisingly difficult to control export quality directly. Here are the workflows that actually work.
iPhone/iOS Instructions
iOS does not give you a built-in file size control in the Photos app, which frustrates many users. Forum discussions on Reddit highlight this as a recurring pain point. Here are three approaches that solve it.
Method A: Use the Mail app trick. Select your photo, share it via the Mail app, and iOS will ask whether to send a small, medium, large, or actual size version. Choose “Large” or “Medium,” then save the emailed image back to your photos. This is a reliable workaround for quick size reduction.
Method B: Use the Shortcuts app. You can create or download a shortcut that automatically compresses images to a target size. Search for “image resize” in the Shortcuts gallery. Once set up, you can compress any photo in two taps directly from the share sheet.
Method C: Use a free app like “Image Size” or “Compress Photos.” These give you direct control over output dimensions and quality. Compress Photos lets you batch-process multiple images at once, which saves time when dealing with several photos.
Android Instructions
Android gives you slightly more control than iOS, but the process varies by manufacturer. Here are the most reliable approaches.
Method A: Open your photo in Google Photos, tap “Edit,” then “Crop,” and adjust the export resolution. Google Photos also has a “Storage Saver” feature that compresses existing photos in your library.
Method B: Use the “Photo & Picture Resizer” app from the Play Store. It lets you select a photo, choose a target dimension from presets, and save the compressed version. The app is lightweight and processes images in seconds.
Method C: Open your photo in the default Gallery app, tap the share button, and look for a “Resize” or “Compress” option. Samsung devices include this natively. If your phone does not, fall back to Method B.
For both platforms, I recommend starting with an online tool like TinyPNG in your mobile browser. It works identically on mobile and desktop, and often produces better results than dedicated apps.
Desktop Built-In Tools for Reducing Photo Size
You do not need third-party software to compress photos on your computer. Both Windows and Mac ship with capable built-in tools.
Windows (Paint and Photos)
The simplest option on Windows is Paint. Right-click your photo, select “Open With,” then “Paint.” Click “Resize” in the toolbar, switch to pixel dimensions, and set the width to 2000 or less. Then click “File,” “Save As,” and choose JPEG. The resulting file will typically be under 2MB.
The Photos app in Windows also offers resizing. Open your photo in Photos, click the three dots in the toolbar, select “Resize,” and choose a smaller preset or custom dimensions. The quality options are limited compared to Paint, but the process is straightforward.
For batch processing on Windows, IrfanView is a free tool that lets you resize and compress hundreds of photos in one operation. It has been a community favorite for over 20 years and remains one of the fastest options available.
Mac (Preview and Save for Web)
Preview is the built-in powerhouse for Mac users. Open your photo in Preview, go to “Tools,” then “Adjust Size.” Enter your target width (2000 pixels is a safe choice). Then go to “File,” “Export,” and choose JPEG as the format. You will see a quality slider. Set it to 85% for the best balance of size and quality.
If you use Photoshop or any Adobe product, the “Save for Web” option (now called “Export As”) gives you the most control. It shows a real-time preview of file size as you adjust quality and dimensions. You can dial in exactly 4.9MB if you need precision.
For batch processing on Mac, the built-in Automator app can resize entire folders of images. Create a “Quick Action” with a “Scale Images” step, then run it on any selection of photos from Finder.
Preserving Image Quality While Reducing File Size
The biggest fear people have about compression is losing image quality. I get it. Nobody wants a blurry, blocky photo just to satisfy a file size requirement. Here is how to shrink files while keeping your photos looking sharp.
The JPG quality sweet spot is 80% to 85%. At this level, file size drops dramatically while quality loss is virtually invisible on screens. Below 70%, you will start seeing compression artifacts. Above 90%, the file size increases with no perceptible quality gain.
One technique most guides skip entirely is noise reduction. Digital noise (those tiny grainy specks in photos) creates data that compression algorithms struggle with. Reducing noise before compressing produces a smaller file at the same quality setting. If your photo editor has a noise reduction filter, apply a light pass before exporting.
Progressive JPEGs load in stages and often produce slightly smaller files than baseline JPEGs. Most online tools create progressive JPEGs by default. If you are exporting from desktop software, look for a “Progressive” checkbox in the export settings.
Consider your viewing context. A photo displayed on a phone screen at 400 pixels wide does not need 4000 pixels of source resolution. Match your output dimensions to the display size, and the quality loss becomes irrelevant.
Finally, remove EXIF metadata before uploading. Your camera embeds date, time, GPS location, camera settings, and thumbnail data into every photo. This can add 100KB to 500KB to your file size. Most online compressors strip this automatically. If you are using desktop tools, look for an option to exclude or remove metadata during export.
Batch Processing: Compressing Multiple Photos at Once
If you need to compress dozens or hundreds of photos, doing them one at a time is painful. Batch processing saves hours of repetitive work.
TinyPNG supports uploading up to 20 images at once on its free tier. Drag them all in, wait for processing, and download a zip file with all compressed versions. This handles most casual batch needs.
On Mac, Automator handles batch resizing for any number of images. Create a workflow with “Get Selected Finder Items” followed by “Scale Images,” then save it as a Quick Action. Select any number of photos in Finder, right-click, and run the action.
On Windows, IrfanView’s batch conversion tool processes entire folders. You set target dimensions, quality, and output format once, and IrfanView applies those settings to every image automatically. It handles hundreds of photos in under a minute.
For developers or advanced users, Cloudinary and similar platforms offer API-based automation. You can script compression into your workflow, ensuring every uploaded image meets size requirements without manual intervention.
FAQs
How to make an iPhone photo less than 5 MB?
Open the Photos app and share the image via Mail, choosing Medium or Large size. Alternatively, use the free Compress Photos app or create an iOS Shortcut that resizes images to 2000 pixels wide. TinyPNG.com also works directly in mobile Safari for reliable compression without installing anything.
How do I decrease the MB size of a photo?
You can decrease photo file size by using an online compressor like TinyPNG, resizing the image dimensions to under 2000 pixels wide, converting from PNG to JPG format, or reducing the JPEG quality setting to 85%. Most photos drop well below 5MB with any one of these methods.
How to take a photo that does not exceed 5MB?
Lower your camera resolution in your phone settings, disable RAW capture, and avoid HDR mode if file size is a concern. On iPhone, use HEIC format which produces files roughly half the size of JPEG. On Android, switch your camera app to medium quality settings. Review each photo’s file size immediately after capturing.
What size image is 5 MB?
5MB is a file size, not a fixed pixel dimension. A 5MB JPEG typically corresponds to a photo around 4000 to 5000 pixels wide at standard compression. A PNG at 5MB might only be 1500 pixels wide due to its larger format. The pixel dimensions depend on the format, compression level, and image content.
Conclusion
Making a photo under 5MB is straightforward once you understand the tools available. Online compressors like TinyPNG handle it in seconds. Resizing dimensions to 2000 pixels or less works for nearly every photo. Converting PNG to JPG slashes file size instantly. And built-in tools on every platform mean you never need to install software.
The key insight most people miss: combine two methods for stubborn files. Resize your dimensions first, then run the result through an online compressor. This two-step approach reliably gets even the largest smartphone photos well under 5MB while preserving quality you can be proud of.
Start with the method that matches your device and situation. If one does not get you under 5MB, stack a second method on top. Every photo is different, but with these techniques in your toolkit, no upload limit will stand in your way.