
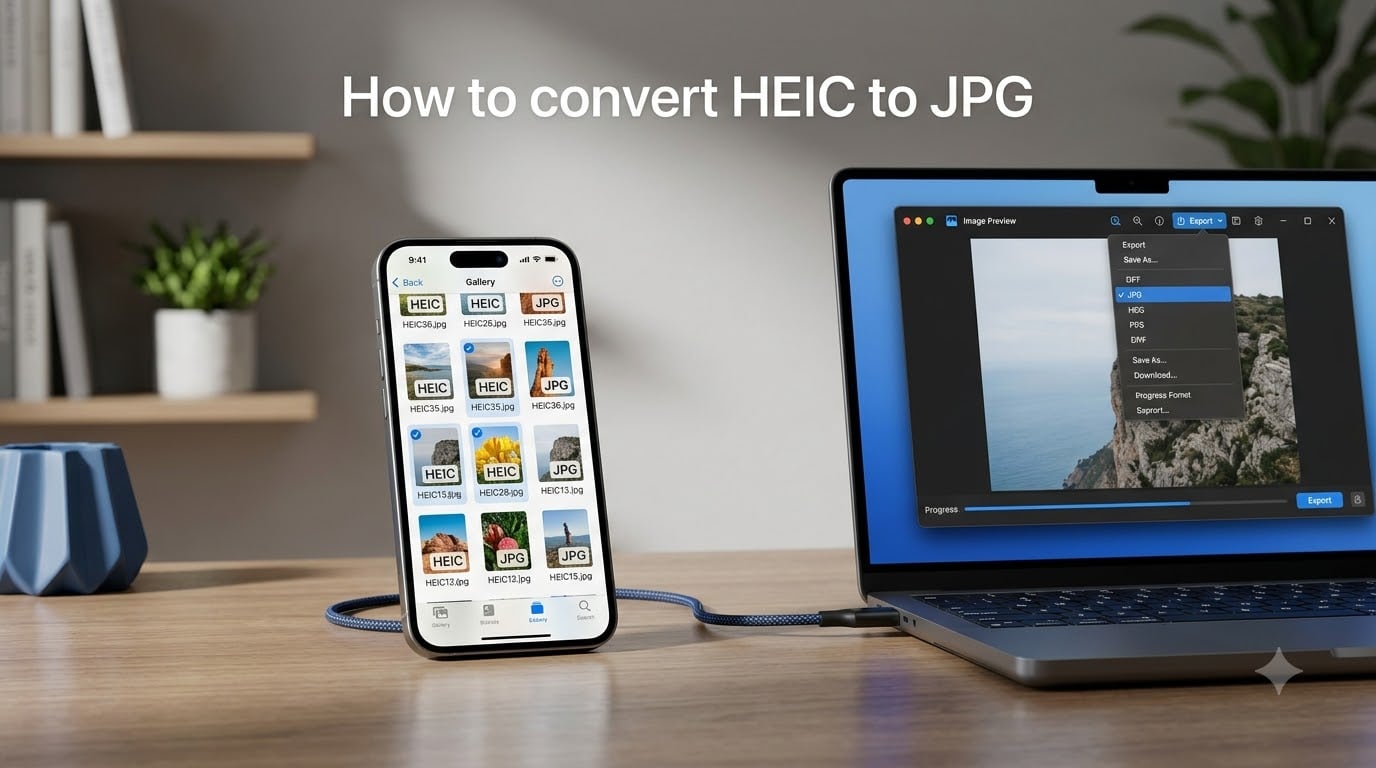
If you have ever tried to open an iPhone photo on a Windows PC or upload it to a website, only to see an error or a file that will not display, you are not alone. That frustration comes from HEIC, Apple’s default photo format since iOS 11. The good news is that learning how to convert HEIC to JPG is surprisingly simple once you know which method fits your device.
Our team has tested every major conversion method across Mac, Windows, iPhone, Android, and web-based tools to put together this complete guide. Whether you need to convert a single photo or batch process hundreds of images, we cover the exact steps with specific menu paths so you never get lost.
You will learn built-in methods that require no extra software, free online converters, and batch processing tips that Reddit users swear by. We also address the security concerns around online tools and explain why Apple switched to this format in the first place. By the end, you will have multiple reliable ways to turn those stubborn HEIC files into universally compatible JPGs.
Table of Contents
- What Is HEIC and Why Apple Uses It
- Quick Overview: All Conversion Methods
- How to Convert HEIC to JPG on Mac
- How to Convert HEIC to JPG on Windows
- How to Convert HEIC to JPG on iPhone
- How to Convert HEIC to JPG on Android
- How to Convert HEIC to JPG Online
- How to Batch Convert HEIC to JPG
- HEIC vs JPG: Which Should You Use
- FAQs
- Conclusion
What Is HEIC and Why Apple Uses It
HEIC stands for High Efficiency Image Container, and it is the file format Apple has used as its default for photos since the release of iOS 11 in 2017. It is based on the HEIF (High Efficiency Image Format) standard and uses the HEVC video codec to compress images. The result is a file that takes up roughly half the storage space of a JPEG at the same visual quality.
Apple made this switch for a practical reason: storage. When iPhones started shooting in HEIC, users could store twice as many photos without upgrading to a higher-capacity phone. The compression is genuinely impressive. A photo that might take up 4 MB as a JPEG can come in around 2 MB as an HEIC file with no visible quality loss.
The problem is compatibility. While Apple devices handle HEIC files natively, most Windows PCs, older Android devices, web browsers, and content management systems do not. That is why your photos open fine on your iPhone but show up as broken images or require special codecs on other platforms. Samsung also started saving photos as HEIC on some Galaxy models, so this is no longer just an Apple issue.
If you have ever wondered “why are my photos suddenly HEIC instead of JPG,” the answer is simple. Apple changed the default camera format starting with iOS 11 to save you storage space. The setting is called “High Efficiency” and it is turned on by default on every modern iPhone.
Quick Overview: All Conversion Methods
Here is a quick summary of every method we cover in this guide, so you can jump to the one that fits your situation:
Mac (Preview app): Open the HEIC file, export as JPEG. Best for occasional conversions with zero software needed.
Mac (Finder Quick Actions): Right-click any HEIC file, select Convert Image. Best for batch conversion on Mac.
Windows (Photos app): Open with Microsoft Photos, save a copy as JPEG. Requires HEIC codec installed from Microsoft Store.
Windows (Microsoft Store apps): Free apps like “Real HEIC to JPG Converter” handle batch processing.
iPhone (Files app trick): Save HEIC photo to Files, then export as JPG. Works without any third-party app.
iPhone (Settings change): Switch camera to “Most Compatible” to shoot JPG directly going forward.
Online converters: Browser-based tools like heictojpg.com or Adobe Express. No installation needed but has privacy considerations.
For most users, we recommend the built-in method for your specific device. It is the most reliable, has no file size limits, and keeps your photos completely private on your machine.
How to Convert HEIC to JPG on Mac
Mac users have it the easiest. Both macOS Preview and Finder can handle HEIC to JPG conversion without any additional software. Here are the two best methods.
Method 1: Using the Preview App
The Preview app comes pre-installed on every Mac and handles HEIC files natively. This is the most reliable single-file conversion method.
Step 1: Double-click your HEIC file to open it in Preview.
Step 2: In the top menu bar, click File then Export.
Step 3: In the export window, click the Format dropdown menu and select JPEG.
Step 4: Adjust the quality slider if needed (we recommend leaving it at Best for maximum image quality).
Step 5: Click Save. Your JPG file will be saved alongside the original HEIC.
That is it. The whole process takes about five seconds per image. Preview preserves your image metadata and gives you full control over the output quality.
Method 2: Using Finder Quick Actions (Batch Conversion)
This is the method Reddit users on r/macos recommend for batch conversion. You can convert one file or one hundred files with the same number of clicks. It requires macOS Big Sur or later.
Step 1: Open Finder and navigate to the folder containing your HEIC files.
Step 2: Select all the HEIC files you want to convert (hold Command and click each file, or press Command+A to select all).
Step 3: Right-click (or Control-click) the selected files.
Step 4: Select Quick Actions then click Convert Image.
Step 5: Choose JPEG as the format, select your quality level, and choose whether to keep the originals.
Step 6: Click Convert to JPEG. Finder processes all selected files at once.
This method is incredibly fast. We tested it with 50 HEIC files and the conversion completed in under three seconds. The JPG files appear in the same folder as the originals.
How to Convert HEIC to JPG on Windows
Windows requires a slightly different approach because it does not support HEIC files out of the box. You will need to install a free codec extension first, then use built-in tools or a free app to convert.
Step 1: Install the HEIC Codec
Before you can open or convert HEIC files on Windows, you need the HEIF Image Extensions or the HEVC Video Extensions from the Microsoft Store. Search for “HEIF Image Extensions” in the Microsoft Store and install it (it is free from Microsoft). Some users may also need the HEVC Video Extensions, which costs a small fee but is often pre-installed on newer Windows machines.
Method 1: Using the Microsoft Photos App
Once the codec is installed, the built-in Photos app can open and convert HEIC files.
Step 1: Right-click your HEIC file and select Open with then Photos.
Step 2: Click Save as in the top-right corner (or press Ctrl+S).
Step 3: Choose JPEG from the file format dropdown.
Step 4: Select your destination folder and click Save.
This works well for individual files but is tedious if you have dozens or hundreds of HEIC photos to convert.
Method 2: Using a Free Microsoft Store App (Best for Batch)
For batch conversion on Windows, Reddit users on r/techsupport and the Microsoft Tech Community consistently recommend free apps from the Microsoft Store. One user reported batch-converting 125 HEIC pictures in about five minutes using one of these apps.
Step 1: Open the Microsoft Store and search for “HEIC to JPG converter.”
Step 2: Install a well-reviewed free app (look for ones with 4+ stars and thousands of ratings).
Step 3: Open the app, drag and drop your HEIC files into the window.
Step 4: Select JPG as the output format and choose your output folder.
Step 5: Click Convert and wait for the batch to finish.
Microsoft Store apps are generally more trustworthy than random web converters because they go through Microsoft’s review process. That said, always check recent reviews before installing any app.
How to Convert HEIC to JPG on iPhone
There are two approaches here. You can convert existing HEIC photos already on your iPhone, or you can change your camera settings so future photos are saved as JPGs directly.
Method 1: Convert Existing HEIC Photos Using the Files App
This clever trick uses the built-in Files app to convert individual HEIC photos to JPG without any third-party software.
Step 1: Open the Photos app and select the HEIC photo you want to convert.
Step 2: Tap the Share button (square with up arrow).
Step 3: Scroll down and tap Save to Files, then choose a folder and tap Save.
Step 4: Open the Files app and navigate to the folder where you saved the photo.
Step 5: Long-press the file, then select a sharing or export option to send it as a JPG.
When iOS copies a photo from Photos to Files, it can convert the format. This is not the most elegant method, but it works entirely on-device with no apps to install.
Method 2: Change iPhone Camera Settings to Shoot JPG Directly
If you want to prevent HEIC files from being created in the first place, change your camera format. This is the answer to the commonly asked question of how to convert HEIC to JPG by preventing the issue entirely.
Step 1: Open Settings on your iPhone.
Step 2: Scroll down and tap Camera.
Step 3: Tap Formats.
Step 4: Change the setting from High Efficiency to Most Compatible.
From now on, your iPhone will save new photos as JPG instead of HEIC. Keep in mind that JPG files take up roughly twice the storage space, so you may fill up your phone faster. If storage is not a concern, this is the simplest permanent solution.
There is also a middle-ground option. In Settings, go to Photos then scroll to Transfer to Mac or PC. Select Automatic and your iPhone will automatically convert HEIC to JPG when you transfer photos to a computer. This gives you the storage savings of HEIC on your phone and the compatibility of JPG on your computer.
How to Convert HEIC to JPG on Android
Android users face HEIC files in two situations: receiving HEIC photos from iPhone users, or owning a Samsung Galaxy phone that saves photos in HEIC format. Samsung started using HEIC on the Galaxy S23 and some other models, catching many users by surprise.
If You Need to Open HEIC Files on Android
Most modern Android phones running Android 9 or later can open HEIC files in the default Gallery app. If your phone cannot, try these steps:
Step 1: Download Google Photos from the Play Store if you do not already have it.
Step 2: Open the HEIC file in Google Photos.
Step 3: Tap the three-dot menu and select Save to device. The file saves as a JPG.
If Your Samsung Phone Shoots in HEIC
Samsung calls this format “HEIF” in its settings. To switch back to JPG:
Step 1: Open the Camera app.
Step 2: Tap the gear icon for settings.
Step 3: Scroll to Save options or Format (varies by model).
Step 4: Switch from HEIF to JPG or set it to save both formats.
For converting existing HEIC files on Android, the built-in Gallery app or Google Photos is your best bet. Avoid sketchy converter apps from the Play Store unless they have strong reviews and a clear privacy policy.
How to Convert HEIC to JPG Online
Online converters are the fastest option when you are on a computer that is not yours, or when you do not want to install anything. They work entirely in your browser with no software download required.
Top Free Online Converters
heictojpg.com: A dedicated, free tool that lets you upload up to 200 HEIC images at once. Simply drag and drop your files, wait a few seconds, and download the converted JPGs. No account needed.
Adobe Express: Adobe’s free HEIC to JPG converter is fast and reliable. Upload your file, let it convert, and download the result. The advantage here is Adobe’s reputation for handling images correctly.
FreeConvert.com: Offers batch conversion with adjustable quality settings. Also supports converting HEIC to PNG and other formats if needed.
Canva: If you already use Canva for design work, their built-in converter handles HEIC to JPG as part of the upload process.
How to Use an Online Converter
Step 1: Go to your chosen converter website.
Step 2: Drag and drop your HEIC file(s) onto the page, or click the upload button to browse.
Step 3: Wait for the upload and conversion to complete (usually a few seconds).
Step 4: Click Download to save your JPG file(s).
Security and Privacy Warning
This is an important topic that many guides gloss over. When you upload photos to an online converter, you are sending your images to a third-party server. Here is what our team recommends based on forum research and user experiences:
Do not upload sensitive photos to online converters. If a photo contains personal information, financial documents, or anything you would not want a stranger to see, use a built-in offline method instead.
Avoid Chrome extensions for HEIC conversion. Reddit users on r/chrome have reported that some extensions request unnecessary permissions and may access more of your data than needed. Browser extensions are harder to vet than websites.
Check for auto-deletion policies. Reputable converters like Adobe Express and FreeConvert state that they delete your files after a short period. Look for this policy on the site before uploading.
Prefer built-in tools for regular use. If you convert HEIC files frequently, install a desktop tool or use your operating system’s built-in features. It is faster, more private, and does not depend on your internet connection.
How to Batch Convert HEIC to JPG
Batch conversion is one of the most common requests on Reddit and tech forums. If you have hundreds or thousands of HEIC photos from a vacation, a wedding, or years of iPhone backups, converting them one at a time is not practical. Here are the best batch methods for each platform.
Batch Conversion on Mac
The Finder Quick Actions method described earlier is the fastest batch option on Mac. Select all files, right-click, and convert. For even more control, Mac users can use Automator to create a custom conversion workflow, or use the Terminal with the sips command for power users who are comfortable with command-line tools.
Another option is Apple’s free Image Capture app, which can import and convert photos from connected iOS devices in batch.
Batch Conversion on Windows
For Windows, we recommend a Microsoft Store app specifically designed for batch HEIC conversion. These apps let you drag in dozens or hundreds of files and convert them all at once. Look for apps that allow you to set a target quality level and output folder before processing.
Power users can also use ImageMagick, a free command-line tool, to batch convert HEIC files. The command is straightforward: mogrify -format jpg *.heic converts every HEIC file in a folder to JPG.
Batch Conversion Online
heictojpg.com supports up to 200 images per batch, making it the best online option for large jobs. FreeConvert.com also handles batch uploads. Keep in mind that free tiers on most online tools have daily limits, which Reddit users have noted is frustrating for power users processing large libraries.
HEIC vs JPG: Which Should You Use
Now that you know how to convert HEIC to JPG, you might be wondering which format you should actually use. Here is a quick comparison to help you decide.
File size: HEIC files are about 50% smaller than JPG files at equivalent quality. This matters a lot on phones with limited storage.
Image quality: HEIC technically offers slightly better quality at the same file size. In practice, the difference is barely noticeable for everyday photos.
Compatibility: JPG wins by a landslide. Every device, browser, and application supports JPG. HEIC support is growing but is still inconsistent outside the Apple ecosystem.
Our recommendation: Keep shooting in HEIC on your iPhone if storage matters to you, but set your transfer settings to “Automatic” so files convert to JPG when you move them to a computer. This gives you the best of both worlds.
FAQs
How can I convert HEIC to JPG without software?
On Mac, open the HEIC file in Preview, go to File u0026gt; Export, and select JPEG as the format. On Windows, open the file in the Photos app and use Save As to choose JPEG. Both methods use built-in operating system tools with no additional software required. You can also use a free online converter like heictojpg.com, which works entirely in your browser.
How do I convert my iPhone photos to JPG?
The easiest way is to change your iPhone camera settings. Go to Settings u0026gt; Camera u0026gt; Formats and switch from High Efficiency to Most Compatible. New photos will save as JPG. For existing HEIC photos, you can use the Files app trick or transfer them to a computer with the Automatic transfer setting enabled, which converts them to JPG during the transfer.
How do I convert HEIC to JPG on Windows for free?
Install the free HEIF Image Extensions from the Microsoft Store, then open your HEIC file in the Microsoft Photos app and use Save As to export as JPEG. For batch conversion on Windows, download a free HEIC converter app from the Microsoft Store, which lets you drag and drop multiple files at once.
Why are my photos suddenly HEIC instead of JPG?
Apple switched the default iPhone photo format to HEIC starting with iOS 11 in 2017 to save storage space. HEIC files are about 50% smaller than JPG files at the same quality. Samsung also began using HEIC on some Galaxy models. If you want your photos saved as JPG again, change your camera settings from High Efficiency to Most Compatible.
Is there a quality loss when converting HEIC to JPG?
There is a minimal, usually imperceptible quality loss when converting from HEIC to JPG because JPG uses a different compression algorithm. For everyday photos shared online or viewed on screens, the difference is not visible. If you need maximum quality, use the highest quality setting available in your conversion tool.
Can I convert multiple HEIC files to JPG at once?
Yes. On Mac, select all files in Finder, right-click, and choose Quick Actions u0026gt; Convert Image to JPEG. On Windows, use a batch converter app from the Microsoft Store. Online, heictojpg.com supports up to 200 images per batch. Command-line tools like ImageMagick can also batch convert entire folders.
Conclusion
Knowing how to convert HEIC to JPG gives you the freedom to share your iPhone photos anywhere without compatibility headaches. The fastest method depends on your device: use Preview or Finder Quick Actions on Mac, the Photos app or a Microsoft Store converter on Windows, and the Files app or camera settings on iPhone. For batch jobs, built-in OS tools or dedicated apps beat manual conversion every time.
We recommend keeping HEIC enabled for storage savings and using the Automatic transfer setting so your iPhone converts photos to JPG during transfer. If privacy matters, stick with built-in offline tools instead of online converters for sensitive images. Bookmark this guide so you have the exact menu paths ready next time you need to convert a batch of photos.