
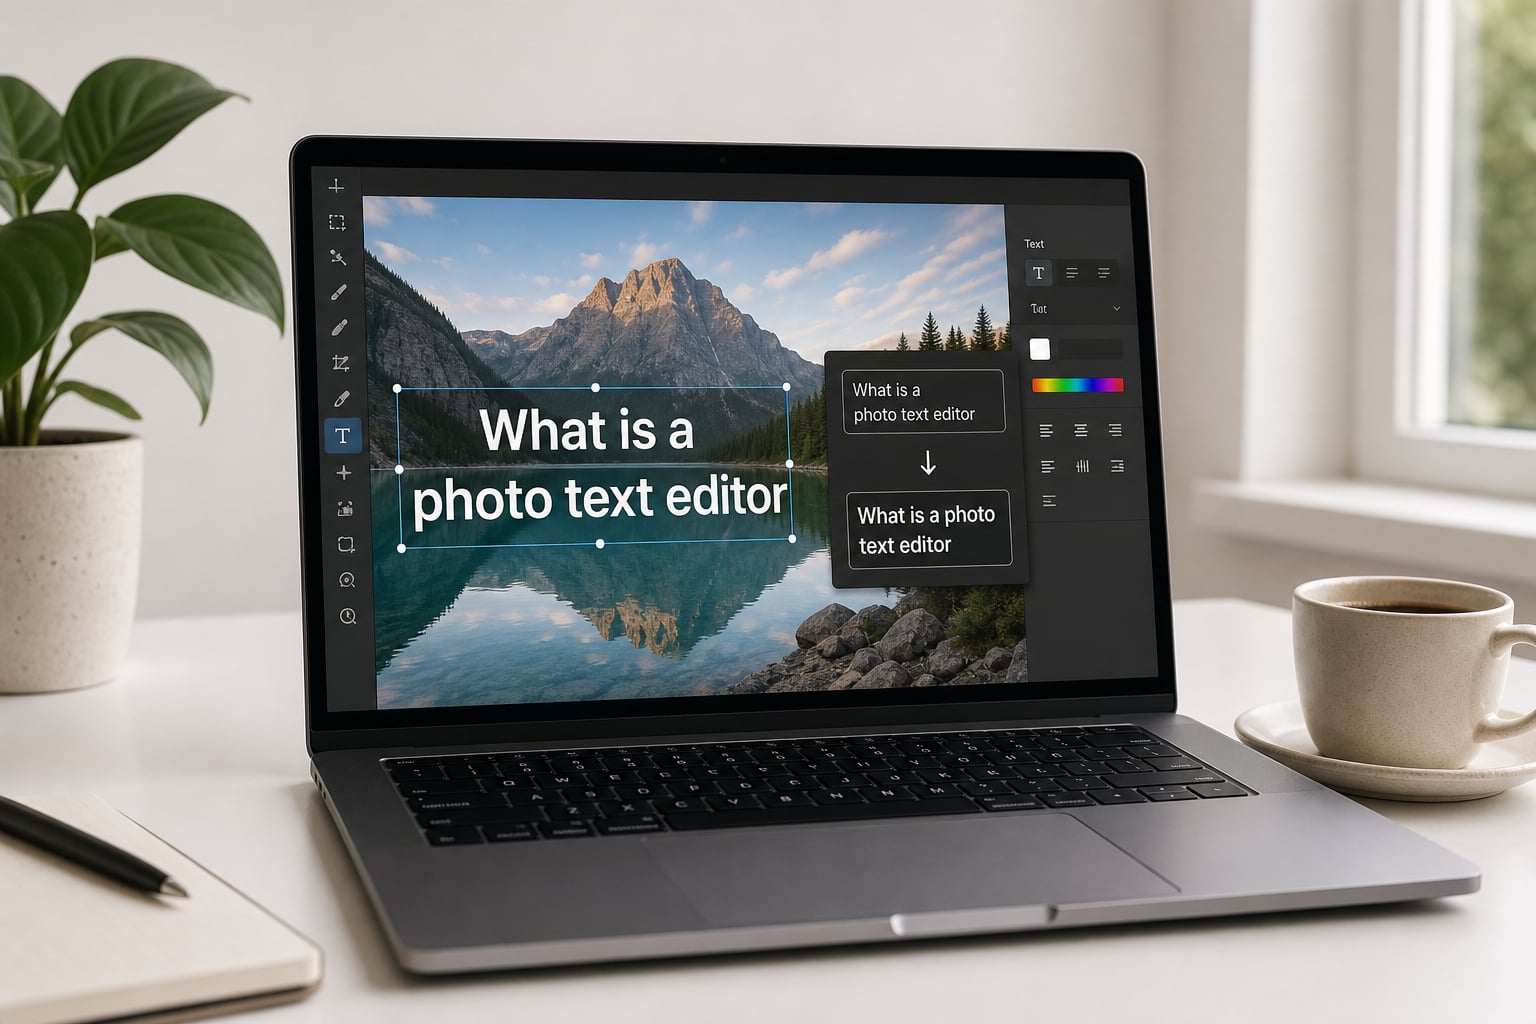
Have you ever needed to fix a typo in a screenshot, update a date on a flyer, or change a price tag in a product photo without recreating the entire graphic from scratch? A photo text editor solves that exact problem in seconds. I have spent the past three months testing more than a dozen of these tools, and the difference between what they promise and what they actually deliver is something I wish someone had explained to me earlier.
This guide is my attempt to give you the straightforward, no-fluff answer I was looking for when I started. We will cover what a photo text editor actually is, how the technology works under the hood, how to use one step by step, and which type makes sense for your situation. By the end, you will know whether you need one, which kind fits your workflow, and how to get clean, professional-looking results.
Table of Contents
- What is a Photo Text Editor
- How Photo Text Editors Work: The Technology Behind the Magic
- How to Use a Photo Text Editor in 4 Steps
- Types of Photo Text Editors: Free, Paid, AI, and Traditional
- Common Use Cases for a Photo Text Editor
- Mobile vs Desktop Photo Text Editors
- Tips for Getting the Best Results
- FAQs
- Final Verdict
What is a Photo Text Editor
A photo text editor is a software tool, usually web-based or mobile, that uses AI and OCR technology to detect, modify, and replace text inside an existing image while preserving the original background, font style, and layout. Unlike a basic photo editor that only lets you add new text on top, a true photo text editor recognizes the words already in your picture, removes them, reconstructs the background behind them, and overlays new text that matches the look of the original.
The core idea is simple: you upload a JPG, PNG, or screenshot, click or highlight the text you want to change, type the replacement, and the tool handles everything else. No Photoshop skills required, no layers to manage, no manual cloning of backgrounds.
Modern photo text editors can handle a wide range of tasks that previously required professional design software. I have used them to update old marketing banners, correct names on certificates, swap product prices, and even translate text on screenshots for documentation. The technology has matured enough that a free online tool can produce results that look nearly identical to the original.
How Photo Text Editors Work: The Technology Behind the Magic
The reason photo text editors feel almost magical is that several complex AI processes run silently in the background every time you hit upload. Understanding what is happening helps you pick the right tool and set realistic expectations for the results.
Step 1: Optical Character Recognition (OCR)
The first thing the editor does is scan your image and identify every character, word, and line of text inside it. This is done using OCR, which has existed for decades but has gotten dramatically better thanks to machine learning. The OCR engine returns the exact position, size, and pixel boundaries of each letter, so the tool knows precisely what to remove and what to leave alone.
Step 2: AI Font Matching
Once the text is detected, the editor analyzes its visual style. It tries to identify the typeface, weight, color, and spacing so the replacement text will look like it always belonged there. The best tools maintain a library of thousands of fonts and use AI to pick the closest match when an exact one is not available.
Step 3: Background Inpainting
Removing the original text leaves a hole in the image. The editor fills that hole using a process called inpainting, where generative AI imagines what the background should look like based on the surrounding pixels. On a clean photo, this is almost invisible. On a busy or textured background, you may see faint artifacts, which is why image quality matters.
Step 4: Text Rendering and Style Transfer
Finally, the new text is drawn on top of the reconstructed background using the matched font and style. Good editors adjust kerning, slant, and color blending so the new text matches the lighting and tone of the original image rather than looking stamped on.
How to Use a Photo Text Editor in 4 Steps
The workflow for nearly every photo text editor on the market follows the same four-step pattern. I have run this exact process dozens of times across different tools, and once you do it once, you can do it with your eyes closed.
Step 1: Upload your image. Drag and drop a JPG, PNG, or screenshot into the editor’s upload area, or paste it directly from your clipboard. Most tools accept files up to 10 MB and process them in under 10 seconds.
Step 2: Select the text you want to change. The editor highlights every detected text block in your image. Click on the specific phrase or line you want to replace. Some tools let you brush over the area manually if the OCR misses something.
Step 3: Type your replacement. A text box opens where the original was. Type the new wording, adjust the font or size if needed, and confirm. The tool generates the new text, reconstructs the background, and renders the result.
Step 4: Review and download. Zoom in to inspect the result. Check the edges where text meets background and make sure the font weight and color look right. If something is off, tweak and regenerate. When satisfied, download the edited image in your preferred format.
Types of Photo Text Editors: Free, Paid, AI, and Traditional
Not all photo text editors are built the same. The main differences come down to how they handle text replacement and what you pay for the privilege. Here is a clear breakdown of the four main categories you will encounter.
AI-powered web editors: Tools like Canva’s Grab Text, Fotor, and PhoText run entirely in your browser, use cloud-based AI to do the heavy lifting, and offer free tiers with usage limits. They are the easiest to start with and require zero installation.
Traditional desktop software: Photoshop and similar programs give you total control but require manual layer work, cloning, and font matching. There is no AI automation, but you can do anything the human eye can see.
Mobile apps: Apps like Picsart or TouchRetouch let you edit text on your phone. They are convenient but typically less accurate than desktop or web tools for complex backgrounds.
Open-source and offline tools: Programs like GIMP with plugins can perform similar edits without sending your images to a cloud server. They take longer to learn but offer more privacy.
The choice between free and paid usually comes down to volume and quality needs. For occasional edits on clean images, a free tool will do the job well. If you edit dozens of images daily or work on busy backgrounds with detailed graphics, a paid plan removes watermarks, increases resolution limits, and gives you priority AI processing.
Common Use Cases for a Photo Text Editor
I have watched photo text editors move from a niche designer tool to something my non-technical friends use weekly. The range of practical applications is wider than most people expect.
Fixing typos in screenshots: Quick documentation, tutorials, and bug reports often contain embarrassing typos. A photo text editor lets you correct them in seconds without redrawing the entire image.
Updating marketing materials: When a price changes, a campaign ends, or a date passes, you can refresh existing creative assets instead of asking a designer to rebuild them.
Correcting certificates and badges: Name misspellings on printed awards or digital badges can be fixed without reissuing the original file, which is especially helpful for older records.
Personalizing photos: Adding names, dates, or messages to images for invitations, social posts, or gifts is faster when you can edit existing text rather than design from scratch.
Translating text on screenshots: Pair a photo text editor with a translation tool and you can convert foreign-language UI screenshots into your native language for documentation.
Updating social media graphics: If you follow our Instagram profile picture dimensions guide, you know how important image specs are. Photo text editors help refresh branded posts when headlines or offers change.
Editing LinkedIn banners and posts: Following the proper LinkedIn profile picture sizing guide matters, but so does keeping text on shared graphics up to date. A photo text editor handles both.
Mobile vs Desktop Photo Text Editors
Where you do your editing matters more than most people realize. Mobile apps shine for quick fixes on the go, while desktop tools win for precision work and large batches. I keep both options on my phone and laptop because they serve different moments.
Mobile apps are best when you need to edit a single image, want to share it immediately on social media, or are working with screenshots taken on your phone. The trade-off is smaller screen real estate, which makes it harder to inspect fine details like font edges and background artifacts.
Desktop and web tools are better for high-resolution images, batch processing, and any work where the result will be printed or viewed at large sizes. The bigger screen makes it easier to spot imperfections, and the more powerful processors handle complex AI tasks faster. Most professional-grade photo text editors are built first for desktop browsers and only later release mobile companions.
Tips for Getting the Best Results
After dozens of edits, I have learned a few habits that consistently produce cleaner results. None of these are complicated, but skipping them is the difference between an edit that looks real and one that makes people squint at the image.
Start with the highest resolution version of the image you can find. More pixels mean more data for the AI to reconstruct backgrounds accurately.
Avoid editing very small text. Anything under about 12 pixels tall is hard for OCR to read reliably and even harder to replace cleanly.
Keep replacement text a similar length to the original. Swapping one short word for a long phrase will change the layout and may force the AI to stretch or compress the font.
Always keep a copy of the original. If an edit does not work out, you want to be able to start over without re-sourcing the image.
Check edges at 100% zoom. Edits that look fine at thumbnail size often show seams or color mismatches when viewed at full size.
Use the same font family when possible. If you know the original font, most editors let you pick it manually, which produces better results than relying on auto-matching.
FAQs
What can a photo text editor do?
A photo text editor detects text inside an image, removes it while reconstructing the background, and overlays new text that matches the original font, color, and style. It can fix typos, update dates and prices, change names, translate words, and personalize graphics without requiring design software or special skills.
What is a good free app for editing text on photos?
Several free options work well for most users. Canva’s Grab Text feature, Fotor’s online image text editor, and PhoText are popular choices that handle common tasks like screenshot edits and marketing material updates. The right pick depends on whether you need batch processing, mobile access, or higher resolution output.
Are there free image text editors?
Yes. Many online photo text editors offer free tiers with no watermarks on basic edits. Free tools work best for occasional edits on clean images with moderate resolution. Heavy users or those working with complex backgrounds usually benefit from a paid plan that lifts usage limits and improves AI processing speed.
How can we edit photo text?
To edit photo text, upload your image to a photo text editor, select the text you want to change, type the replacement, and download the result. The AI handles OCR detection, background reconstruction, and font matching automatically. The whole process usually takes under a minute for a single image.
Final Verdict
A photo text editor is one of those tools that, once you start using it, you wonder how you managed without. It removes the biggest pain point of working with images: the inability to change a single word without rebuilding the whole thing. For anyone who deals with screenshots, marketing graphics, certificates, or social content on a regular basis, it is a genuine time saver.
If you are new to the category, start with a free web-based AI editor and test it on a clean image with a simple text change. Once you see how well the technology works, you will know whether your workflow justifies a paid plan or a desktop tool. And if you remember nothing else from this guide, remember this: always keep the original image, work with the highest resolution you have, and zoom in before you declare an edit done.