
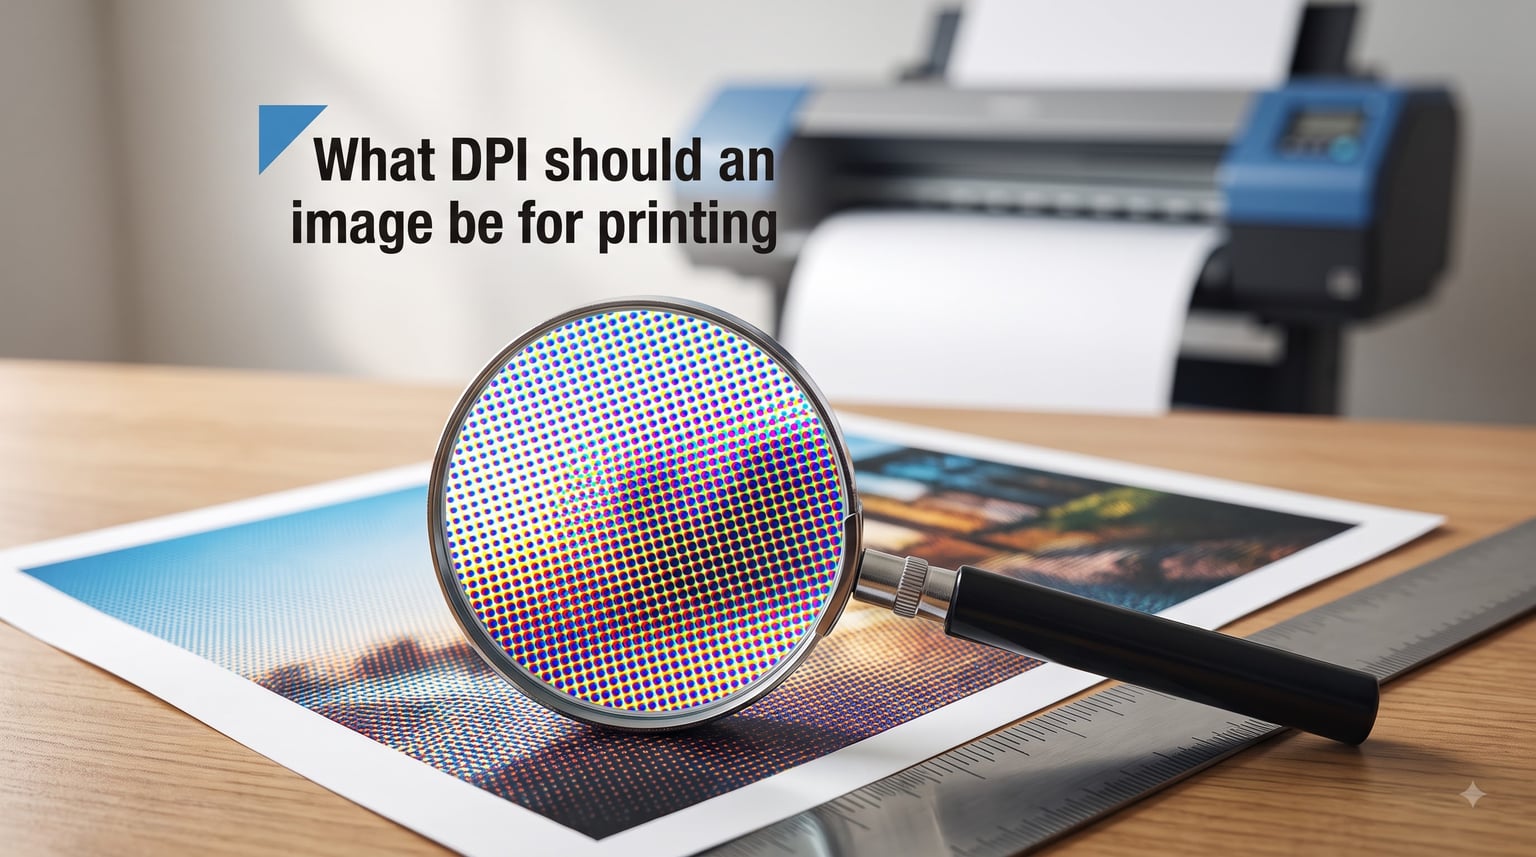
For high-quality printing, your image should be at 300 DPI (dots per inch) at its final printed size. This is the gold standard that professional photographers, print shops, and graphic designers rely on for sharp, detailed results. Anything below 200 DPI risks looking blurry or pixelated on paper.
But the right DPI depends on what you are printing and how far away people will view it. A business card needs different resolution than a billboard. In this guide, our team breaks down exactly what DPI should an image be for printing across every common scenario, from photos and posters to documents and fine art prints.
We have tested these recommendations against real-world print jobs and cross-referenced them with professional printing specifications. Whether you are preparing wedding photos for an album, designing a brochure, or printing a canvas for your wall, you will find the exact numbers and steps you need below.
Table of Contents
- What DPI Should an Image Be for Printing? The Short Answer
- What Is DPI and Why Does It Matter for Printing?
- DPI vs PPI: Understanding the Difference
- Standard DPI Requirements by Print Type
- Print Size to Pixel Dimensions Quick Reference
- How Viewing Distance Affects DPI Needs
- How to Check Your Image DPI
- Common DPI Mistakes to Avoid
- Can You Fix a Low-Resolution Image?
- Best File Formats for High-DPI Printing
- Color Considerations: RGB vs CMYK for Print
- FAQs
- Final Thoughts on Print DPI
What DPI Should an Image Be for Printing? The Short Answer
For most print projects, 300 DPI is the standard answer. Here is the quick breakdown our team uses when deciding what DPI should an image be for printing across different print types:
Photographs and photo books: 300 DPI minimum
Brochures, flyers, and magazines: 300 DPI
Business cards and small promotional items: 350 to 400 DPI
Fine art and gallery prints: 300 to 480 DPI
Posters viewed from 3 to 5 feet away: 150 to 200 DPI
Large banners and signage viewed from 10+ feet: 72 to 100 DPI
Text-only documents: 300 to 400 DPI
The key principle is that smaller prints viewed up close need higher DPI. Larger prints viewed from a distance can get away with lower DPI without anyone noticing a difference in quality.
If you only remember one number from this article, make it 300 DPI. That covers 90% of everyday printing needs.
What Is DPI and Why Does It Matter for Printing?
DPI stands for dots per inch, and it measures how many individual ink dots a printer places within each inch of paper. The more dots per inch, the finer the detail and the sharper the printed image appears.
Think of it like a mosaic. If you have 300 tiny tiles per inch, the image looks smooth and photographic. Drop that to 72 tiles per inch and you start seeing the individual squares. That is exactly what happens when you print a low-resolution image.
DPI directly controls print quality in three ways:
Sharpness: Higher DPI produces crisper edges and finer detail
Color smoothness: More dots per inch means smoother gradients and less banding
Text clarity: Fine text becomes readable rather than blurry at higher DPI
When your image does not have enough pixels to support the DPI you need, the printer has to stretch each pixel across multiple ink dots. This creates that blocky, pixelated look that ruins prints.
This is why understanding what DPI should an image be for printing matters so much. Setting the wrong resolution wastes ink, paper, and time on prints that look amateur.
DPI vs PPI: Understanding the Difference
One of the most common sources of confusion is the difference between DPI and PPI. People use them interchangeably, but they measure different things.
PPI (pixels per inch) refers to the digital image file. It describes how many pixels exist per inch within your digital photo. A 3000-pixel-wide image printed at 10 inches wide has a PPI of 300.
DPI (dots per inch) refers to the physical printer. It describes how many ink dots the printer hardware lays down per inch of paper. A printer set to 300 DPI places 300 microscopic ink droplets per inch.
The relationship is straightforward. Your image needs enough pixels (PPI) to give the printer enough data to produce high-quality dots (DPI). If your digital image only has 72 PPI and you print it at 300 DPI, the printer has to invent the missing pixels. The result is a blurry print.
Here is the practical takeaway: when someone asks you to provide an image at 300 DPI for printing, they really mean 300 PPI in the digital file. The print industry uses DPI as shorthand for image resolution, but technically they are asking about pixel density in your source file.
Standard DPI Requirements by Print Type
Different print products have different resolution needs based on how they are produced and viewed. Here is our detailed guide to what DPI should an image be for printing based on the specific project type.
Photo Printing (Standard Photos)
Standard photo prints at sizes like 4×6, 5×7, and 8×10 should be 300 DPI. This is the industry standard for photo labs, online printing services, and home inkjet photo printers.
At 300 DPI, a 4×6 photo needs 1200 x 1800 pixels. An 8×10 needs 2400 x 3000 pixels. These dimensions give you professional-grade prints with smooth skin tones and crisp detail.
Magazines and Brochures
Commercial print jobs for magazines, brochures, and catalogs also require 300 DPI. These are viewed at reading distance (12 to 18 inches), so the resolution needs to hold up under close inspection.
Professional printing companies reject files below 300 DPI for these products because the quality loss is immediately visible to readers.
Business Cards and Small Format
Business cards, postcards, and other small printed materials benefit from 350 to 400 DPI. Because these items are held close to the face and feature small text, the extra resolution keeps everything tack-sharp.
At 400 DPI, a standard 3.5 x 2 inch business card needs 1400 x 800 pixels. Most modern cameras and design software easily handle this.
Fine Art Prints and Gallery Work
Fine art prints typically use 300 to 480 DPI. Art reproductions that need to capture brush texture, fine lines, and subtle gradients benefit from the higher end of that range.
Many fine art printmakers and giclee printing services request 360 DPI specifically, as it provides an excellent balance between detail and manageable file sizes.
Posters and Large Format Prints
Posters change the rules. A 24×36 poster viewed from 3 to 5 feet away can look great at 150 DPI. Since the human eye cannot resolve fine detail at that distance, the lower resolution is invisible.
This is one of the biggest misunderstandings about print resolution. People assume every print needs 300 DPI, but large format printing has completely different requirements.
Banners and Outdoor Signage
Large banners, trade show displays, and billboards can work at 72 to 100 DPI. When something is viewed from 10 feet or more, even 72 DPI produces a clean-looking image because your eyes simply cannot see the individual pixels from that distance.
Documents and Text Printing
For text-heavy documents, 300 to 400 DPI is standard. Black text on white paper is less demanding than photos, but you still need enough resolution to keep letters crisp. Most home and office printers default to 600 DPI for text, which is more than sufficient.
Print Size to Pixel Dimensions Quick Reference
To take the guesswork out of preparation, here is a quick-reference chart showing the pixel dimensions you need at 300 DPI for common print sizes. This is the chart our team uses before sending any file to print.
At 300 DPI, you need these pixel dimensions:
Wallet size (2.5 x 3.5 inches): 750 x 1050 pixels
4×6 inches: 1200 x 1800 pixels
5×7 inches: 1500 x 2100 pixels
8×10 inches: 2400 x 3000 pixels
8.5×11 inches (letter size): 2550 x 3300 pixels
11×14 inches: 3300 x 4200 pixels
11×17 inches (tabloid): 3300 x 5100 pixels
16×20 inches: 4800 x 6000 pixels
20×30 inches: 6000 x 9000 pixels
24×36 inches (poster): 7200 x 10800 pixels
To calculate this yourself, simply multiply your print width in inches by 300 and your print height in inches by 300. The formula is inches x 300 = required pixels.
For example, a 12×12 inch photo album page at 300 DPI needs 3600 x 3600 pixels. That is roughly a 13-megapixel image, which most smartphone cameras from the last several years can produce.
How Viewing Distance Affects DPI Needs
Viewing distance is the single biggest factor that changes DPI requirements, and most guides completely skip this concept. The further away you stand from a printed image, the less resolution your eyes can perceive.
Think about a billboard. It might be printed at 30 DPI, but from 50 feet away on the highway, it looks perfectly sharp. Stand two feet from that same billboard and it would look like a mess of colored blocks.
Here is a practical guideline for matching DPI to viewing distance:
Hand-held distance (6 to 12 inches): 300 to 400 DPI (photos, business cards, magazines)
Reading distance (12 to 24 inches): 250 to 300 DPI (documents, books, brochures)
Arm’s length to wall distance (3 to 6 feet): 150 to 200 DPI (posters, framed wall art)
Room distance (6 to 15 feet): 100 to 150 DPI (large canvas prints, trade show graphics)
Long distance (15+ feet): 50 to 100 DPI (banners, billboards, outdoor signage)
This means you can print a 24×36 poster from a file that only has 150 DPI and it will look great on your wall. The pixel dimensions would be 3600 x 5400, which is totally manageable.
Professional photographers and print labs on forums consistently confirm this. For large format prints, they regularly deliver files at 150 to 200 DPI because the viewing distance makes anything higher pointless.
How to Check Your Image DPI
Checking your image DPI before sending it to print takes seconds and saves you from disappointing results. Here are step-by-step instructions for every common platform.
How to Check DPI on Windows
Right-click the image file and select Properties. Click the Details tab. Look for the Horizontal resolution and Vertical resolution fields, which show the DPI value.
Alternatively, open the image in Photos, right-click, and select File information to see resolution details.
How to Check DPI on Mac
Open the image in Preview. Click Tools in the menu bar, then select Show Inspector (or press Command+I). Click the i (more info) tab and look for Image DPI or Resolution.
The Preview app also shows pixel dimensions in this panel, which lets you calculate effective DPI for any print size.
How to Check DPI in Photoshop
Open the image in Photoshop. Go to Image then Image Size (or press Alt+Command+I on Mac, Alt+Ctrl+I on Windows). The Resolution field shows the current PPI value.
Make sure the Resample checkbox is unchecked when you are just checking, not changing, the resolution. This prevents accidental quality loss.
How to Check DPI in Adobe InDesign
InDesign shows effective and actual PPI for placed images. Select the image, then open Window and choose Links. The Links panel displays both Actual PPI (the original file resolution) and Effective PPI (the resolution at the scaled size in your layout).
Effective PPI is the number that matters for printing. If it drops below 300, you need a higher-resolution source image.
How to Check DPI Online
If you do not have access to image editing software, free online tools like DPI checking websites let you upload an image and instantly see its resolution, dimensions, and DPI value. Search for “online DPI checker” to find current options.
Common DPI Mistakes to Avoid
After reviewing countless forum discussions and print shop guidelines, our team identified the most common mistakes people make with print resolution. Avoid these and your prints will always look professional.
Mistake 1: Using 72 DPI Web Images for Print
Web images are typically saved at 72 DPI because screens display at much lower resolution than printers. Pulling an image off a website and printing it at 8×10 almost always produces a blurry, pixelated result.
The image may look fine on your monitor, but monitors and printers work at completely different scales. Always start with a high-resolution source image for print projects.
Mistake 2: Confusing Megapixels with DPI
A 12-megapixel camera does not automatically produce 300 DPI prints. Megapixels measure total pixel count, not pixel density. Whether that 12-megapixel image prints at 300 DPI depends entirely on the physical print size.
The same image file could be 300 DPI at 8×10 but only 150 DPI at 16×20. Always calculate based on the final output size.
Mistake 3: Forgetting That Enlarging Reduces DPI
This catches people off guard constantly. If you have a 300 DPI image at 4×6 and you enlarge it to 8×12, the DPI drops to 150. The pixel count stays the same, but those pixels now spread across twice the physical area.
Any time you scale an image up, calculate the new effective DPI. This is exactly why Adobe InDesign shows both Actual PPI and Effective PPI.
Mistake 4: Assuming Higher DPI Is Always Better
More is not always better. Printing at 1200 DPI when 300 DPI is sufficient does not improve quality. It just creates enormous files, slows down your printer, and wastes ink. The printer cannot add detail that does not exist in your source file.
Match your DPI to the print type and viewing distance. Going beyond what the eye can perceive at a given distance provides zero benefit.
Can You Fix a Low-Resolution Image?
This is the question we see most often in photography and design forums. The honest answer is: not really, but there are options.
Simply changing the DPI setting from 72 to 300 in Photoshop does not add detail. If your image has 1000 pixels and you need 3000, the software has to invent the missing 2000 pixels. This process, called upsampling or interpolation, produces larger files but not better quality.
The printed result of an upsampled 72 DPI image is still blurry. You cannot create detail that was never captured.
However, there are some legitimate approaches if you are stuck with a low-resolution image:
AI upscaling tools: Modern AI-powered upscalers like Topaz Gigapixel and similar tools can add plausible detail using machine learning. Results vary, but they can rescue borderline images.
Print smaller: The same image that looks terrible at 16×20 might look fine at 4×6. Reducing print size increases effective DPI.
Add artistic effects: Applying a painterly filter or heavy stylization can mask low resolution intentionally.
Use for distant viewing: If the print will be viewed from across a room, lower DPI may be completely acceptable.
The best solution is always to start with a high-resolution source image. Professional photographers deliver at 300 DPI minimum for this exact reason.
Best File Formats for High-DPI Printing
The file format you choose affects print quality alongside DPI. Here is what our team recommends for print projects.
TIFF (.tif): The professional standard for print. TIFF files use lossless compression, preserving every pixel of detail. They are large but produce the best results. Most print shops prefer TIFF for high-resolution images.
PNG (.png): Also lossless and suitable for print, especially for graphics with text or sharp edges. PNGs handle transparency well, which makes them useful for layered designs.
JPEG (.jpg): Acceptable for print if saved at maximum quality (low compression). JPEG uses lossy compression, which discards some image data each time you save. For critical print work, use TIFF instead.
PSD and AI: Native Photoshop and Illustrator files preserve layers, vectors, and full resolution. These are ideal for sending to professional print services that accept them.
Avoid: GIF files for print (limited to 256 colors), and never print from web-optimized JPEGs that have been compressed multiple times.
Color Considerations: RGB vs CMYK for Print
While not directly related to DPI, color mode affects your final print quality. Images destined for print should eventually be converted from RGB (screen color space) to CMYK (print color space).
RGB uses red, green, and blue light to create colors. CMYK uses cyan, magenta, yellow, and black ink. The color ranges overlap but are not identical, so some bright RGB colors cannot be reproduced in print.
Convert your images to CMYK before printing to get an accurate preview of how colors will look on paper. Some vivid blues and greens in RGB become muted when printed because the CMYK gamut is smaller.
For best results, work in RGB while editing and convert to CMYK as the final step before sending to print. This preserves your editing flexibility while ensuring print-accurate colors.
FAQs
How do I tell if my photo is 300 DPI?
On Windows, right-click the image, select Properties, then the Details tab, and look for Horizontal Resolution. On Mac, open the image in Preview, go to Tools, then Show Inspector, and check the DPI value. In Photoshop, go to Image, then Image Size to see the resolution field. Any value of 300 or higher means your photo meets the print quality standard.
Is 600 or 300 DPI better for print quality?
For most everyday printing, 300 DPI is the sweet spot and produces professional-quality results. 600 DPI can improve fine text and line art but provides no visible improvement for photographs viewed at normal distances. Printing photos at 600 DPI when the source image is 300 DPI does not add detail. Use 600 DPI for documents with small text or when your printer specifically recommends it.
Can you change a photo from 72 DPI to 300 DPI?
You can change the DPI setting in software like Photoshop, but this does not improve actual print quality. If your image only has enough pixels for 72 DPI at your desired print size, changing the number to 300 just spreads the same limited pixels across more inches. The print will still look soft or pixelated. You need a higher-resolution source image to genuinely print at 300 DPI.
Is 1200 DPI too much for printing?
For most print projects, yes. 1200 DPI produces enormous file sizes and offers no visible quality improvement over 300 DPI for photographs at normal viewing distances. Professional photographers and print labs use 300 DPI as the standard. Reserve 1200 DPI for specialized applications like fine line art reproduction, micro-text, or specific professional equipment requirements.
What DPI should I use for large poster printing?
For posters viewed from 3 to 6 feet away, 150 to 200 DPI is sufficient and produces excellent results. For banners and large signage viewed from 10 feet or more, 72 to 100 DPI works well. The viewing distance principle means large prints do not need the same resolution as small photos held in your hand.
Final Thoughts on Print DPI
Getting the right DPI for printing comes down to one core principle: match your resolution to how the print will be viewed. For most projects, 300 DPI is the answer to what DPI should an image be for printing. It delivers professional-quality photos, documents, and marketing materials that look sharp and detailed.
Remember the key exceptions: large posters and banners can use 150 DPI or less because viewing distance hides lower resolution. Business cards and fine art prints may benefit from 350 to 400 DPI for extra crispness under close inspection.
Start every print project by calculating the pixel dimensions you need using the formula inches x 300 = pixels. Check your image resolution before sending it to print. And when in doubt, always start with the highest-resolution source image you can get. You can always scale down, but you can never genuinely add detail that was never captured.