
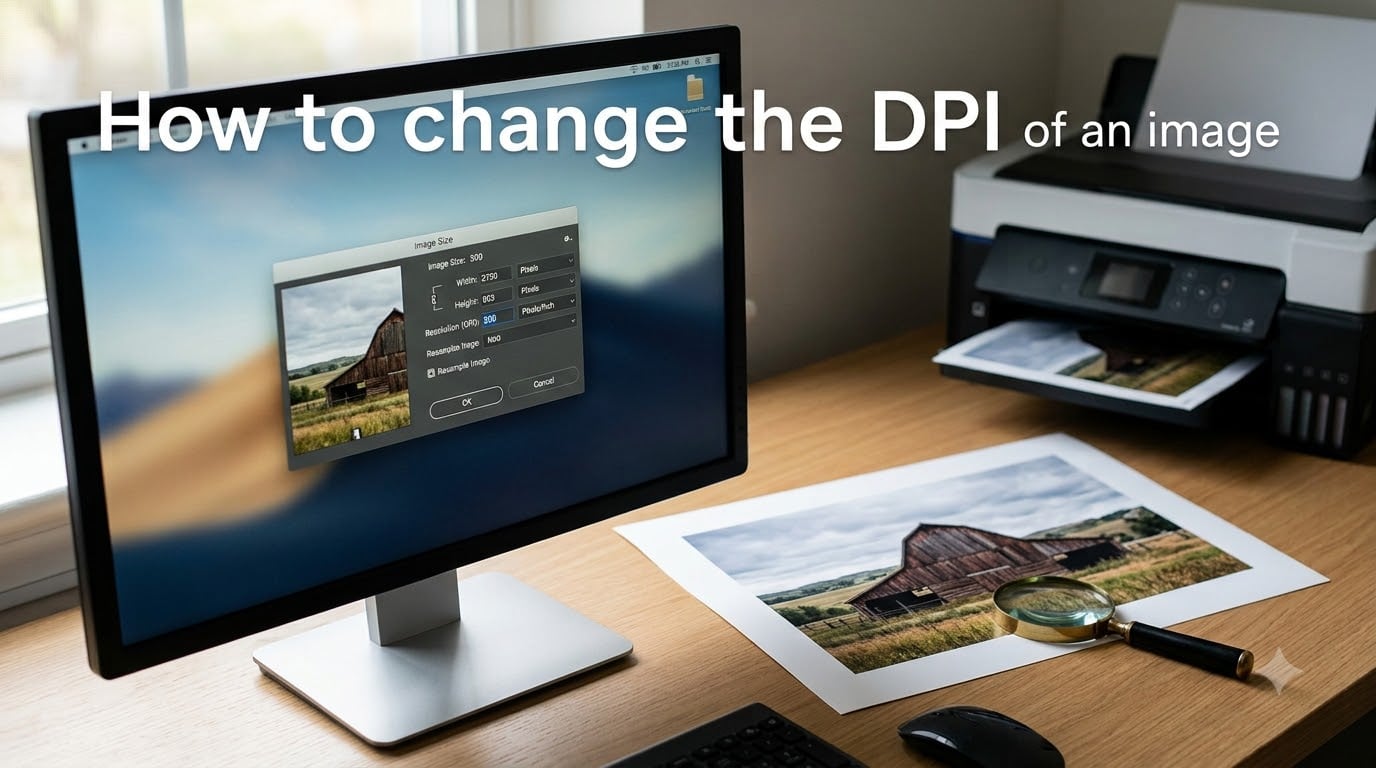
Whether you are preparing a photo for professional printing or trying to meet a print shop’s requirements, knowing how to change the DPI of an image is a skill every designer and photographer needs. DPI (dots per inch) tells your printer how much detail to reproduce per inch of paper, and getting it wrong means blurry prints or rejected files.
I have spent years working with print shops, design agencies, and freelance clients, and the DPI question comes up constantly. People email 72 DPI web images expecting them to print as sharp posters, or they panic when a printer asks for 300 DPI and they do not know what that means.
This guide walks you through every method to change DPI, covering free online tools, Photoshop, GIMP, Mac Preview, IrfanView, and batch conversion. You will also learn how to check your current DPI, what the common DPI values mean, and why changing the DPI number alone does not magically improve image quality.
By the end, you will know exactly how to change the DPI of an image using whatever tool you have available, on any operating system, in 2026.
Table of Contents
- What Is DPI (Dots Per Inch)?
- DPI vs PPI: What’s the Difference?
- Common DPI Values and When to Use Them
- How to Check the DPI of an Image
- How to Change the DPI of an Image
- How to Batch Convert DPI for Multiple Images
- Can You Change 72 DPI to 300 DPI Without Losing Quality?
- Tips for Maintaining Image Quality When Changing DPI
- Frequently Asked Questions
- Conclusion
What Is DPI (Dots Per Inch)?
DPI stands for dots per inch, and it measures how many individual ink dots a printer places within one inch of paper. A 300 DPI image tells the printer to place 300 dots of ink per inch, producing a sharp, detailed print. A 72 DPI image instructs the printer to use only 72 dots per inch, which looks fine on a screen but blurry on paper.
It is important to understand that DPI is metadata, a set of instructions embedded in your image file. The metadata tells software and printers how to interpret the pixel data you already have. Changing the DPI value changes the print size and how the image is scaled, but it does not add new pixel information to the image.
Think of it this way: your image has a fixed number of pixels (the actual data). DPI just tells the printer how tightly or loosely to pack those pixels across the printed page. More dots per inch means a smaller but sharper print. Fewer dots per inch means a larger but softer print.
DPI vs PPI: What’s the Difference?
This is where most people get confused, and I see it in almost every photography forum thread on the topic. DPI and PPI are related but technically different measurements, and the terms are often used interchangeably even by professionals.
PPI (pixels per inch) refers to the digital image itself, how many pixels exist per inch of the image data. DPI (dots per inch) refers to the physical output, how many ink dots a printer places per inch on paper. When you change DPI in image editing software, you are technically setting the PPI value stored in the file metadata, which the printer then uses to calculate print output.
Here is the practical takeaway: in software like Photoshop, the field labeled “Resolution” under Image Size is actually PPI. When a print shop asks for “300 DPI,” they really mean they need an image with enough pixels to print at 300 pixels per inch at the desired physical size. The distinction matters for technical accuracy, but in everyday workflow, everyone says DPI and means PPI.
The key point from forum discussions on Reddit’s r/photography and r/Printing communities is this: you cannot change the actual pixel data by just changing the DPI metadata. If your image is 800 by 600 pixels, it stays 800 by 600 pixels regardless of what DPI value you assign. The DPI only changes how large or small those pixels print.
Common DPI Values and When to Use Them
Different use cases call for different DPI values. Here is a quick reference I use when advising clients on print and web projects.
- 72 DPI — Standard for web images, screen display, and email. Fast loading and looks sharp on monitors but will print poorly.
- 96 DPI — Default for many Windows applications and some web standards. Essentially equivalent to 72 DPI for practical purposes.
- 150 DPI — Minimum acceptable for basic printing like newsletters, internal documents, and draft prints. Noticeably soft but readable.
- 200 DPI — Acceptable for large format prints viewed from a distance, such as banners and posters. A middle ground between quality and file size.
- 300 DPI — The professional standard for high-quality print. Magazines, brochures, business cards, and most commercial print jobs require 300 DPI.
- 600 DPI — Used for professional photography prints, fine art reproduction, and high-resolution archival work where maximum detail matters.
If a print shop gives you a DPI requirement, follow it exactly. Submitting a 150 DPI file when they asked for 300 DPI is the most common reason print jobs get rejected or come back looking soft.
How to Check the DPI of an Image
Before you change the DPI of an image, you need to know what it currently is. Here is how to check on both Windows and Mac without installing any extra software.
How to Check DPI on Windows
Windows makes it straightforward to check your image’s DPI through File Explorer. Here are the steps:
- Right-click the image file in File Explorer.
- Select Properties from the context menu.
- Click the Details tab.
- Scroll down to the Image section.
- Look for Horizontal resolution and Vertical resolution — these show the DPI value stored in the file.
One important note from forum discussions: MS Paint sometimes displays 96 DPI for images regardless of the actual stored DPI value. This is a known display bug in Paint. If Paint shows 96 DPI but the file properties show something different, trust the Properties window. For an accurate reading, use the File Explorer Properties method or a proper image viewer like IrfanView.
How to Check DPI on Mac
On Mac, the built-in Preview app gives you DPI information quickly:
- Open the image in Preview (double-click the file or right-click and choose Open With, then Preview).
- Press Command + I or go to Tools > Show Inspector.
- Click the i (More Info) icon if needed.
- Look for the DPI Resolution field, which shows the stored resolution value.
The Inspector window also shows pixel dimensions and color profile, which is useful when preparing images for print. If you see a resolution of 72, that is common for web-sourced images. Files straight from a camera typically show 240 or 300 DPI.
How to Change the DPI of an Image
Now we get to the main event. There are several ways to change the DPI of an image, from free browser-based tools to professional software. I will cover the five most reliable methods, ranked from fastest to most advanced.
Method 1: Change DPI Using Free Online Tools
The fastest way to change DPI is using a free online DPI converter. These tools work in your browser with no downloads required, and they handle the metadata change instantly. Popular options include Convert.town, Clideo, and PicsSizer.
Here is the typical workflow for an online DPI converter:
- Go to a DPI converter website like convert.town/image-dpi or clideo.com/dpi-converter.
- Upload your image file by clicking the upload button or dragging the file onto the page.
- Select your target DPI from the preset options (commonly 72, 100, 150, 200, 300, or 600) or type a custom value.
- Click the convert or change button.
- Download the converted image to your device.
Most online tools process the change in seconds and support common formats like JPEG, PNG, and TIFF. The converter changes the DPI metadata embedded in the file, which is exactly what most print shops need.
One thing to watch for: some online tools apply resampling by default, which means they actually alter your pixel data. If you only want to change the DPI metadata (for example, to meet a print shop requirement without modifying pixels), look for an option to change resolution without resampling. Convert.town does this correctly by default, which is why many forum users recommend it.
Method 2: Change DPI in Adobe Photoshop
Photoshop is the industry standard for image editing, and it gives you full control over DPI settings. The critical thing to understand is the Resample checkbox, which determines whether Photoshop changes just the metadata or also alters your pixel data.
Follow these steps to change DPI in Photoshop:
- Open your image in Photoshop by going to File > Open and selecting the file.
- Go to Image > Image Size (or press Alt + Ctrl + I on Windows, Option + Cmd + I on Mac).
- Locate the Resolution field in the Document Size section.
- Uncheck the Resample box if you only want to change DPI without altering pixel data.
- Enter your new DPI value (for example, 300) in the Resolution field.
- Verify that the Width and Height in Pixel Dimensions at the top remain unchanged.
- Click OK to apply the change.
- Go to File > Save As or File > Export to save the file with the new DPI metadata.
Here is the part that trips people up, and I see it discussed constantly on Reddit’s r/photoshop. If you leave Resample checked, Photoshop will add or remove pixels to match the new DPI at the current physical dimensions. This can degrade quality if you are increasing DPI, because Photoshop has to invent pixels through interpolation. If your goal is to simply relabel the file’s DPI metadata (for example, converting a properly sized image from 72 DPI to 300 DPI for a print shop), uncheck Resample.
When Resample is unchecked, changing the Resolution value only changes the physical print size while keeping pixel dimensions intact. This is the correct approach when your image already has enough pixels for the print size you need.
Method 3: Change DPI in GIMP (Free)
GIMP is a powerful free alternative to Photoshop, and it handles DPI changes with the same level of control. If you do not have a Photoshop subscription, GIMP is the best option for proper DPI management.
Here is how to change DPI in GIMP:
- Open GIMP and go to File > Open to load your image.
- Go to Image > Print Size.
- Find the X resolution and Y resolution fields.
- Make sure the dropdown next to the resolution values is set to pixels/inch (this is the PPI/DPI setting).
- Enter your desired DPI value in both the X and Y resolution fields.
- Click OK to apply the metadata change.
- Export the image by going to File > Export As and choosing your file format.
GIMP’s Print Size dialog does not resample the image by default, so your pixel dimensions stay intact. This makes it a safe and reliable tool for changing DPI metadata without accidentally degrading image quality. I recommend GIMP to anyone who needs Photoshop-level control but does not want to pay for a subscription.
Method 4: Change DPI on Mac Using Preview
If you are on a Mac, you already have a capable tool built in. Preview can adjust DPI without any additional software. This method is fast for quick one-off changes, though it has fewer options than a full image editor.
To change DPI in Mac Preview:
- Open the image in Preview.
- Go to Tools > Adjust Size in the menu bar (or press Option + Cmd + I).
- In the resize window, find the Resolution field.
- Make sure the unit is set to pixels/inch.
- Enter your target DPI value (for example, 300).
- Uncheck Resample image if you only want to change DPI metadata without altering pixels.
- Click OK.
- Save the file with File > Save or export with File > Export.
Preview is perfect for Mac users who need to change DPI occasionally and do not want to install GIMP or buy Photoshop. The Resample option in Preview works the same way as Photoshop’s: leave it unchecked to preserve pixel data, check it if you need to actually resize the pixel dimensions.
Method 5: Change DPI in IrfanView (Windows, Free)
IrfanView is a lightweight, free image viewer for Windows that forum users on r/photography frequently recommend for DPI changes. It supports batch processing and uses high-quality Lanczos resampling when you do need to resample.
To change DPI in IrfanView:
- Open your image in IrfanView.
- Go to Image > Resize/Resample (or press Ctrl + R).
- Set the DPI value in the bottom-right section of the dialog.
- Leave the size settings unchanged if you only want to change DPI metadata.
- Click OK.
- Save the image with File > Save As.
IrfanView is particularly useful because it correctly reads and displays the actual DPI stored in image files, unlike MS Paint. It is fast, lightweight, and handles dozens of image formats. For batch DPI changes, IrfanView’s batch conversion feature is one of the best free tools available.
How to Batch Convert DPI for Multiple Images
If you need to change the DPI of dozens or hundreds of images at once, doing them one by one is not practical. Batch conversion saves enormous time for photographers and designers working with large image sets. None of the top competitors cover this process, so here are the methods I recommend.
Using IrfanView (Windows, Free): Open IrfanView and go to File > Batch Conversion/Rename. Add all your images to the batch list. Check the option to use advanced settings, then click Set advanced options. In the advanced dialog, check Change DPI and enter your target value. Set the resampling method to Lanczos if resampling is needed. Choose your output format and output directory, then click Start Batch.
Using Photoshop (Paid): Record an Action that changes the DPI via Image > Image Size (with Resample unchecked). Then go to File > Scripts > Image Processor or use File > Automate > Batch to apply the Action to an entire folder. Photoshop processes each image automatically and saves them to your chosen location.
Using GIMP (Free): GIMP does not have built-in batch processing in the standard interface, but you can install the BIMP plugin (Batch Image Manipulation Plugin) for GIMP. BIMP lets you apply changes including resolution to multiple files at once. Install the plugin, then go to File > Batch Image Manipulation, add your images, add a manipulation for DPI change, and run the batch.
Can You Change 72 DPI to 300 DPI Without Losing Quality?
This is the single most asked DPI question on photography and printing forums, and the answer is more nuanced than a simple yes or no.
If your image already has enough pixels to print at the desired physical size with 300 DPI, then yes, you can change from 72 DPI to 300 DPI without any quality loss. The change is purely metadata. For example, a 3000 by 2400 pixel image at 72 DPI prints at roughly 41 by 33 inches. Change that same image to 300 DPI and it prints at 10 by 8 inches with full sharpness. No pixels were added or removed.
However, if your image does not have enough pixels, changing the DPI metadata to 300 will make the physical print size very small. A 600 by 400 pixel image at 300 DPI prints at only 2 by 1.3 inches. If you need it to print larger at 300 DPI, you would have to resample (upscaling), which means Photoshop or GIMP invents new pixels through interpolation. This always results in some quality loss because you are creating data that was not in the original image.
The practical advice from print professionals is this: start with a high-resolution original image. If you are shooting photos yourself, use your camera’s highest resolution setting. If you are downloading or receiving images, check pixel dimensions first. A good rule of thumb is to multiply your desired print width in inches by 300 to get the minimum pixel width you need. For an 8 by 10 inch print at 300 DPI, you need at least 2400 by 3000 pixels.
Tips for Maintaining Image Quality When Changing DPI
Based on my experience and recommendations from professional print communities, here are the key practices for preserving quality during DPI changes.
Always keep your original file. Before changing DPI, save a copy of the original. If something goes wrong during conversion, you want the source file intact. Work on a duplicate, not the master.
Understand when to resample and when not to. If you are just meeting a print shop’s metadata requirement, do not resample. If you genuinely need to resize the image (smaller or larger pixel dimensions), resample and choose the best interpolation method. Lanczos is widely recommended for both upscaling and downscaling.
Avoid repeated resampling. Each time you resample an image, you lose some data. Make all your size changes in a single operation rather than resizing multiple times. Every round of interpolation degrades quality slightly.
Use the right file format. JPEG compresses image data and loses quality each time you save. For images you will edit or print professionally, use TIFF or PNG formats that preserve full quality. Save as JPEG only for final web output.
Check the result before printing. After changing DPI, open the image at 100% zoom in your image editor. Look for artifacts, softness, or pixelation. What you see at 100% zoom is close to what the print will show at the target DPI.
Frequently Asked Questions
How do I change an image to 300 DPI?
Open the image in Photoshop, go to Image u0026gt; Image Size, uncheck Resample, enter 300 in the Resolution field, and click OK. Save the file. For a free alternative, use GIMP (Image u0026gt; Print Size, enter 300 in the X and Y resolution fields) or an online DPI converter like Convert.town.
Can 72 DPI change to 300?
Yes, you can change the DPI metadata from 72 to 300 without quality loss if the image has enough pixels. The change only affects print size, not pixel data. However, if you resample to increase pixel count, quality will degrade because new pixels are created through interpolation.
How to convert an image to 600 DPI?
Use an online DPI converter and select 600 as the target value, or open the image in Photoshop or GIMP and set the resolution to 600 pixels per inch. Only use 600 DPI for professional fine art prints and archival photography where maximum detail is required.
How do I change my DPI?
The fastest method is using a free online DPI converter: upload your image, select the target DPI, and download the result. For more control, use Photoshop (Image u0026gt; Image Size), GIMP (Image u0026gt; Print Size), Mac Preview (Tools u0026gt; Adjust Size), or IrfanView on Windows (Image u0026gt; Resize/Resample).
What DPI should I use for printing?
Use 300 DPI for standard high-quality printing including magazines, brochures, and business cards. Use 150 DPI for basic or draft prints, 200 DPI for large format prints viewed from a distance, and 600 DPI for professional fine art and archival prints. Always follow the specific DPI requirement given by your print shop.
Does changing DPI improve image quality?
No. Changing the DPI metadata alone does not add detail or improve image quality. It only changes how the printer interprets the existing pixel data. To genuinely improve quality, you need a higher resolution original image with more pixels.
Conclusion
Learning how to change the DPI of an image gives you control over how your photos and designs translate from screen to print. Whether you use a free online converter, Photoshop, GIMP, Mac Preview, or IrfanView, the process comes down to understanding the difference between metadata changes and pixel-level resampling.
Remember the golden rule: changing DPI does not create new detail. If you need sharp 300 DPI prints, start with a high-resolution original that has enough pixels for your desired print size. Check your current DPI before making changes, always keep a backup of your original file, and follow your print shop’s exact specifications.
Now you have every method you need to change DPI on any platform in 2026. Pick the tool that fits your workflow and budget, and your next print job will come out exactly the way you intended.