
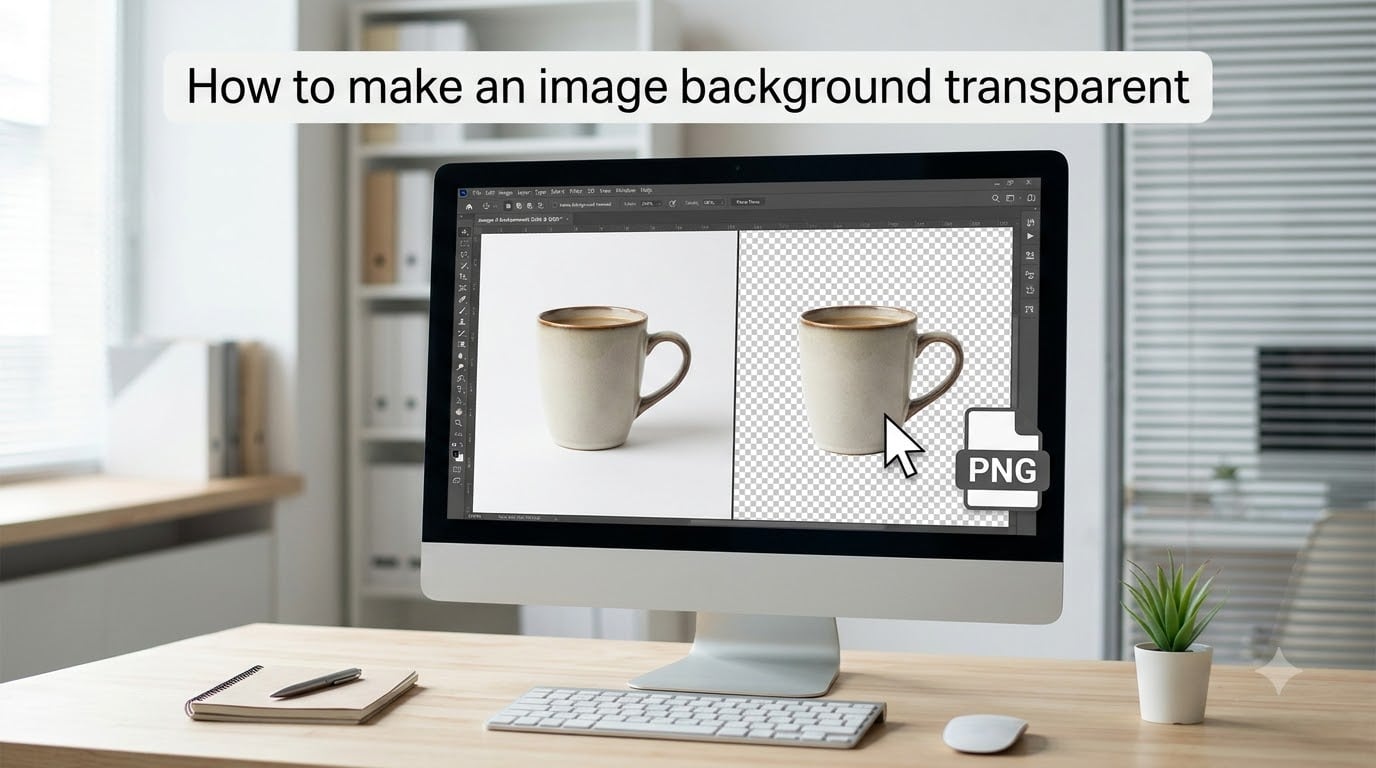
Learning how to make an image background transparent is one of the most useful photo editing skills you can pick up. Whether you are building a logo, prepping product photos for an online store, or creating social media graphics, a transparent background lets your subject float cleanly over any design. I have spent years testing every method out there, from free online tools to professional desktop software, and I want to share what actually works.
The good news is that you do not need expensive software or advanced design skills. In this guide, I will walk you through four different methods so you can pick the one that fits your tools and experience level.
Table of Contents
- How to Make an Image Background Transparent: Quick Answer
- Method 1: Using Free Online AI Tools
- Method 2: Using Desktop Software (Photoshop and GIMP)
- Method 3: Using PowerPoint (Free Windows Trick)
- Method 4: Using Mobile Apps (iOS and Android)
- Why PNG Is Required for Transparent Backgrounds
- Tips for Clean Edges and Professional Results
- Troubleshooting Common Problems
- FAQs
- Conclusion
How to Make an Image Background Transparent: Quick Answer
The fastest way to make an image background transparent is to upload your image to a free online background remover like remove.bg, Canva, or Adobe Express. The tool automatically removes the background using AI, and you download the result as a PNG file. PNG is the format you need because JPEG does not support transparency.
Here are the main methods, ranked by speed and ease:
Online AI tools (remove.bg, Canva, Adobe Express) — fastest, free for basic use, no software install
Desktop software (Photoshop, GIMP) — best for precision and complex images like hair
PowerPoint (free Windows trick) — no extra software needed if you have Office
Mobile apps and browser tools — works on iPhone and Android with some limitations
Method 1: Using Free Online AI Tools
Online AI background removers are the fastest option for most people. I have tested remove.bg, Canva, and Adobe Express extensively, and all three deliver clean results in seconds for images with good contrast.
Here is how to make an image background transparent using any of these tools:
Step 1: Go to remove.bg, Canva, or Adobe Express in your web browser.
Step 2: Upload your image by dragging and dropping or clicking the upload button.
Step 3: Wait a few seconds while the AI detects your subject and removes the background automatically.
Step 4: Use the eraser or restore brush to fix any areas the AI missed, especially around edges and fine details.
Step 5: Download the result as a PNG file to preserve the transparent background.
One thing I always tell people: remove.bg is genuinely free for standard-resolution downloads. Canva requires a Pro account for its BG Remover feature, but Adobe Express offers free background removal with an account. For high-resolution downloads, most tools charge a small fee or require a subscription.
Method 2: Using Desktop Software (Photoshop and GIMP)
Desktop software gives you the most control over edge quality, which matters when you are working with complex subjects like hair, fur, or detailed product photography. I use Photoshop for client work and GIMP for personal projects, and both produce professional results once you know the workflow.
Photoshop Method
Here is the Photoshop workflow I use for clean cutouts:
Step 1: Open your image and duplicate the background layer.
Step 2: Select the Magic Wand tool and click on the background area. Uncheck “Contiguous” if your background has multiple separated regions.
Step 3: Refine the selection using Select and Mask for tricky edges like hair.
Step 4: Press Delete to remove the selected background pixels.
Step 5: Go to File, then Export, then Save for Web and choose PNG-24 with transparency checked.
GIMP Method (Free)
GIMP is a free, open-source alternative that Reddit users consistently recommend. Here is the process I follow:
Step 1: Open your image in GIMP and right-click the layer to add an alpha channel. This step is critical because without an alpha channel, deleted areas turn black instead of transparent.
Step 2: Use the Fuzzy Select tool to click and select the background.
Step 3: Press Delete to remove the background.
Step 4: Use the Eraser tool to clean up any remaining background pixels near the edges.
Step 5: Export the file as a PNG with transparency enabled.
Method 3: Using PowerPoint (Free Windows Trick)
If you use Windows and have Microsoft Office, you already have a capable background removal tool built into PowerPoint. I discovered this trick through Microsoft Community forums, and it has become one of my favorite quick fixes for simple images.
There are actually two approaches in PowerPoint:
Set Transparent Color — works well for solid-color backgrounds. Insert your image, go to Picture Format, click Color, then choose Set Transparent Color and click the background.
Remove Background tool — better for more complex images. Insert your image, go to Picture Format, click Remove Background, then use Mark Areas to Keep and Mark Areas to Remove to refine the selection.
Once you have your transparent image in PowerPoint, right-click it and choose Save as Picture. Select PNG as the format, and the transparency will be preserved. This method is not as precise as Photoshop, but it costs nothing and handles most simple images well.
Method 4: Using Mobile Apps (iOS and Android)
Mobile background removal is a bit more complicated, especially on iOS. I want to be upfront about a key limitation I found across multiple Reddit threads: iPhones and iPads do not natively support saving transparent images. When you save or share a transparent PNG from an iOS app, it often appears with a white background.
Here is how I work around the iOS limitation:
Use remove.bg in Safari or Chrome — the web version works on mobile browsers and generates a proper PNG that preserves transparency when you download it.
Use Canva mobile in browser — same approach, open Canva in your phone browser rather than the app for better PNG handling.
For Android users, the experience is smoother. Apps like Background Eraser and Remove BG work well and save proper transparent PNGs. If you use an iPad with Procreate, you can make the background transparent by turning off the background layer in your canvas and exporting as PNG. Procreate users on Reddit confirm this works as long as you export correctly.
Why PNG Is Required for Transparent Backgrounds
The single most common mistake people make is saving their transparent image as a JPEG. JPEG does not support transparency, so those transparent areas fill in with solid white when you save. I see this question constantly on forums, and the answer is always the same: use PNG.
PNG supports an alpha channel, which is a layer of data that tells your device how transparent each pixel should be. Think of it as an invisible mask layered over your image. GIF also supports transparency but only for fully transparent or fully opaque pixels, which creates jagged edges. PNG supports partial transparency, giving you smooth, professional-looking edges.
To check if your image actually has a transparent background, open it in a web browser. Transparent areas will show a checkerboard pattern. If you see solid white instead, the transparency was lost during saving, and you need to re-export as PNG.
Tips for Clean Edges and Professional Results
Getting a clean cutout is about more than just removing the background. I have found that the quality of your result depends heavily on your source image and how you handle the details.
Here are my top tips for professional-looking transparent images:
Start with high contrast — the more contrast between your subject and background, the better any tool will perform. A subject shot against a plain white or green background is ideal.
Handle hair and fur manually — automatic tools struggle with fine details. Use a restore brush or layer mask to manually bring back individual strands.
Zoom in and use a pixel eraser — magnify your image to 200 percent or higher and clean up edge pixels by hand for a polished look.
Avoid over-compressing — save your PNG at full resolution. Compression artifacts become very visible along edges when the image is placed on a colored background.
Use a layer mask instead of deleting — in Photoshop and GIMP, a layer mask lets you hide the background without permanently removing pixels, so you can always bring parts back.
Troubleshooting Common Problems
Even with the right tools, things can go wrong. I have run into every issue below, and here is how I fix each one.
My Transparent Background Turned White After Saving
This is the number one problem people report. It happens because you saved the file as JPEG instead of PNG. Go back to your editing tool and re-export the image, selecting PNG as the format. If you are using an online tool, make sure the download button specifically mentions PNG or transparency.
I See Jagged or Rough Edges Around My Subject
Jagged edges usually mean the automatic tool did not have enough contrast to work with, or the image has very fine details like hair. Switch to a desktop tool like Photoshop or GIMP and use Select and Mask or a layer mask to manually refine the edges. You can also try feathering the edge by 1 to 2 pixels for a smoother transition.
My Image Turns White When I Share It on iPhone
This is a known iOS limitation. Apple’s sharing system strips transparency from images in many cases. The workaround is to use a web-based tool like remove.bg in your mobile browser and download directly from there. Alternatively, email the PNG to yourself or upload it to a cloud drive rather than using the share sheet.
The Output Quality Is Low or Pixelated
Free online tools often compress downloads to standard resolution. For high-resolution output, you may need a paid plan. If you need quality without paying, use GIMP or Photoshop on your computer, which preserves full resolution. Always work from the highest-resolution source image you have.
FAQs
How do I make an image background transparent?
Upload your image to a free online background remover like remove.bg, Canva, or Adobe Express. The AI automatically detects and removes the background. Download the result as a PNG file, since JPEG does not support transparency.
Can I make a background transparent on my iPhone?
iOS does not natively support saving transparent images, and shared PNGs often appear with a white background. To work around this, use a web-based tool like remove.bg in Safari or Chrome, which generates a proper transparent PNG when downloaded directly from the browser.
How can I make the background of a picture clear?
Use images with high contrast between the subject and background, save the result as a PNG file, and manually refine edges with a pixel eraser or layer mask for complex subjects like hair.
How do I remove the background from an image?
Upload your image to a free online tool like remove.bg, Canva, or Adobe Express. The AI removes the background automatically. Use the eraser or restore brush to fine-tune edges, then download the result as a PNG file.
Conclusion
Making an image background transparent is simpler than it looks. For most people, a free online tool like remove.bg handles the job in seconds. If you need precision for complex images, Photoshop or GIMP gives you full control over every edge. And if you are on Windows without any design software, the PowerPoint trick works as a solid free backup.
The key takeaway I want you to remember: always save as PNG. That one step prevents the most common problem people run into. Pick the method that matches your tools and image complexity, and you will have clean, professional transparent images ready for any project in 2026.