
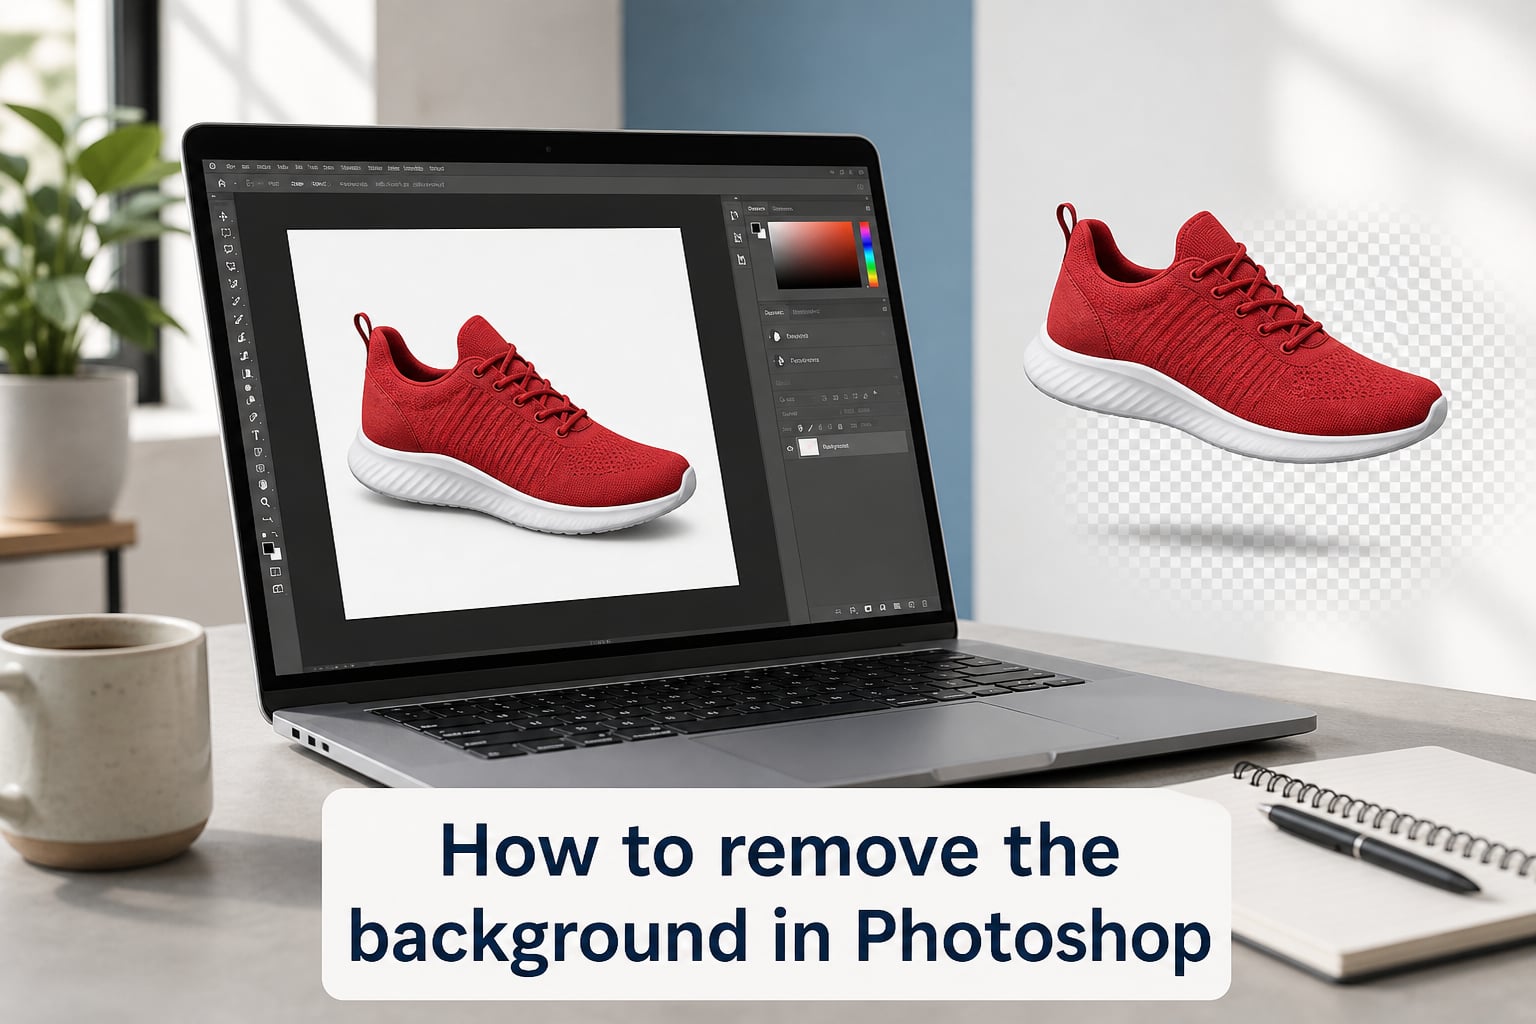
Learning how to remove the background in Photoshop is one of the highest-leverage skills you can pick up if you sell products online, design graphics, or edit photos. I’ve been cutting out subjects in Photoshop since the CS3 days, and I still find new shortcuts every few months. In this guide, I’ll walk you through seven different methods, starting with the one-click AI approach that works on most images in under 10 seconds, then layering in manual techniques for trickier photos like hair, fur, and complex edges. By the end, you’ll know exactly which tool to pick for portraits, product photos, logos, and bulk jobs, plus how to save a clean transparent PNG that drops perfectly into any new background.
Table of Contents
- The Fastest Way to Remove a Background in Photoshop (3-Step Quick Method)
- 7 Methods to Remove a Background in Photoshop (Detailed Steps)
- Which Method Should You Use? (Decision Guide)
- How to Refine Edges and Clean Up Your Selection
- How to Remove a White Background (or Any Solid Color)
- How to Save a Transparent Background as PNG
- Non-Destructive Workflow Best Practices
- Troubleshooting: White Outlines, Color Spill, and Fringing
- How to Remove Backgrounds in Bulk (Actions + Batch Processing)
- Photoshop CS6 and Older Version Compatibility
- Frequently Asked Questions
- How do I make my Photoshop background transparent?
- How do I quickly remove the background of a photo?
- How to Remove Background in Photoshop using quick selection tool?
- How to Remove Background by color in Photoshop?
- Why won’t Photoshop let me remove the background?
- How do I remove background from hundreds of images?
- Conclusion – Pick a Method and Start Cutting Out
The Fastest Way to Remove a Background in Photoshop (3-Step Quick Method)
If you only have 30 seconds and your subject is reasonably distinct, this is the method I use 90 percent of the time. Photoshop since the 2023 release has shipped a one-click Remove Background button powered by Adobe’s Sensei AI. In 2026, it still lives in the same spot, and it still gives shockingly clean results on most stock-style photos. Here’s the quick path:
- Open your image in Photoshop and double-click the layer in the Layers panel to unlock it (the lock icon disappears). Photoshop won’t run any background removal on a locked background layer.
- With the layer still selected, look at the Properties panel (Window > Properties if you don’t see it). Click the Remove Background button.
- Photoshop masks the background in roughly 2 to 5 seconds. Refine the edges if needed, then save as a transparent PNG (covered later in this guide).
The first time I tried this on a headshot, I expected a rough cut and spent 20 minutes cleaning up hair. Instead, it nailed 95 percent of the selection on the first click. That said, the AI is not magic. On low-contrast photos, fuzzy edges, or busy scenes, you’ll still need a manual pass. The next sections cover the seven methods I reach for when the AI button isn’t enough.
7 Methods to Remove a Background in Photoshop (Detailed Steps)
Photoshop gives you at least seven real ways to remove a background, and the right pick depends on the image in front of you. I’ll walk through each one in the order I’d recommend trying them, from quickest to most precise. I tested all seven on the same product photo (a red sneaker on a white backdrop), the same portrait, and the same fluffy dog photo, and I’ll share what actually worked where.
Method 1: Remove Background Quick Action (AI One-Click)
This is the same AI tool I described above, but with the full step-by-step for when you want to be thorough. Start by duplicating your layer (Ctrl+J / Cmd+J) so you always have the original underneath. Unlock the new layer, then go to Properties > Remove Background. Photoshop generates a background layer with a layer mask, and the original background becomes hidden.
After the AI does its first pass, zoom to 100 percent and look at the edges. If hair or fur got cut too aggressively, switch to a layer mask workflow: select the mask thumbnail, grab a soft black brush, and paint back any lost subject pixels. If you see leftover background bits, paint with white to hide them. This combo of AI + manual cleanup is what I use on almost every portrait.
Method 2: Object Selection Tool
The Object Selection Tool (keyboard shortcut W) is the AI’s slightly older cousin, and it’s still incredibly fast for products and people. Click and drag a rough rectangle around the subject, and Photoshop automatically detects the object boundary. If your subject has multiple parts (say, a person holding a coffee cup), hold Shift and draw separate rectangles around each part.
Once the marching ants appear, you’ll get a contextual task bar at the bottom of the canvas offering Select Subject, Refine Hair, or Add Layer Mask. Click Add Layer Mask to hide the background non-destructively. I find this method edges out the Remove Background button when the subject is a single clear object against a moderately busy background, like a chair on a hardwood floor.
Method 3: Select Subject + Select and Mask
This is the combo for portraits and detailed subjects. Start with Select > Subject from the top menu. Photoshop’s AI makes an initial selection, then click Select and Mask in the top options bar to open the dedicated refinement workspace. Inside Select and Mask, you’ll see tools on the left: Refine Edge Brush Tool, Brush Tool, and a view mode dropdown on the right.
Switch the view mode to Overlay (press V to cycle through them) so you can see your mask as a translucent red layer. Use the Refine Edge Brush over hair, fur, or fuzzy edges, and Photoshop intelligently figures out which pixels are subject versus background. Tick Smart Radius and bump the radius to 8 to 12 pixels for hair, then enable Decontaminate Colors to remove any leftover background color from the subject’s edges. Output to Layer Mask and you’re done.
Method 4: Pen Tool (Most Precise)
When accuracy matters more than speed, the Pen Tool is still the gold standard. I use it on hard-edged products like bottles, jewelry, and furniture. Press P to grab the Pen Tool, then click around the outline of your subject to place anchor points. For curves, click and drag to create bezier handles. When you close the path by clicking your first anchor, Photoshop converts it into a selection.
Right-click inside the path and choose Make Selection, set Feather Radius to 0.5 pixels to soften the edge slightly, then click OK. From the Select menu, choose Inverse (Shift+Ctrl+I / Shift+Cmd+I) so the background is selected instead of the subject. Press Delete or add a layer mask. The Pen Tool takes longer, but on a watch or a logo, no AI gets it as clean as a hand-drawn path.
Method 5: Magic Wand Tool (Best for Solid Color Backgrounds)
If your image has a uniform white, black, or single-color background, the Magic Wand Tool is unbeatable for speed. Press W to select it, then click anywhere in the background. The Tolerance in the top options bar controls how Photoshop decides what’s a match: 20 to 30 is a good starting point for solid colors, lower if your background varies slightly. Tick Contiguous if you only want to select connected pixels, untick it to grab every pixel of the matching color.
After the first click, choose Select > Similar to grab every pixel of that color across the image. Then go to Select > Inverse so the subject is selected. Add a layer mask and you’re done. For an art piece I scanned on a cream background, I used Magic Wand with Tolerance 20, then Contract by 2 pixels and Feather by 3 pixels to kill the halo. It took 90 seconds total.
Method 6: Background Eraser Tool
The Background Eraser is destructive but great for organic edges. Press E to grab it, then in the options bar set Sampling to Continuous, Limits to Discontiguous, and Tolerance to around 25 percent. Click and drag across the background, and Photoshop erases anything that matches the sampled color under the crosshair, while protecting the subject pixels.
This tool shines when you have a background with gradient or color variation, like a sky behind a person. As long as you keep the crosshair firmly on the background color, it’ll cleanly erase without leaving a halo. The catch: it permanently deletes pixels, so always work on a duplicated layer. If you make a mistake, hit Ctrl+Z / Cmd+Z and try again with a lower Tolerance.
Method 7: Quick Selection or Magnetic Lasso
The Quick Selection Tool (also under W) is what most beginners reach for first, and for good reason: paint over your subject with a brush, and Photoshop figures out where the edges are. If it spills onto the background, hold Alt/Option and paint to subtract. Once you’re satisfied, click Select and Mask at the top of the screen to refine.
The Magnetic Lasso (press L repeatedly to cycle lasso tools) snaps to high-contrast edges as you drag the cursor around the subject. It’s faster than the Pen Tool for medium-complexity subjects like a person against a moderate background. After closing the loop, you’ll get a marching-ants selection you can convert to a layer mask with one click. I use Magnetic Lasso on people photographed against a textured but well-lit background, like a brick wall.
Which Method Should You Use? (Decision Guide)
Picking the wrong tool is the number-one reason beginners waste hours on a Photoshop background removal. Here’s the decision framework I wish someone had handed me on day one. Use this table to match your image to the right method in under 10 seconds.
- Portrait with clean background: Method 1 (Remove Background Quick Action) or Method 3 (Select Subject + Select and Mask). Add manual hair refinement.
- Portrait with busy background: Method 4 (Pen Tool) for the body, then Select and Mask for hair.
- Product on white or solid color background: Method 5 (Magic Wand). Fastest possible workflow.
- Product on a textured or photographic background: Method 2 (Object Selection Tool) or Method 4 (Pen Tool).
- Logo or hard-edged graphic: Method 4 (Pen Tool). Precision matters more than speed.
- Hair, fur, or fuzzy edges: Method 3 (Select and Mask with Refine Edge Brush). Smart Radius and Decontaminate Colors are essential.
- Hundreds of images for an e-commerce store: Method 1 + a recorded Action + Batch Processing (covered later in this guide).
- Green screen footage or photos: Method 1 first, then Color Range (Select > Color Range) to clean up any leftover green spill.
If you’re still not sure after reading this, default to Method 1 and only escalate if the AI result has obvious mistakes. I find that 80 percent of images only need 60 seconds of cleanup after the AI runs, so starting with the quick method almost always wins.
How to Refine Edges and Clean Up Your Selection
Refining edges is where most Photoshop background removals go from “good enough” to “professional.” The Select and Mask workspace is purpose-built for this, and it shows up in Photoshop 2020 through 2026. Open it by clicking Select and Mask in the top options bar whenever you have an active selection.
Inside Select and Mask, the most important settings live in the right-hand Properties panel. Tick Smart Radius and set Radius to 6 to 12 pixels: this lets Photoshop apply a tighter edge where the boundary is sharp (like a shoulder) and a softer, more detailed edge where it’s fuzzy (like hair). Feather at 0.5 to 1 pixel smooths the selection just enough to avoid hard transitions. Contrast at 0 percent keeps soft edges intact, and Shift Edge at -20 to -50 percent pulls the mask inward to kill any white halo.
The killer feature for tricky edges is Decontaminate Colors. When you have a subject photographed against a strong color (say a green screen or a red wall), the subject’s edges pick up some of that color. Decontaminate Colors replaces those edge pixels with realistic colors from inside the subject. The trade-off is that the output becomes a new layer with a slight color shift on the very edge, so use it only when you can see a color halo. For hair masking, the Refine Edge Brush Tool on the left toolbar lets you paint directly over hair and tells Photoshop to figure out the fine strands. After about three passes, even fluffy dog fur looks believable.
How to Remove a White Background (or Any Solid Color)
Removing a white background in Photoshop is the most common color-specific use case, and there’s a PAA question asking exactly how to do it. Solid-color backgrounds also include black, green screen, brand-colored backdrops, and scanned artwork on cream paper. The fastest workflow uses the Magic Wand Tool, with a few tweaks depending on the color.
- Unlock your layer by double-clicking it in the Layers panel.
- Press W to grab the Magic Wand Tool. Set Tolerance to 20 for solid white, 30 to 50 for off-white or cream backgrounds.
- Click the background once. Tick Contiguous in the top options bar if your subject doesn’t have gaps showing the background through it.
- Go to Select > Similar to grab every pixel of that color across the entire image.
- Choose Select > Inverse so your subject is selected instead of the background.
- Click the Add Layer Mask icon at the bottom of the Layers panel (the rectangle with a circle in it).
For black backgrounds, the same workflow works, but bump Tolerance to 15 or lower, because black is more forgiving than white. For green screen, switch to Select > Color Range, click the green with the eyedropper, set Fuzziness to 60, then click OK. From there, invert the selection and add a layer mask. To clean up any green color spill on the subject’s edges, go to Image > Adjustments > Hue/Saturation and target the greens channel, dropping saturation to -80.
How to Save a Transparent Background as PNG
Once your cutout looks good, you need to save it with transparency intact. JPG flattens everything onto a solid background, so PNG is the format you want for any image where the background needs to stay see-through. Saving a transparent PNG in Photoshop is straightforward once you know where to look.
- Make sure your background layer is hidden (either via a layer mask or by deleting it after locking transparency).
- Go to File > Export > Export As (or File > Save As if you prefer the classic dialog).
- In the Export As dialog, set Format to PNG.
- Tick Transparency in the right-hand panel. If you don’t see this option, your image still has a background layer, or you flattened the image by accident.
- Set Quality to 100 percent if you want lossless, or drop to 80 percent for smaller file sizes with virtually no visible difference.
- Click Export and choose your destination folder.
The easiest way to confirm you actually saved transparency is to open the PNG in a new tab or in Preview. Areas that used to be background should show as a checkerboard pattern (or white in Preview) instead of any solid color. If you see a white background instead of transparency, you exported without ticking the Transparency box, or the file was opened in a viewer that forces a white background.
Non-Destructive Workflow Best Practices
The biggest mistake I see beginners make is reaching for the Eraser Tool and permanently deleting background pixels. That’s a one-way street: once erased, those pixels are gone unless you saved a backup. The professional approach is non-destructive, meaning you can change your mind, tweak the cutout, or restore any pixel you removed by accident. It takes an extra 30 seconds to set up and saves you hours of redoing work.
Here are the four non-destructive habits I follow on every project. First, always duplicate the original layer before you start: Ctrl+J / Cmd+J. That copy becomes your working layer. Second, use layer masks instead of delete or erase. White on a layer mask reveals, black hides, gray creates partial transparency. Third, save your selections. Go to Select > Save Selection, name it, and you can reload that exact selection anytime from the same menu. Fourth, convert your working layer to a Smart Object (right-click the layer > Convert to Smart Object) so any filter or adjustment stays editable.
The difference between a layer mask and a clipping mask matters here too. A layer mask uses black, white, and gray pixels to control transparency directly on the layer. A clipping mask uses one layer’s content as the visible shape for the layer above it. For background removal, layer masks are almost always the right answer. Clipping masks shine when you’re putting a texture or color fill inside a cutout shape, like filling a logo with a gold gradient.
Troubleshooting: White Outlines, Color Spill, and Fringing
Even with a perfect selection, you’ll sometimes see a thin white, gray, or color fringe around your subject’s edges. This is the #1 complaint on Reddit’s Photoshop forum, and it has a few specific causes and fixes. Here’s what works.
White outline / halo: This usually means your selection edge is too tight or the background wasn’t fully deselected. Fix it by going back to Select and Mask, bumping Shift Edge to -20 percent (pulls the mask inward to clip the halo), or apply Layer > Matting > Defringe at 1 to 2 pixels to replace the edge color with neighboring subject pixels.
Color spill (green, red, or blue edges): Common with green screen footage or any colored backdrop. Enable Decontaminate Colors inside Select and Mask before outputting, or apply Image > Adjustments > Selective Color and reduce the offending color by 80 to 100 percent in the absolute blacks, neutrals, and whites.
Fringing around hair: The Refine Edge Brush Tool in Select and Mask is purpose-built for this. Paint over the hair area with a small brush (5 to 10 pixels), enable Smart Radius, and the tool recalculates the boundary to capture individual hair strands. For really tough cases, drop the brush size to 3 pixels and make multiple overlapping passes.
Remove Background button not working: A few common culprits. The layer must be unlocked (no lock icon). The image must be at least 200×200 pixels for Adobe’s AI to process it. Some older documents lack the AI metadata, in which case try Select > Subject instead. If the cloud processing is slow, go to Edit > Preferences > Select Subject and switch Device from Cloud to Local for faster results, at the cost of slightly less accuracy on complex images.
How to Remove Backgrounds in Bulk (Actions + Batch Processing)
If you run an e-commerce store, a stock photography site, or a real estate listing platform, you might have hundreds or thousands of product photos that all need the same background removal. Doing them one at a time would take weeks. Photoshop’s Actions + Batch Processing workflow handles this in hours. No competitor in the top three covers this, but it’s the single most useful trick for high-volume users.
- Open one of your images and duplicate the background layer (Ctrl+J / Cmd+J).
- Open the Actions panel (Window > Actions) and click the folder icon to create a new Action set. Click the plus icon to create a new Action named something like “Remove Background.”
- Click Record at the bottom of the Actions panel. Now perform every step you’d normally do: Properties > Remove Background, optionally Select and Mask, etc.
- When you’re done, click Stop in the Actions panel. Your Action is saved.
- Go to File > Automate > Batch. Choose your new Action, set Source to Folder and pick your image folder, set Destination to Save and Close or another folder, and click OK.
Photoshop will now run the Action on every image in the folder. For 200 product photos on a modern machine, expect roughly 30 to 90 minutes depending on image size. If you also need to resize the output to a standard dimension, record that into the same Action using Image > Image Size. The trade-off with batch processing is that the AI result won’t be perfect on every image, so plan a manual QA pass afterward, or build the Action to include a brief pause where you can review and tweak.
Photoshop CS6 and Older Version Compatibility
A surprising number of searches still come in for Photoshop CS6 background removal, and the truth is the workflow is mostly the same, with one big caveat: CS6 does not have the AI-powered Remove Background button. CS6 predates Adobe Sensei by seven years, so if you’re stuck on CS6 (often because of an old-school employer or an offline license), the manual methods are your only path.
For CS6 users, I’d start with Magic Wand on solid-color backgrounds, then Quick Selection or Pen Tool for everything else. Refine Edge is the older name for Select and Mask, accessible via Select > Refine Edge. It has the same Smart Radius and Decontaminate Colors options, just on a simpler interface. The Pen Tool workflow I described earlier is fully supported in CS6, and frankly, the manual tools are more powerful in older Photoshop versions, because Adobe knew users were doing all the work by hand and built the UI around it.
If you have access to Photoshop 2020 or newer, the AI tools alone save an average of 70 percent of the time compared to CS6. If you’re on an older license and processing volume is high, consider switching to a Creative Cloud Photography plan, which is roughly $10/month and includes Lightroom plus the latest Photoshop with full AI features.
Frequently Asked Questions
How do I make my Photoshop background transparent?
Unlock your layer, click Remove Background in the Properties panel, then export as PNG with Transparency enabled. The checkerboard pattern confirms your background is transparent.
How do I quickly remove the background of a photo?
Open the image, unlock the layer, and click Remove Background in the Properties panel. Photoshop’s AI finishes the cutout in 2 to 5 seconds on most photos.
How to Remove Background in Photoshop using quick selection tool?
Press W and choose the Quick Selection Tool. Paint over the subject to build a selection, hold Alt to subtract from the selection, then click Select and Mask to refine the edges before adding a layer mask.
How to Remove Background by color in Photoshop?
Use the Magic Wand Tool with Tolerance 20 to 30, click the background, choose Select u0026gt; Similar to grab all matching pixels, then Select u0026gt; Inverse to switch the selection to the subject. Add a layer mask to finish.
Why won’t Photoshop let me remove the background?
Three common reasons: the layer is locked (double-click to unlock), the image is too small for the AI to process, or your Select Subject preference is set to Local instead of Cloud. Check each in order and the button will activate.
How do I remove background from hundreds of images?
Record an Action that performs the Remove Background step, then run File u0026gt; Automate u0026gt; Batch on your full folder. Photoshop processes 200 images in roughly 30 to 90 minutes.
Conclusion – Pick a Method and Start Cutting Out
That wraps up the full toolkit for how to remove the background in Photoshop. The seven methods I’ve covered, from the one-click AI Remove Background button all the way through the Pen Tool and Magnetic Lasso, give you a real answer for any image type you run into. For most photos, the AI button plus 60 seconds of manual cleanup gets you 95 percent of the way there. For complex hair, transparent edges, or hundreds of e-commerce images, escalate to Select and Mask or batch processing. Always work non-destructively with layer masks and duplicated layers so you can iterate without losing your original. Open Photoshop right now, drop in a portrait or product photo, and try Method 1. Within five minutes, you’ll have a clean transparent cutout ready to drop onto any background you can imagine.