
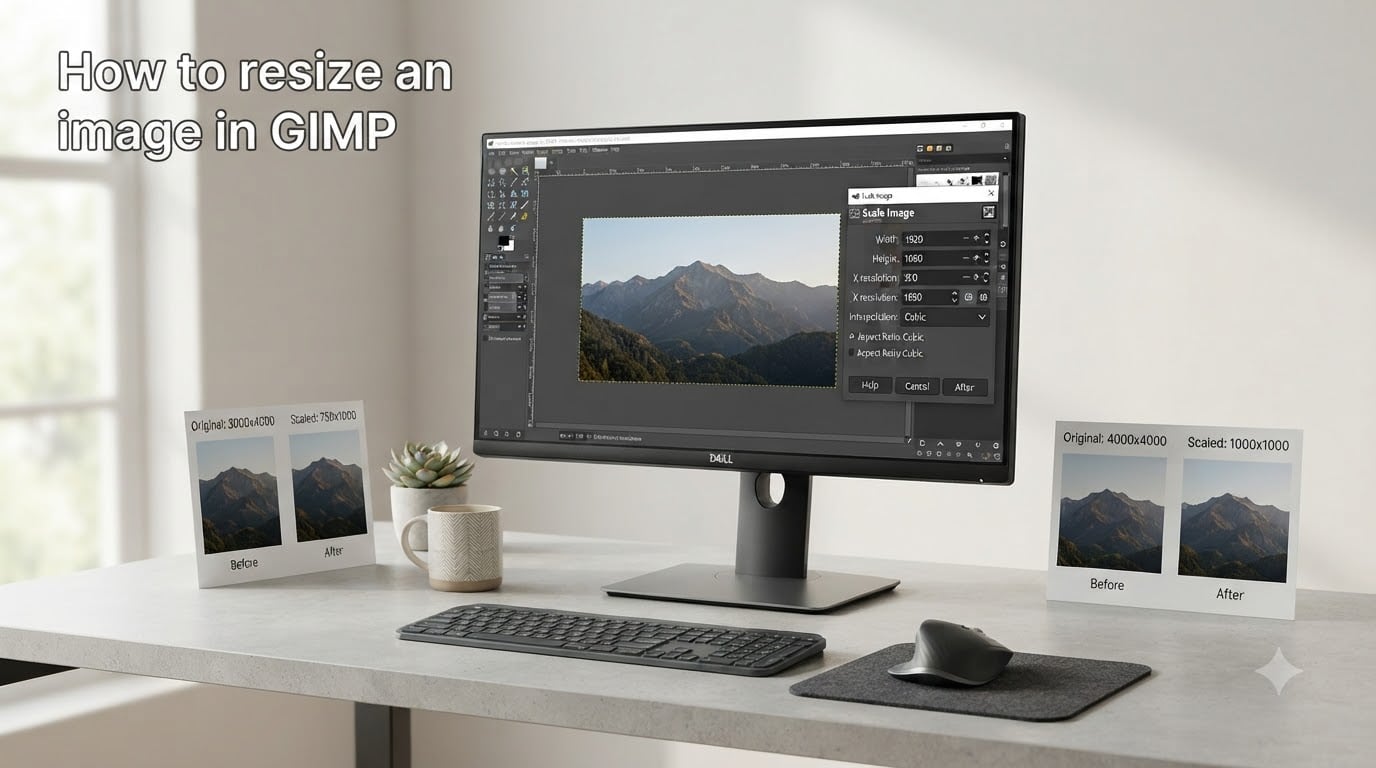
To resize an image in GIMP, open the image, go to Image > Scale Image, enter your desired width and height, choose an interpolation method, and click Scale. This single method covers roughly 90 percent of everyday resizing needs.
GIMP (GNU Image Manipulation Program) is a free, open source image editor that rivals paid software for most everyday photo and graphics work. Whether you are preparing images for a blog, resizing photos for social media, or preparing artwork for print, GIMP handles it all without a subscription or watermark.
In this guide, I will walk you through three reliable methods to resize an image in GIMP, including the recommended Scale Image method, the Canvas Size method, and layer-level resizing. I will also cover interpolation settings, use-case dimensions, and how to batch resize dozens of files at once. The whole process takes about five minutes per image once you have done it a couple of times.
If you want to explore more free editing options, check out our roundup of the best free image editors.
Table of Contents
- What Is the Best Way to Resize an Image in GIMP?
- Method 1: Using Scale Image (Recommended for Most Cases)
- Method 2: Using Canvas Size (For Cropping or Adding Borders)
- How to Resize an Image in GIMP Without Losing Quality
- How to Resize an Image for Specific Uses in GIMP
- Understanding Interpolation in GIMP (Quality Settings Explained)
- Troubleshooting: Why Is My Resized Image Blurry or Pixelated?
- How to Resize a Layer in GIMP (Without Flattening the Image)
- Bonus: Batch Resize Multiple Images in GIMP
- FAQs
- Final Thoughts on Resizing Images in GIMP
What Is the Best Way to Resize an Image in GIMP?
For almost every situation, the best way to resize an image in GIMP is the Image > Scale Image menu. This method redistributes the actual pixels of your image to match new dimensions while keeping the full content intact.
GIMP gives you two core resizing tools, and picking the right one saves you from cropping or stretching accidents. Here is a quick comparison:
Image > Scale Image: Redistributes the pixels. The full image is preserved at the new size. Use this 90 percent of the time.
Image > Canvas Size: Adds or removes empty space around the existing image. Use this when you need to crop, add borders, or pad to a specific aspect ratio without distortion.
Layer > Scale Layer: Resizes only a single layer inside a multi-layer project. Useful when you want one element bigger while keeping the rest of the artwork untouched.
Pick Scale Image when you want a smaller or larger version of the whole picture. Pick Canvas Size when you want to crop or extend the workspace. Pick Scale Layer when you are working on a layered file and only need to change one part.
Method 1: Using Scale Image (Recommended for Most Cases)
The Scale Image command is the primary way to resize an image in GIMP. It works on the full image, keeps the aspect ratio by default, and lets you pick a quality method that fits your goal.
Step 1: Open Your Image in GIMP
Launch GIMP, then go to File > Open and select your image. GIMP supports JPEG, PNG, TIFF, GIF, BMP, WebP, and most common formats. If your image is already open in another viewer, you can drag and drop it directly onto the GIMP canvas.
Step 2: Go to Image > Scale Image
Click the Image menu at the top of the GIMP window, then choose Scale Image. A dialog box will appear showing your current dimensions and resolution.
Step 3: Set Your New Width and Height
In the dialog, you will see two numeric fields: Width and Height. Enter your target dimensions in pixels. GIMP also lets you switch the unit dropdown from pixels to percent, inches, millimeters, or other units if needed.
Look for the small chain-link icon between the Width and Height fields. When the chain is closed (the default), GIMP automatically maintains the aspect ratio so the image does not stretch. If you click the chain to break the link, you can freely type any width and height, but the image will distort unless your ratio matches the original.
Pro tip: Always start with a high-resolution original when you need a sharp final output. Scaling a 4000 by 3000 photo down to 1200 by 900 will look much cleaner than scaling a 600 by 450 image up to the same target.
Step 4: Choose the Interpolation Method
Just below the dimension fields, you will find the Interpolation dropdown. This controls how GIMP calculates the new pixel values. For most cases, Cubic is a solid default, but I cover each option in detail later in this guide.
Step 5: Click Scale
Review the Print Size section at the bottom of the dialog if you are preparing the image for physical printing. When you are happy with the settings, click Scale. The image on your canvas updates instantly. To save your resized version, use File > Export As and pick your preferred format.

Method 2: Using Canvas Size (For Cropping or Adding Borders)
The Canvas Size tool changes the dimensions of the workspace surrounding your image. It does not scale the pixels themselves. This makes it perfect for cropping from the edges or adding borders without distortion.
Step 1: Go to Image > Canvas Size
Open your image in GIMP, then choose Image > Canvas Size. The Canvas Size dialog opens.
Step 2: Set New Canvas Dimensions
Enter your desired Width and Height. You can choose units such as pixels, percent, or inches. Pay attention to the chain-link icon in the same way as the Scale Image dialog to maintain a proportional change.
Step 3: Choose the Anchor Position
Below the dimension fields you will see a grid of arrows called the Anchor. This tells GIMP which corner of the existing image to anchor when expanding or shrinking the canvas. The center option keeps your original image centered while adding equal space on all sides.
Step 4: Resize the Canvas
Click Resize. If you entered a smaller canvas size, GIMP will crop from the edges of your image based on the anchor. If you entered a larger canvas size, the new area will appear transparent or filled with your background color, depending on your layer settings.
Use this method when you want to trim uneven edges, fit an image into a specific aspect ratio for social media, or add padding for a frame effect.

How to Resize an Image in GIMP Without Losing Quality
Anyone who has enlarged a photo and watched it turn into a pixel soup knows the pain. Quality loss during resizing is mostly about choosing the right settings and respecting the limits of the original image. Here is what I tell friends who ask for sharp results every time.
Pick the Right Interpolation
Interpolation is the math GIMP uses to fill in new pixels. NoHalo or Sinc (Lanczos) give the best results when shrinking an image. LoHalo is built for enlarging without the muddy halos that older algorithms leave behind.
Always Work from a Copy
Save your original file and work on a duplicate. Go to File > Save As and pick a new filename before you scale. Once you overwrite the original at a smaller size, you cannot recover the lost pixels.
Start with the Highest Resolution You Have
Downscaling preserves detail. Upscaling only invents detail. If you know the final size will be 1920 by 1080, start with a 4000 by 3000 source and scale down rather than starting with a smaller file and trying to scale up.
Use Layers to Stay Flexible
When you scale inside a multi-layer project, use Layer > Scale Layer on each layer individually instead of flattening first. Flattening bakes your layers together and removes the ability to tweak them later.
Avoid Repeated Resizes
Each resize operation slightly degrades the image. If you scale down, then up, then down again, the sharpness drops each pass. Plan your final size ahead of time and resize once.
Export With the Right Format
For graphics, logos, and screenshots, export as PNG for lossless quality. For photographs, export as JPEG at the highest quality setting (90 to 95 percent) to balance file size and appearance. Avoid re-saving JPEGs multiple times because each save introduces compression artifacts.
How to Resize an Image for Specific Uses in GIMP
Different platforms and projects have specific dimension requirements. Here is a practical breakdown of the most common targets I resize for, with the exact pixel sizes you should enter in the Scale Image dialog.
Social Media Dimensions in 2026
Social platforms update their recommended sizes often, so the values below reflect common standards as of 2026. For a personal post, square images work best on Instagram and Facebook. For landscape content, 16:9 looks great on Twitter and LinkedIn.
Instagram square post: 1080 by 1080 pixels
Instagram portrait post: 1080 by 1350 pixels
Facebook cover photo: 820 by 312 pixels
Twitter (X) post image: 1600 by 900 pixels
YouTube thumbnail: 1280 by 720 pixels
LinkedIn post image: 1200 by 627 pixels
TikTok vertical video cover: 1080 by 1920 pixels
For profile pictures, most platforms expect a square image at least 400 by 400 pixels. Upload larger if you can, since some services crop or compress aggressively.
Web and Blog Dimensions
For website images, the goal is sharp display at the smallest possible file size. Most blog post hero images look great at 1600 by 900 pixels at 70 to 85 percent JPEG quality. In-content images usually display at 800 to 1200 pixels wide depending on your theme.
Export with File > Export As > JPEG, then check Show preview in image window so you can compare file size and quality side by side before saving.
Print Dimensions and PPI
Print quality depends on pixels per inch (PPI), sometimes called DPI. GIMP defaults to 72 PPI, which is fine for screens but produces small, low-quality prints. For sharp prints, set PPI to 300 in the Scale Image dialog before clicking Scale.
A common print target is an 8 by 10 inch photo at 300 PPI, which works out to 2400 by 3000 pixels. To set this, switch the unit dropdown in the Scale Image dialog from pixels to inches, type 8 by 10, and confirm PPI is 300.
Understanding Interpolation in GIMP (Quality Settings Explained)
Interpolation is the algorithm GIMP uses to estimate the color of new pixels when the image dimensions change. Picking the right method is the single biggest factor in resize quality. Here is what each option actually does and when to use it.
None (Nearest Neighbor): Picks the color of the closest existing pixel. Fast, but produces blocky, pixelated results. Best for pixel art where you want every pixel to stay sharp.
Linear: Averages two neighboring pixels. Faster than Cubic but slightly softer. Fine for thumbnails and previews.
Cubic: Averages a neighborhood of pixels with a curved falloff. The classic general-purpose choice. Good for both shrinking and moderate enlarging.
NoHalo: A sharpening-aware algorithm that avoids the soft halos around edges. Excellent for shrinking photos without smearing.
Sinc (Lanczos): A high-quality sinc-based method. Excellent for downscaling and considered one of the best general-purpose algorithms available.
LoHalo: A halo-free method designed specifically for upscaling. The best choice when you need to enlarge a photo and want a clean result without artifacts.
My default rule of thumb: use Sinc when shrinking and LoHalo when enlarging. If neither is available in your GIMP build, Cubic remains a safe fallback.
Troubleshooting: Why Is My Resized Image Blurry or Pixelated?
Even with the right method, results can disappoint. Here are the four most common causes and the fix for each.
Wrong Interpolation Method
If your resized image looks soft, you probably used Linear or the default Cubic option on a heavy enlargement. Switch to LoHalo for upscaling or Sinc for downscaling and try again.
Upscaling Beyond the Original Resolution
No algorithm can create detail that was never captured. If your source is 800 by 600 and you scale to 2400 by 1800, the result will look soft no matter what. For best results, never enlarge more than 200 percent of the original dimensions. For larger enlargements, consider dedicated upscaling software.
Too Many Resize Operations
Each resize degrades the image. If you have already scaled a photo multiple times, the softness compounds. Plan your final target size and resize once from the original.
Wrong PPI or Export Settings
If your resized image looks fine on screen but terrible in print, the PPI is too low. Open Image > Scale Image, set PPI to 300, leave pixel dimensions unchanged, and export again. If the image looks washed out online, your JPEG quality setting may be too low. Bump it up to 85 percent or higher.
How to Resize a Layer in GIMP (Without Flattening the Image)
When you work with multiple layers, scaling the entire image with Image > Scale Image scales every layer together. Sometimes you only want to resize a single element. That is where Layer > Scale Layer comes in.
Step 1: Select the Layer in the Layers Panel
Open the Layers panel (Windows > Dockable Dialogs > Layers if it is not already visible). Click the layer you want to resize to make it the active layer.
Step 2: Go to Layer > Scale Layer
With the layer selected, click Layer > Scale Layer. A dialog appears that looks almost identical to the Scale Image dialog.
Step 3: Set Dimensions and Click Scale
Enter the new width and height for this layer only. Use the chain-link icon to keep proportions if needed. Click Scale to apply. Only the active layer changes size, leaving every other layer untouched.
This is the method I use when I am building composite images, social media graphics with separate text and photo layers, or web banners where the background should stay full-size while I shrink a foreground element. For a deeper look at layer management, see our guide on GIMP Layers Explained.

Bonus: Batch Resize Multiple Images in GIMP
Resizing one image is quick. Resizing fifty by hand is not. GIMP does not include batch resizing in its core, but the free BIMP (Batch Image Manipulation Plugin) adds this feature in minutes.
What BIMP Does
BIMP lets you apply a series of GIMP operations, including resize, crop, rotate, watermark, and format conversion, to entire folders of images in one pass. You can mix and match operations and save your workflow as a preset for reuse.
Installing BIMP
Visit the official BIMP project page on GitHub and download the version that matches your operating system. On Windows, copy the plugin file into your GIMP plug-ins folder (usually C:UsersYourNameAppDataRoamingGIMP2.10plug-ins) and restart GIMP. On macOS and Linux, place the file in the equivalent plug-ins directory, mark it as executable if needed, and relaunch GIMP. BIMP appears under File > Batch Image Manipulation.
Basic Batch Resize Workflow
Open BIMP, click Add images (or add an entire folder), then add the Resize operation. Enter your target dimensions or percentage, pick the output format and folder, and click Apply. BIMP processes every file while you go grab coffee.
This is the fastest way to resize a whole event photo gallery, prepare a product catalog for upload, or generate thumbnails for a new blog archive.
FAQs
How do I resize an image in GIMP without stretching it?
Always keep the chain-link icon locked in the Scale Image dialog. When the chain is closed, GIMP automatically adjusts the height when you change the width, and vice versa, so your image keeps its original proportions.
Can I resize an image in GIMP to make it larger?
Yes. Open the image, go to Image u0026gt; Scale Image, enter a larger width and height, and pick LoHalo from the Interpolation dropdown before clicking Scale. For best results, do not enlarge more than 200 percent of the original size.
How do I change image size without cropping in GIMP?
Use Image u0026gt; Scale Image rather than Image u0026gt; Canvas Size. Scale Image redistributes the existing pixels to fit new dimensions, so nothing is cropped or added. Canvas Size, on the other hand, removes or adds space around the edges.
What’s the difference between Canvas Size and Scale Image in GIMP?
Scale Image redistributes the actual pixels of your image to match new dimensions, preserving all content. Canvas Size only changes the workspace area, cropping from the edges or adding empty space without resizing the original pixels.
How do I resize only part of an image in GIMP?
Use the Crop tool to select the area you want to keep, then go to Image u0026gt; Crop to Content. After that, use Image u0026gt; Scale Image to set the final size. For non-rectangular selections, use the Rectangle Select tool first.
Final Thoughts on Resizing Images in GIMP
You now have three solid ways to resize an image in GIMP: Scale Image for general resizing, Canvas Size for cropping and padding, and Layer > Scale Layer for working on individual layers inside a project. Pair those tools with the right interpolation method (Sinc for shrinking, LoHalo for enlarging) and you can handle any resize job that comes your way.
The fastest way to get comfortable is to practice on a throwaway image. Open a high-resolution photo, scale it down to 50 percent with the Sinc method, then try the same image with Cubic and compare. Once you see the difference, you will know exactly which setting to pick for your real work.
If you want to keep building your GIMP skills, explore our other GIMP tutorials and our step-by-step guide on how to crop an image in GIMP. Both pair perfectly with the resize workflow you just learned.