
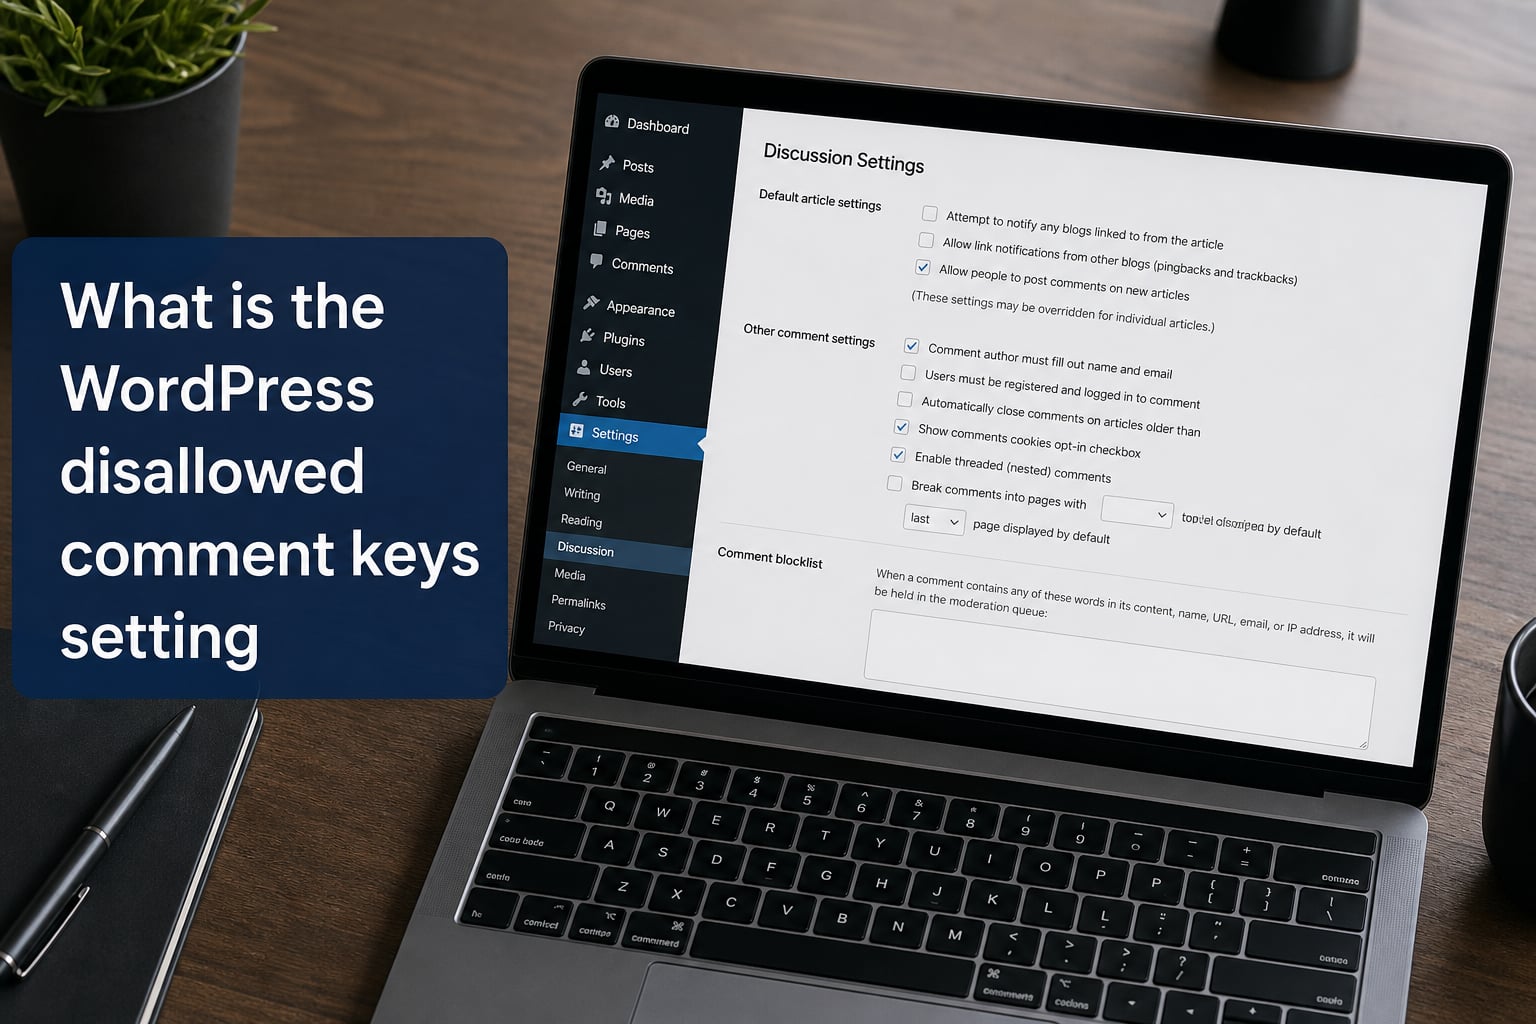
Spam comments can overwhelm a WordPress site fast. If you have ever opened your comments section only to find dozens of unwanted messages pushing shady links and products, you already know the frustration. The good news is WordPress ships with a built-in tool to fight this problem. It is called the Disallowed Comment Keys setting, and it can send spam straight to the trash before you ever see it.
In this guide, I will explain exactly what the WordPress disallowed comment keys setting does, where to find it, and how to use it effectively. You will also learn how it differs from the comment moderation queue and how to combine it with other tools for maximum spam protection.
Table of Contents
- What Is the WordPress Disallowed Comment Keys Setting
- How to Access the Disallowed Comment Keys Setting
- What You Can Add to the Disallowed Comment Keys List
- How Blocklist Filtering Works in WordPress
- Comment Moderation vs Disallowed Comment Keys: What Is the Difference
- Step-by-Step: Configuring Your Disallowed Comment Keys
- Best Practices for an Effective Comment Blocklist
- FAQs
- Conclusion
What Is the WordPress Disallowed Comment Keys Setting
The WordPress disallowed comment keys setting is a built-in blocklist that automatically sends comments to Trash when they contain specific words, phrases, email addresses, IP addresses, URLs, or browser user agent strings you have defined. It lives under Settings > Discussion in your WordPress admin dashboard, in a text box labeled “Disallowed Comment Keys.”
Before WordPress 5.5 (released in 2020), this feature was called “Comment Blacklist.” The name changed to “Disallowed Comment Keys” as part of a broader effort across the WordPress project to replace the term “blacklist” with more neutral language. You will still see the old name referenced in many tutorials, forum posts, and older documentation, so it helps to know both terms refer to the exact same feature.
Behind the scenes, WordPress stores your blocklist entries in the wp_options database table under the option key disallowed_keys. The data type is longtext, which means the field can hold a very large number of entries without practical limits. This is useful if you want to maintain a comprehensive list of thousands of spam keywords, which is exactly what many site owners do.
Here is the key behavior that separates this setting from everything else: when a submitted comment matches anything on your disallowed list, WordPress does not send it to a moderation queue for your review. Instead, the comment goes directly into the Trash. You can still recover it from Trash if needed, but by default it stays out of your way entirely.
This makes the setting particularly powerful for blocking content you are confident you never want to see. Offensive language, known spam patterns, repeat offender IP addresses, and specific email domains all belong here if you want them silenced automatically.
How to Access the Disallowed Comment Keys Setting
Finding the setting takes about 30 seconds. Here are the exact steps to get there in any standard WordPress installation.
Step 1: Log in to your WordPress admin dashboard. This is typically found at yoursite.com/wp-admin.
Step 2: In the left sidebar menu, hover over or click on Settings. A submenu will appear.
Step 3: Click on Discussion in that submenu. This opens the Discussion Settings page.
Step 4: Scroll down the page until you reach the section titled “Disallowed Comment Keys.” It sits just below the “Comment Moderation” section.
Step 5: You will see a large text box. This is where you enter the words, phrases, IP addresses, emails, and URLs you want to block. Each entry goes on its own line.
Step 6: After entering your entries, scroll to the bottom of the page and click “Save Changes” to activate your blocklist.
That is all it takes. The setting is always visible in the same location regardless of your theme or most plugins, so once you know where it is, you can return to it anytime.
What You Can Add to the Disallowed Comment Keys List
The blocklist accepts several different types of content. Understanding what you can put in it helps you build a more effective filter. Here is everything WordPress checks against your list.
Words and phrases: Any specific word or phrase added to the list will trigger a match if it appears in the comment content, author name, author email, author URL, or author IP address. For example, adding “casino” sends any comment containing that word to the trash.
IP addresses: You can block individual IP addresses like 192.168.1.50 or partial IP ranges. This is useful for stopping repeat spammers who always post from the same location.
Email addresses: Specific email addresses or email domains can be added. Entering @spam-domain.com blocks any commenter using an email from that domain.
URLs and domains: If spammers keep linking to a particular website, add that domain to the list. Any comment containing that URL in the author link field or comment body gets trashed.
Browser user agent strings: Every browser sends a user agent string identifying itself. Some spam bots use unusual or identifiable user agent strings that you can target. This is a more advanced technique but can stop automated bots effectively.
Usernames and author names: If a commenter keeps changing their details but uses a recognizable author name pattern, you can block that name directly.
How Blocklist Filtering Works in WordPress
Understanding the mechanics of how WordPress checks your blocklist helps you avoid surprises. The filtering process happens at the moment a comment is submitted, before it ever enters your database as a visible comment.
When someone submits a comment through your comment form, WordPress sends the data to wp-comments-post.php. This file processes the submission and runs several checks, including comparing the comment against your disallowed comment keys list.
WordPress checks multiple fields against your list. Specifically, it examines the comment content itself, the commenter’s name, their email address, their website URL, their IP address, and their browser’s user agent string. If any single one of these fields contains a match, the entire comment is blocked.
Partial Word Matching: What You Need to Know
This is where many site owners get tripped up. WordPress uses partial word matching, not exact word matching. That means if you add the word “press” to your blocklist, it will also block “WordPress,” “depress,” “impression,” and any other word containing the letters “press.”
This behavior cuts both ways. It is helpful because you do not need to list every possible variation of a spam word. Adding “casino” also catches “online-casino,” “casino123,” and “bestcasino.” But it can also cause false positives if you add short or common words.
To minimize unintended blocks, follow these guidelines. Use longer, more specific words rather than short fragments. Test your additions by thinking about whether the word fragment could appear in legitimate conversation. When in doubt, use a full phrase rather than a single short word.
For example, instead of blocking the fragment ” pill” (with a leading space), which could match “pillow” or “spilling,” consider blocking “buy-cheap-pills” as a full phrase that is far less likely to appear in a genuine comment.
Once a match is found, WordPress marks the comment as trash. The commenter sees no error message. From their perspective, the comment appears to have been submitted successfully. But on your end, the comment lands in the Trash folder, where it stays until you empty the trash or restore it.
Comment Moderation vs Disallowed Comment Keys: What Is the Difference
This is one of the most common sources of confusion. WordPress gives you two separate filtering tools on the same Discussion Settings page, and they behave very differently.
The Comment Moderation section holds comments for your approval. When a comment matches something on your moderation list, WordPress places it in a pending queue. You get a chance to review it and decide whether to approve it, reply to it, mark it as spam, or delete it. This is ideal for words that might appear in both spam and legitimate comments.
The Disallowed Comment Keys section sends matching comments directly to Trash. There is no review step. The comment never appears in your moderation queue. This is meant for content you are certain you never want to see, such as profanity, known spam patterns, or banned IP addresses.
Think of it this way. Moderation is a hold for review. Disallowed is an automatic rejection. If you are unsure whether a word belongs in moderation or the trash list, start with moderation. You can always move entries to the disallowed list later once you confirm they are always spam.
Both lists use the same partial word matching behavior and check the same fields. The only difference is the outcome: hold versus trash.
Step-by-Step: Configuring Your Disallowed Comment Keys
Now let me walk you through setting up and maintaining your blocklist from scratch. This process works whether you are starting with an empty list or refining an existing one.
Step 1: Open the Disallowed Comment Keys section. Navigate to Settings > Discussion and scroll to the Disallowed Comment Keys text box described earlier in this guide.
Step 2: Add your entries. Type each word, phrase, IP address, email, or URL on its own line. You can enter as many entries as you want. One per line is the only formatting rule.
Step 3: Use a starter blocklist. Rather than building from nothing, many site owners start with a pre-made list. The community-maintained splorp/wordpress-comment-blocklist on GitHub contains over 2,000 carefully curated spam keywords. You can copy this list, paste it into your Disallowed Comment Keys box, and instantly have a strong baseline. Just search for “wordpress comment blocklist GitHub” to find it.
Step 4: Add your own entries over time. As you moderate comments, you will notice patterns. When you delete a spam comment, look for a distinctive word or phrase in it and add that to your disallowed list. Over time, your list becomes tailored to the specific types of spam your site attracts.
Step 5: Save your changes. Click “Save Changes” at the bottom of the Discussion Settings page. Your blocklist is now active.
Step 6: Test the blocklist. Open a post on your site in a private or incognito browser window. Submit a test comment containing one of your blocked words. If the filter is working, the comment will not appear on the post and will show up in your Trash folder under Comments.
Step 7: Review your Trash periodically. Check the Trash folder occasionally to make sure legitimate comments are not being caught. If you find a false positive, remove or refine the matching entry from your blocklist.
Step 8: Keep your list updated. Spam tactics evolve. Set a reminder to review and update your disallowed keys every few months, adding new spam patterns and removing entries that are no longer relevant.
Best Practices for an Effective Comment Blocklist
Through research in WordPress forums and community discussions, several patterns emerge among site owners who successfully manage comment spam. Here are the practices that consistently work.
Combine the blocklist with Akismet. The Disallowed Comment Keys setting works best as part of a layered defense, not as your only tool. Akismet is the gold-standard spam plugin for WordPress, and forum users overwhelmingly recommend using both together. Akismet catches sophisticated spam bots that may use clean language, while your blocklist catches specific patterns Akismet might miss.
Avoid overly broad entries. Because of partial word matching, a short entry can cause widespread false positives. I have seen site owners accidentally block all comments containing “special” because they entered “spec” to block a spammer. Use long, specific phrases whenever possible.
Consider supplementary techniques. Many experienced WordPress users recommend additional tactics alongside the blocklist. Removing the website URL field from your comment form eliminates a major motivation for comment spam. Honeypot fields (hidden form fields that only bots fill in) catch automated spammers without bothering human visitors. Cloudflare can provide another layer of protection by blocking known spam IPs before they even reach your site.
Do not rely on the blocklist alone for Contact Form 7. One often-overlooked detail: the Disallowed Comment Keys list also filters Contact Form 7 submissions. This is a bonus feature, but it uses the same partial matching behavior. If you notice legitimate form submissions going missing, your blocklist could be the reason.
Start with the GitHub list and customize. The splorp blocklist on GitHub has been refined over years by hundreds of contributors. Starting with this list saves you time and gives you immediate protection. Then layer in entries specific to your site’s spam patterns.
FAQs
How do I change comment settings on WordPress?
To change comment settings in WordPress, go to Settings u0026gt; Discussion in your admin dashboard. This page lets you control whether comments are enabled, set moderation rules, configure the Disallowed Comment Keys blocklist, and manage other comment behaviors like nesting depth and avatar display.
How to stop WordPress comment spam?
The most effective approach combines multiple tools. Use the built-in Disallowed Comment Keys list to block known spam words and IPs automatically. Install Akismet for AI-powered spam detection. Remove the website URL field from your comment form to reduce incentive for spam. Consider honeypot fields and Cloudflare for additional layers of protection.
Why do I have comments on my WordPress post but can’t see them?
If your comment count shows a number but no comments appear, they may have been sent to Trash by the Disallowed Comment Keys filter or flagged as spam by Akismet. Go to Comments in your admin dashboard and check the Spam and Trash folders. You can restore legitimate comments from either location.
Does the Disallowed Comment Keys list support regular expressions?
No, the Disallowed Comment Keys setting does not support regular expressions. It uses simple partial string matching instead. WordPress checks whether any entry in your list appears anywhere in the comment content, author name, email, URL, IP address, or user agent string. For regex-based filtering, you would need a custom plugin or a server-side solution.
Conclusion
The WordPress disallowed comment keys setting is one of the simplest yet most effective built-in tools for fighting comment spam. By automatically sending matching comments to Trash, it keeps your comments section clean without requiring constant manual moderation. Combine it with Akismet, keep your list updated, and start with the community GitHub blocklist for immediate protection.
Take five minutes today to visit Settings > Discussion and add your first batch of blocked entries. Your future self will thank you every time you open your comments section and see actual conversations instead of spam.